appetizer

Pane Bianco by Cynthia Raub

Print Friendly and PDF

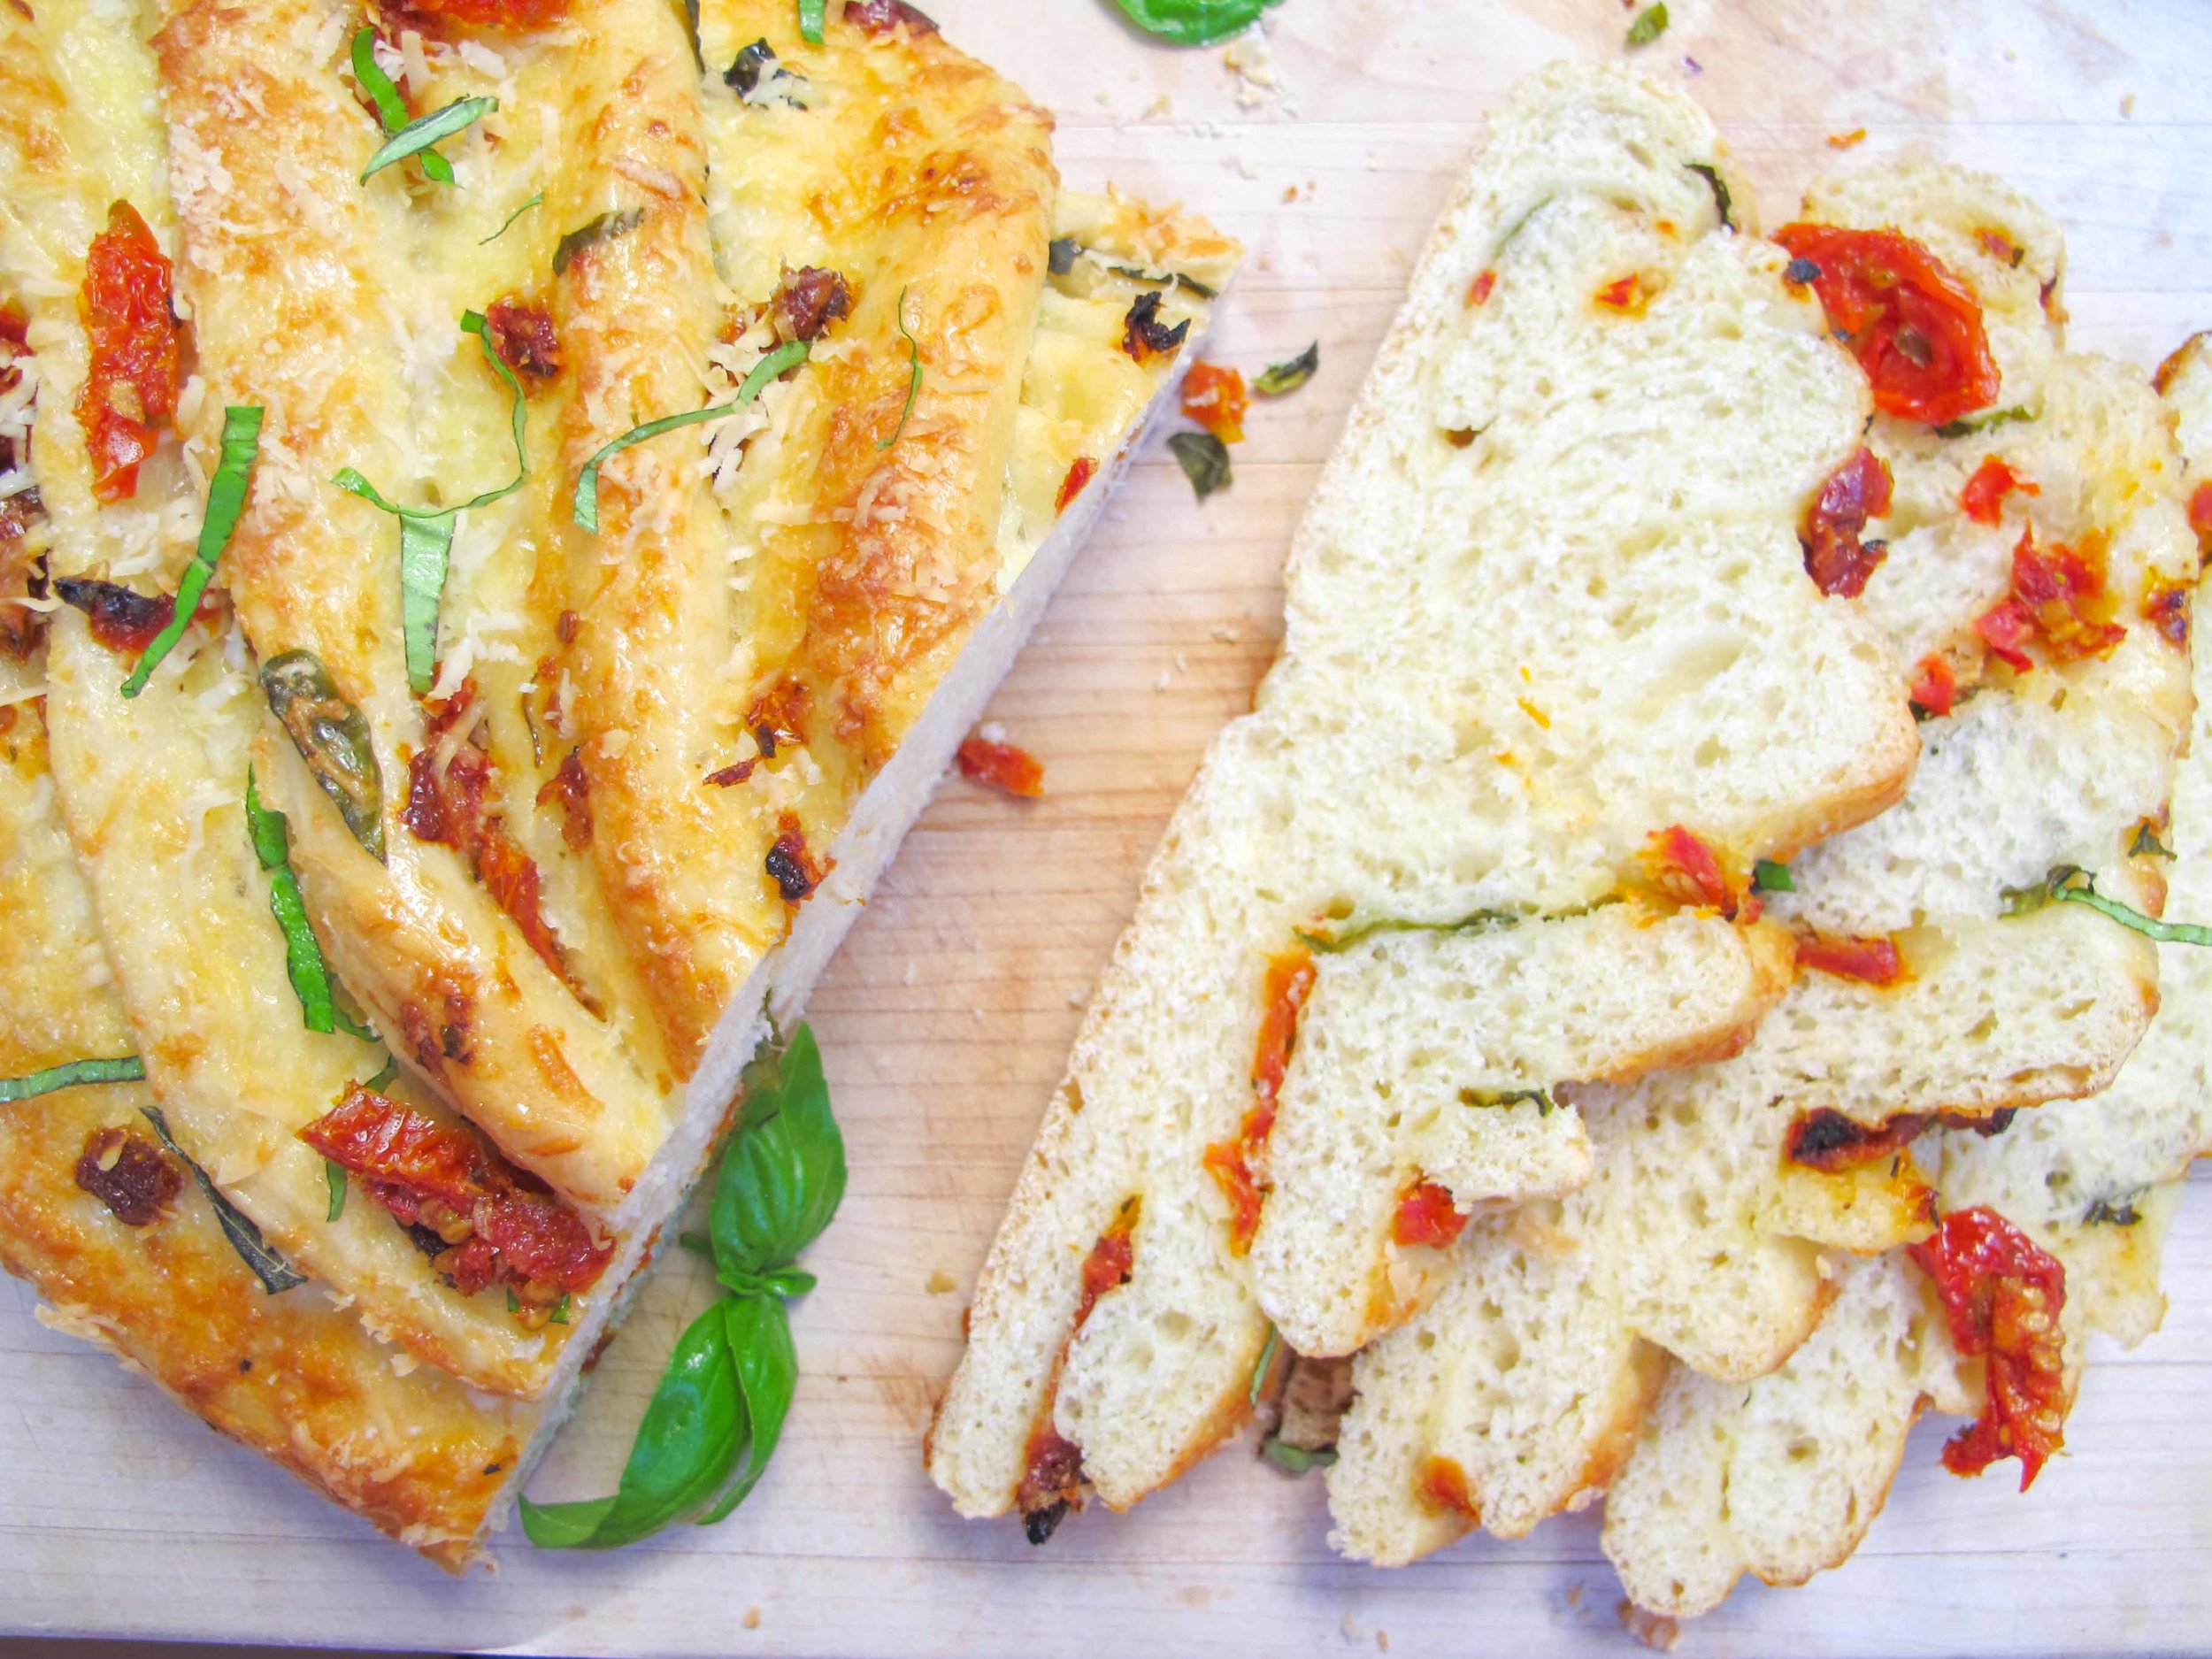
When I first laid eyes on a photo of this golden and curvy loaf of Pane Bianco, I was in awe and intrigued. As a baking newbie, I was intimidated by the gorgeous loaf until I read the recipe. Very little special equipment is required, (a stand mixer or rolling mat aren't necessarily required, they just make the work easier,) and the recipe uses straightforward ingredients I always have on hand. Since I am actively working on developing my baking skills, this was a great confidence boosting recipe to try. The attractive valleys created by slicing through a rolled log are filled with aromatic and colorful specs of tomato and basil. The scent of freshly baked bread and garlic was intoxicating. So much so, that my children followed their noses down the stairs to the kitchen to ask what I was cooking. I turned the oven light on and they sat in my lap in front of the oven and we watched it bake away together. "I can't wait to eat that!" Emily exclaimed. "Mommy, can I have that for lunch tomorrow?" Asked Olivia. I responded with, "Yes, you can have that in your lunch tomorrow . . . if we don't end up eating the whole thing tonight!" 

Notes: King Arthur Flour notes that you may substitute all-purpose flour for the bread flour in the recipe but to reduce the water in the recipe to 1/4 cup. They also warn that the bread may not hold its form as well. This recipe is endlessly adaptable and can be filled with a myriad of combinations! If you're a novice baker like me, sometimes bread recipes can be intimidating or confusing because you might not trust your judgement on what exactly the visual descriptions are supposed to look like. Because of that and because I am a visual learner, I have watched many a YouTube video on bread and scrolled through thousands of pictures on Instagram to expose myself to the process of baking. This may or may not help you, but I have found it helped my judgement in what to look for, immensely. 


Time: 3 hours (2 hours inactive, 35 minutes baking, 25 minutes preparing)
Yields: 1 loaf

Bread
3 cups bread flour
2 teaspoons instant yeast
2 teaspoons sugar
2 teaspoons salt
1 large egg
1/2 cup lukewarm milk
1/3 cup lukewarm water
3 tablespoons olive oil

Filling
2 tablespoons olive oil
4 cloves garlic, finely minced
1 cup shredded Parmesean (or cheese of your choice) divided
1/2 cup oil-packed sun-dried tomatoes, drained and cut into 1/2″ pieces
1/3 cup torn fresh basil

1 egg, beaten with a splash of water

Combine the eight bread ingredients (flour through olive oil) in your stand mixer (with a dough hook), in your bread machine, or in a large mixing bowl. On the lowest setting (or with a wooden spoon), begin to mix the dough until smooth and elastic (about 6 minutes). The dough should pull away from the sides and "clean" the sides of the bowl.

Grease a large bowl with olive oil, place the dough ball into the bowl and cover. Place the bowl in a warm area in your kitchen and allow to rise until about double in size, 45-60 minutes. Meanwhile, gather your remaining filling ingredients and set aside. 

Once the dough has risen, gently deflate it on your clean and flat work surface. Reshape into a ball and allow to rest for 10 more minutes. Then roll the dough into a rectangle, about 22" x 10". Combine 2 tablespoons of olive oil and finely minced garlic in a small bowl and brush or massage this mixture onto the rolled out dough. Sprinkle 3/4 cup of cheese, sun dried tomato and basil over the garlic mixture evenly. 

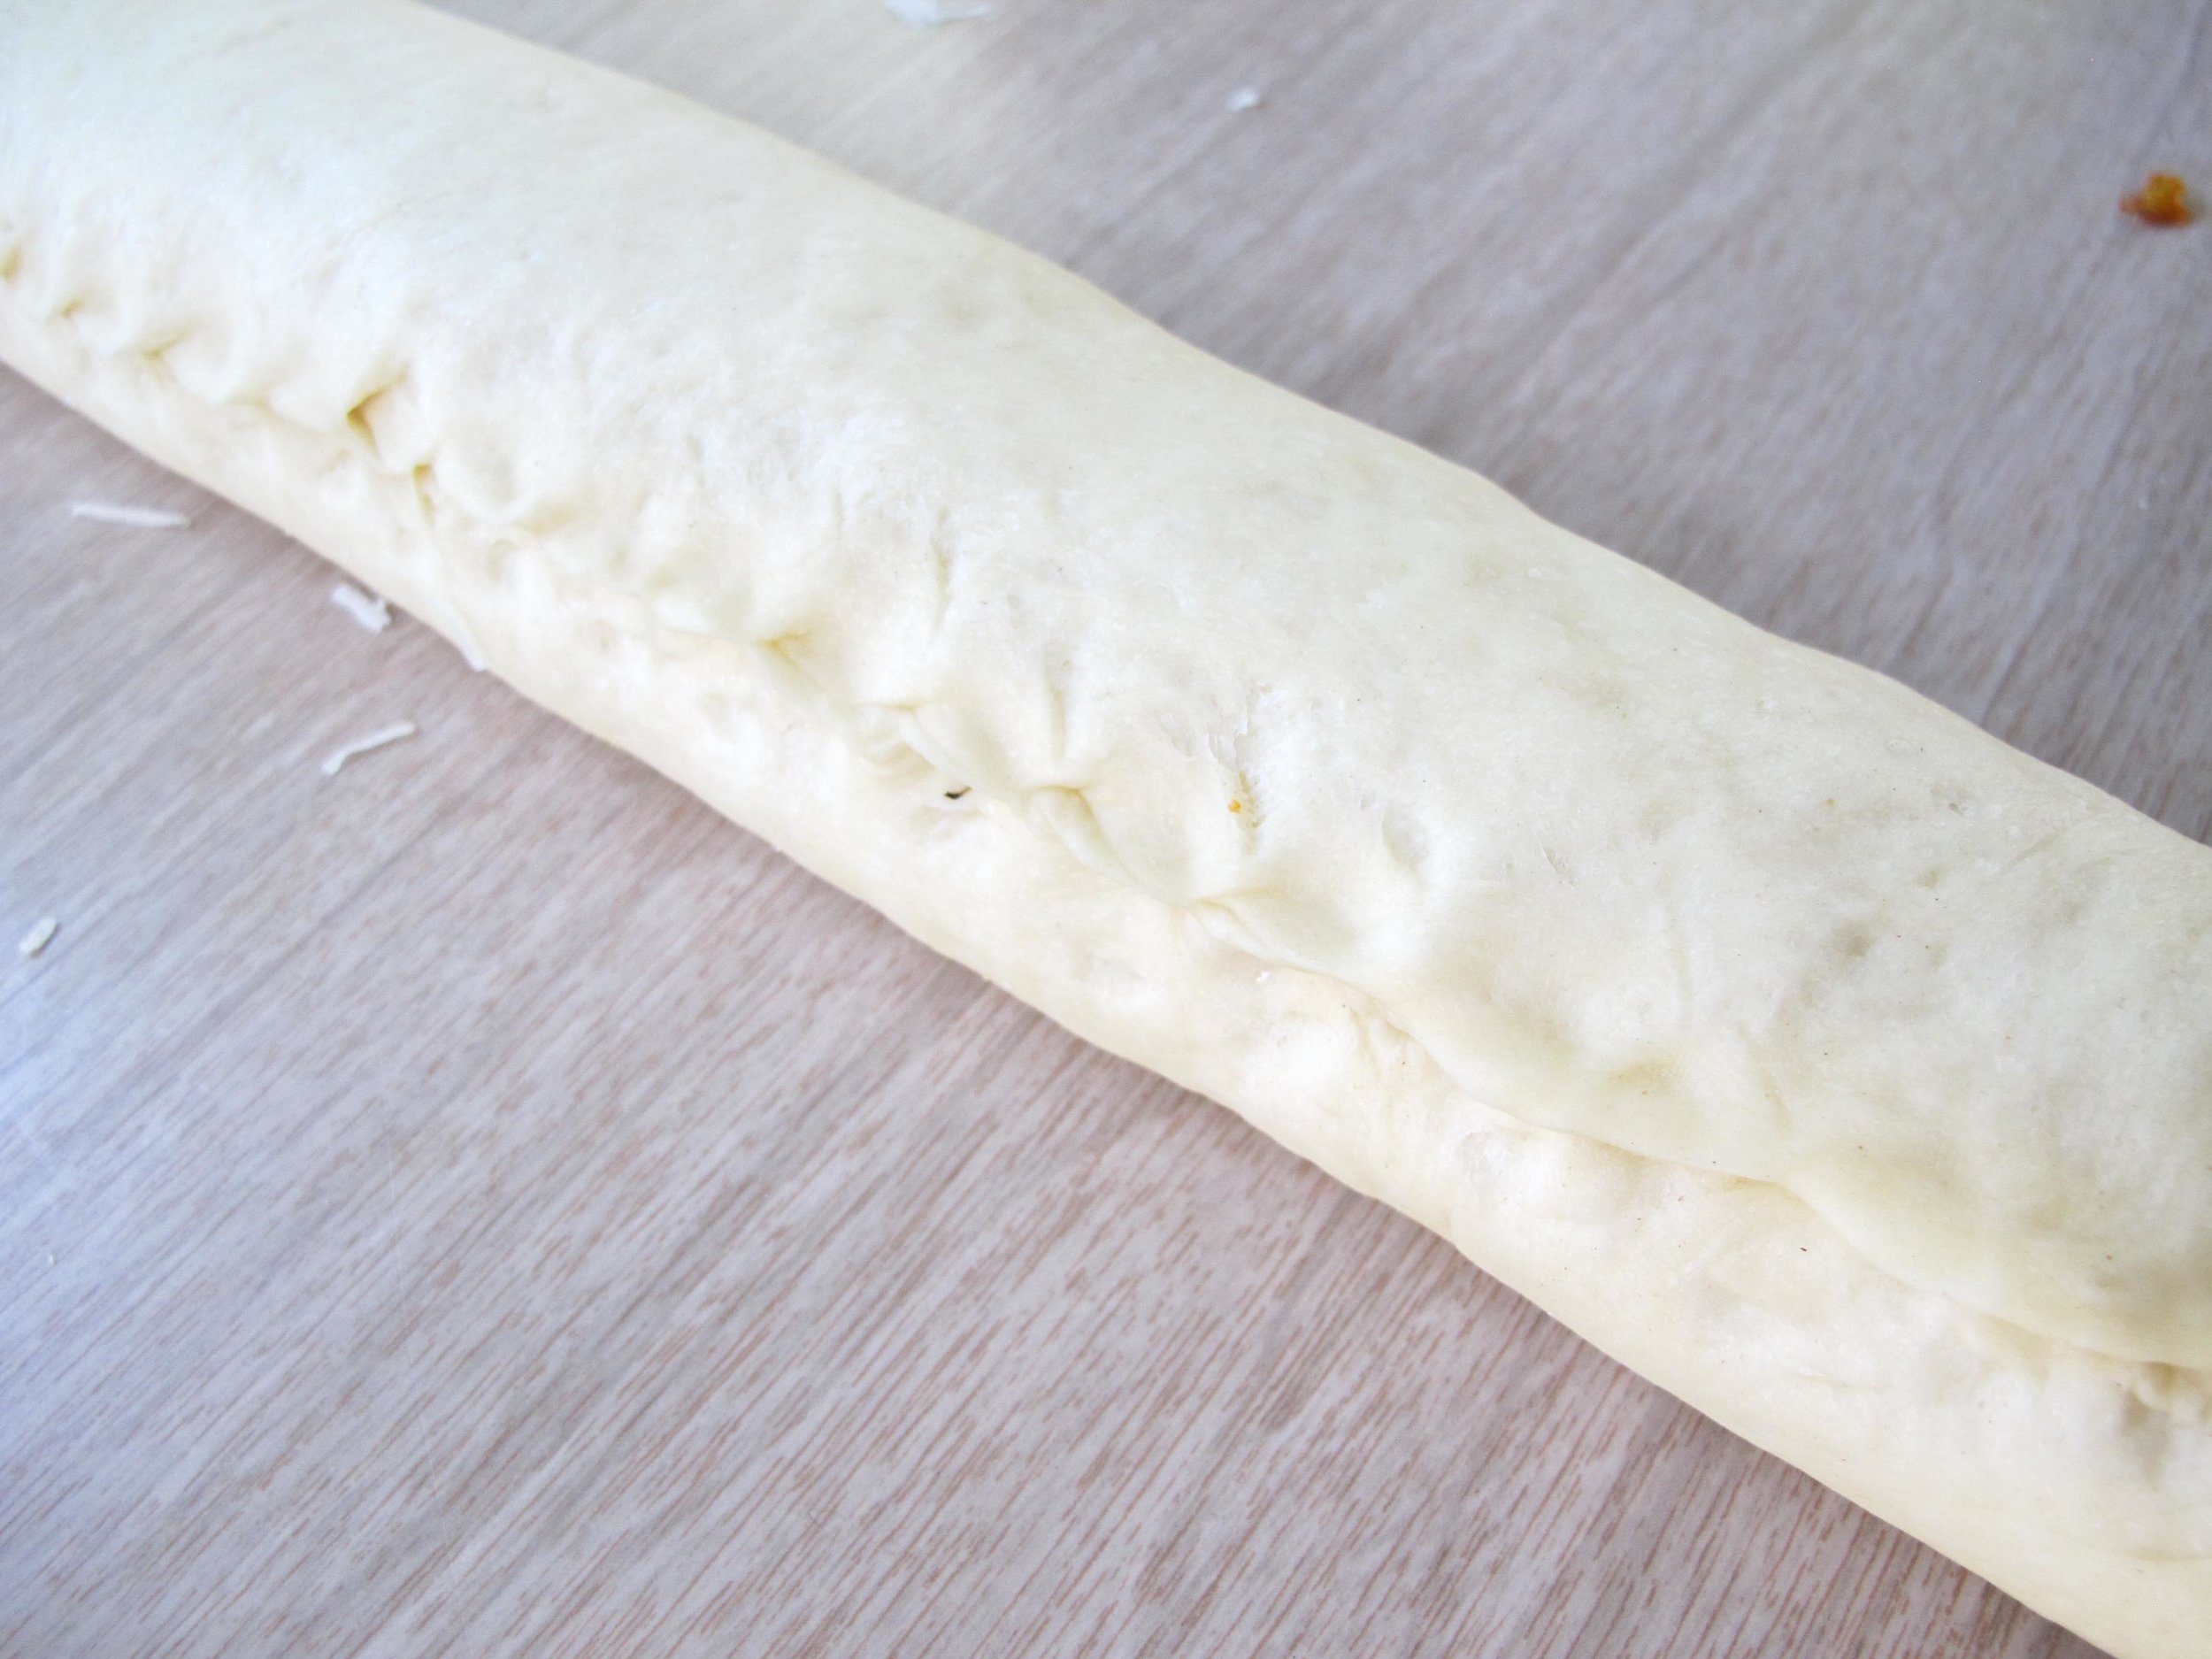
Carefully roll the dough lengthwise from one end to another. Once rolled, pinch the flap closed against the log and place the dough seam-side down on a piece of parchment paper that fits your baking pan. 

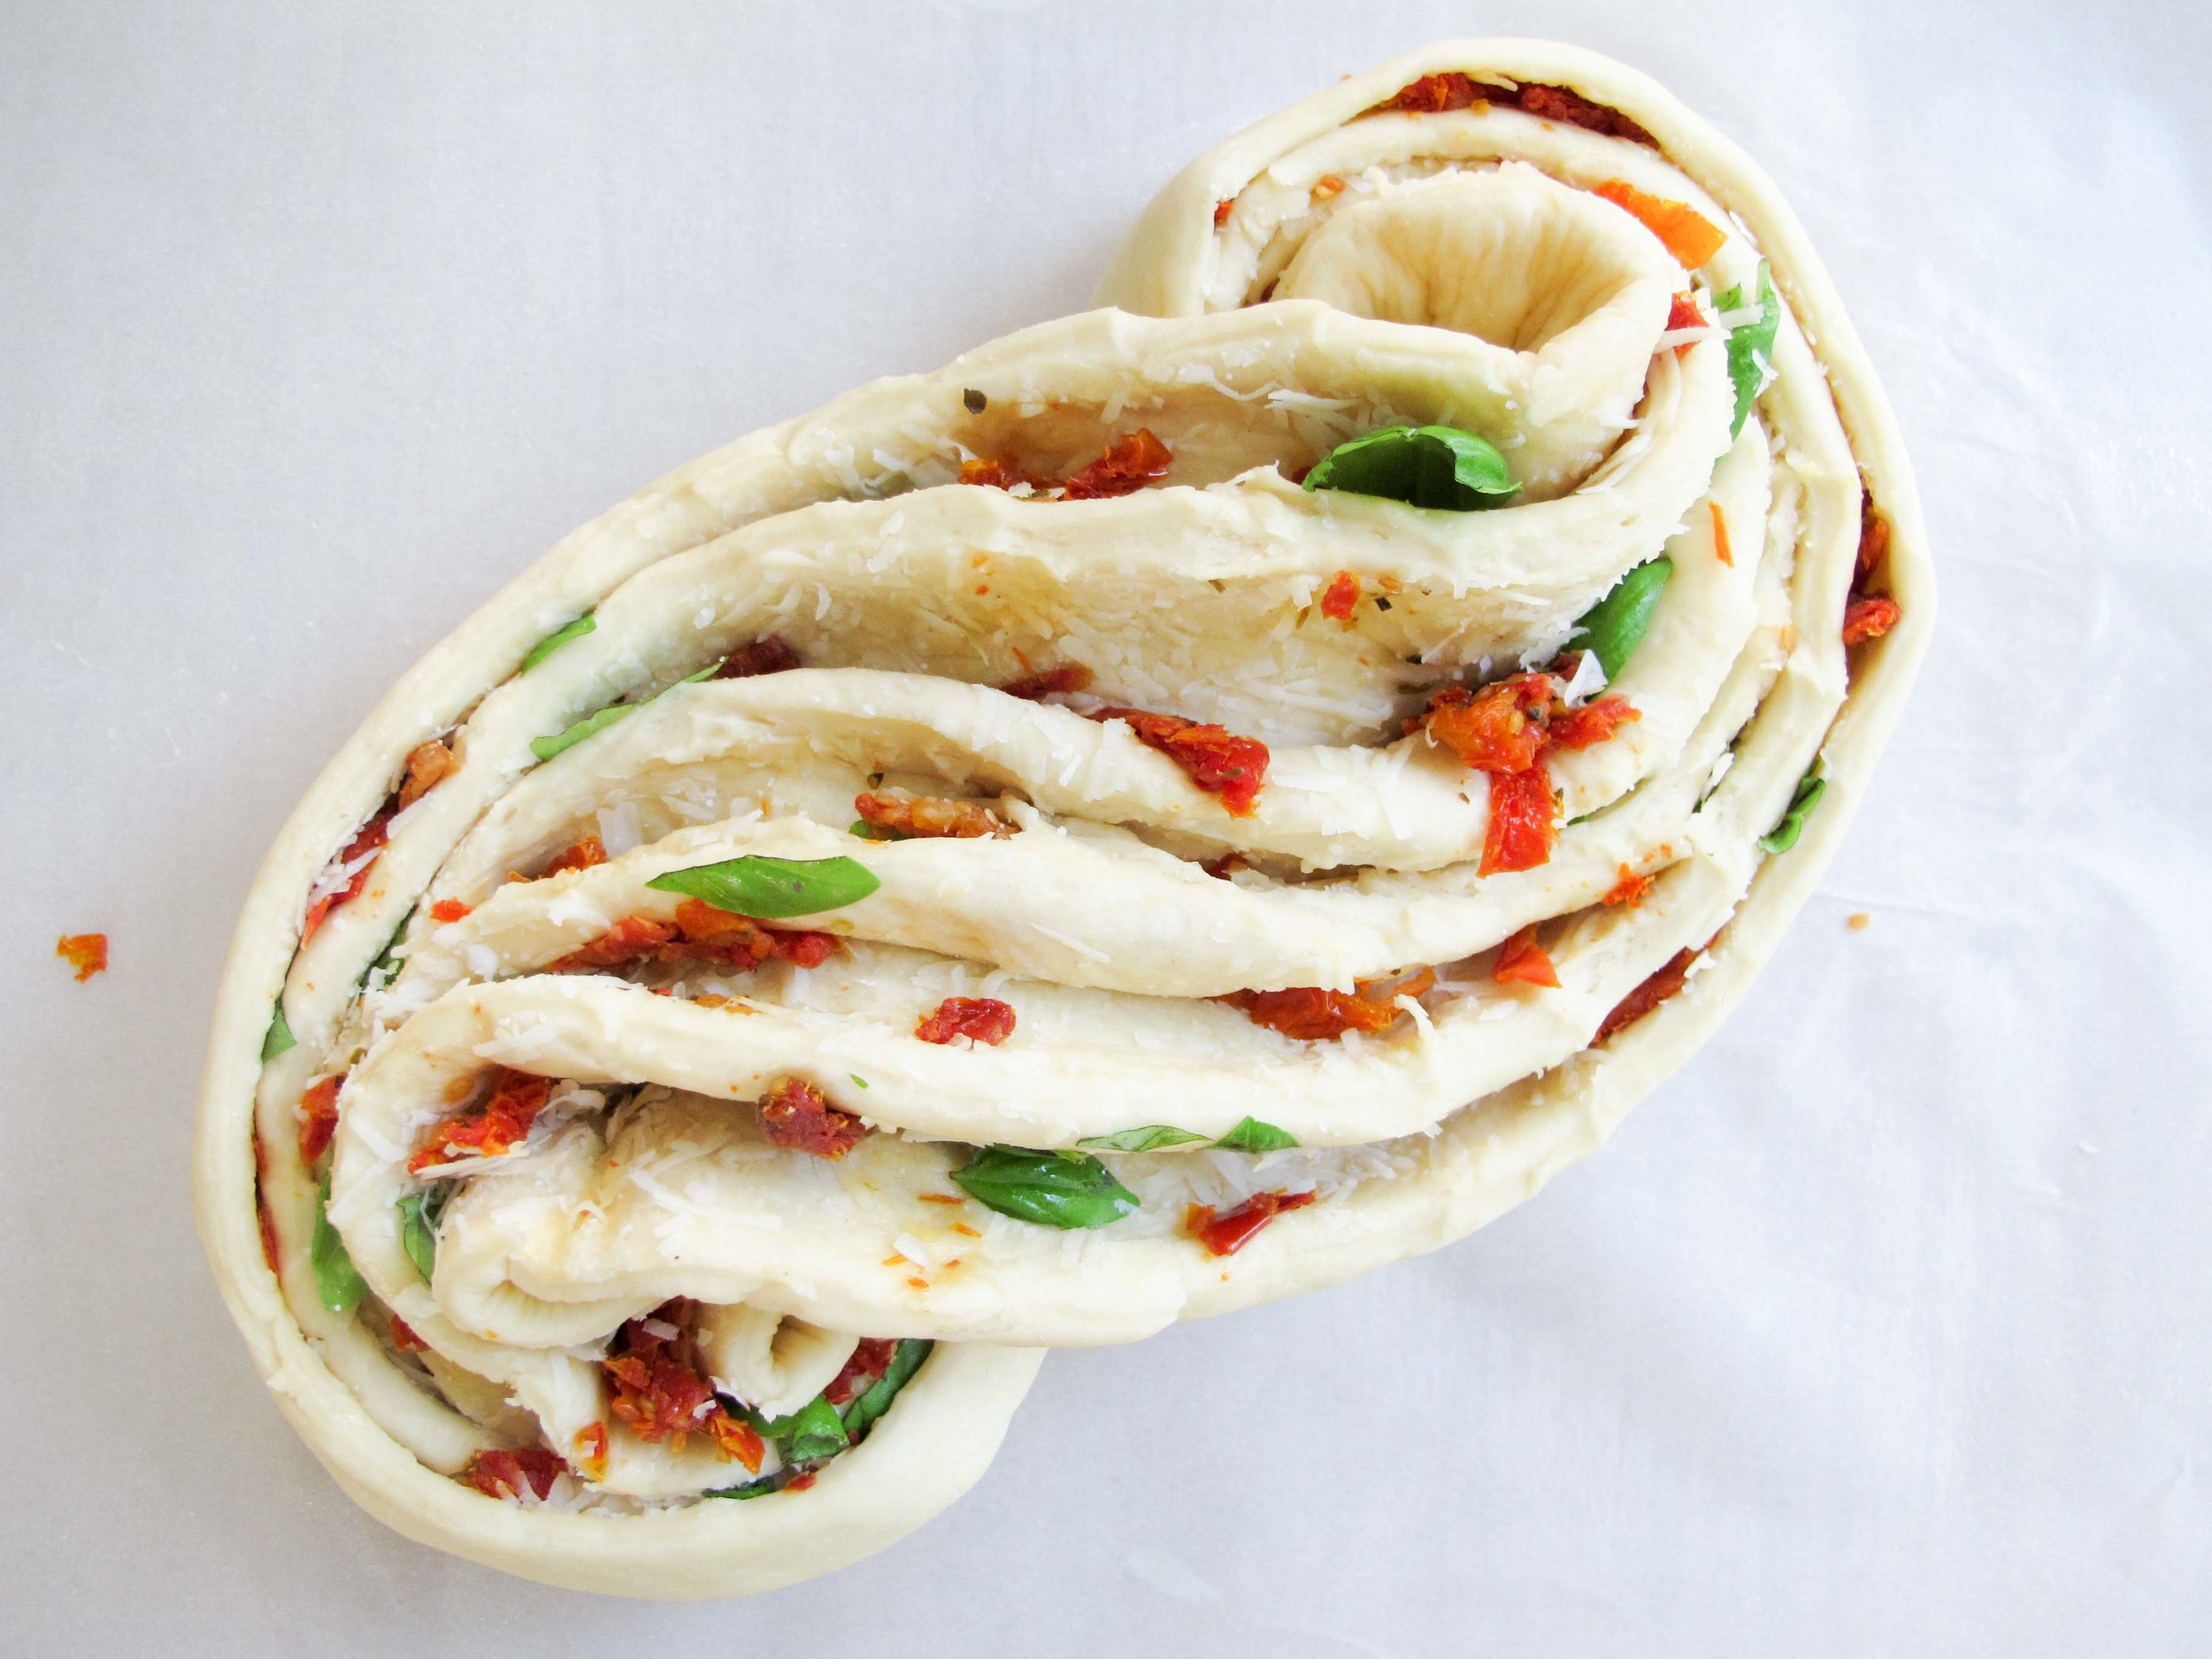
Starting from 1/2" from one end, snip through 1" depth of the roll with kitchen scissors, exposing the layers and filling. Continue to cut through the length of the roll.

Shape the log into a figure-8 shape by tucking one end of the roll underneath the center of the roll. Tuck the remaining side underneath the roll on the opposite side. Transfer the parchment paper with your loaf onto your sheet tray.

Cover the shaped dough and allow to rise until doubled in size, another 45 minutes to 1 hour. Preheat oven to 350 degrees at this time.

Once the loaf has risen, brush with egg wash and sprinkle with remaining 1/4 cup of cheese if desired. Bake the loaf for 20 minutes and check for browning. It should begin to develop a golden color, so tent the loaf to prevent too much browning and scorching of the delicate and exposed filling ingredients. Bake another 10 minutes to finish cooking. Remove from oven and place on wire rack to cool completely. 

Gougères (Cheese Puffs) by Cynthia Raub

Print Friendly and PDF

Pâte à choux, (also referred to as choux pastry,) is a basic French pastry paste made from flour, water/milk, butter and eggs. From the basic ingredients, other ingredients are added to transform the choux pastry into gougères (flavored with cheese), eclairs (sweet, rod-shaped, and filled with pastry cream), profiteroles (similar appearance to gougères but filled with pastry cream or ice cream), and even Parisian gnocchi. Choux pastry does not include a leavening (or rising) agent, such as baking powder or yeast. The piped pastry mounds puff during cooking due to the high moisture content of the soft dough, which evaporates and results in a golden pastry shell. This is a classic, easy to master, and versatile dough that can be used in a multitude of ways. I encourage you to try it and never look back! Not to be dramatic or anything . . . but your life will never be the same once you can make homemade gougères.

Notes: This recipe might seem daunting, but once you make it successfully once, (hopefully the first time,) you will feel like a rockstar. The most important thing to remember when it comes to this recipe, is to have everything prepared and measure before you begin. The steps move quickly, and there should be very little lag time between steps. You can substitute the milk for water and any kind of semi-hard and hard cheese will work, depending on your preference. I have made them with Parmesan, Gruyere, Comte, Emmental and Cheddar. In this instance, I used Dubliner, which I find multi-dimensional: nutty, sweet, sharp and salty. You can also jazz it up with herbs and other seasonings. Thyme is one of my favorite herbs for these cheesy, airy puffs.


Time: 50 minutes
Yield: ~30 puffs

1 cup milk
1 stick unsalted butter, cut into large pieces
1/2 teaspoon kosher salt
1/4 teaspoon freshly ground black pepper
1 cup all-purpose flour
4 large eggs
1 cup grated cheese
Egg wash (1 well beaten egg, splash of milk or water)
1/4 cup finely grated cheese (for sprinkling)

1. Begin by preheating oven to 425 degrees and lining two sheet trays with parchment paper.

2. Meanwhile, bring milk, butter, salt and pepper to a boil of medium-high heat.

3. Once at a boil, turn heat down to medium and add flour to the pot. Stir vigorously, incorporating the flour into the milk mixture.

4. Continue to cook and stir until a cohesive, soft dough is formed (the dough will pull away from the sides of the pot). Once the dough has taken shape, continue to cook for 1 minute more, stirring constantly.
5. Add the mixture to a stand mixer bowl fitted with a paddle attachment (or a mixing bowl, or a food processor) and mix on low for 1 minute to release steam and cool down the dough. Add an egg, one at a time and mix on medium-low until it the egg has been fully incorporated (about 30 seconds to 1 minute). This photo has one egg and has been mixed for 10 seconds. The appearance of the dough is curdled and not cohesive. Continue to mix until it looks like the following photo.

6. Continue adding the remaining eggs until the dough resembles this constancy. 

7. Add shredded cheese and fold in.

8. Scrape dough into a gallon-sized freezer bag or piping bag. (I used a large beer stein to keep my bag open.)

9. Squeeze dough to a bottom corner of the bag and twist and pinch the bag at the top of the dough to create pressure. Snip the corner to approximately the diameter of a dime.

10. Standing directly above your prepared baking sheet, position the tip of the bag to kiss the parchment. Gently squeeze bag from the top, releasing the dough, while simultaneously and slowly drawing the bag upwards.
 

11. Continue piping mounds on the baking sheet with 2" of space between each one.

12. Dip your finger into the egg wash and gently push down each of the unruly tails that formed on your mounds. With a pastry brush, brush the top of each mound with egg wash.

13. Sprinkle finely shredded cheese on top.
 

14. Place baking sheets into the preheated oven, with the racks positioned at 1/3 and 2/3 distance. Bake for 15 minutes at 425 degrees. Carefully turn the pans in the oven to ensure even cooking. Be gentle! You don't want to bang them around and have any collapse - they are still fragile at this point. Turn oven down to 375 degrees and continue to cook for 10 minutes more, until beautifully golden brown and hollow on the inside.

Enjoy immediately or store in an airtight container, and rewarm in a 350 degree oven for 8 minutes.

Chicken Salad by Cynthia Raub

Print Friendly and PDF
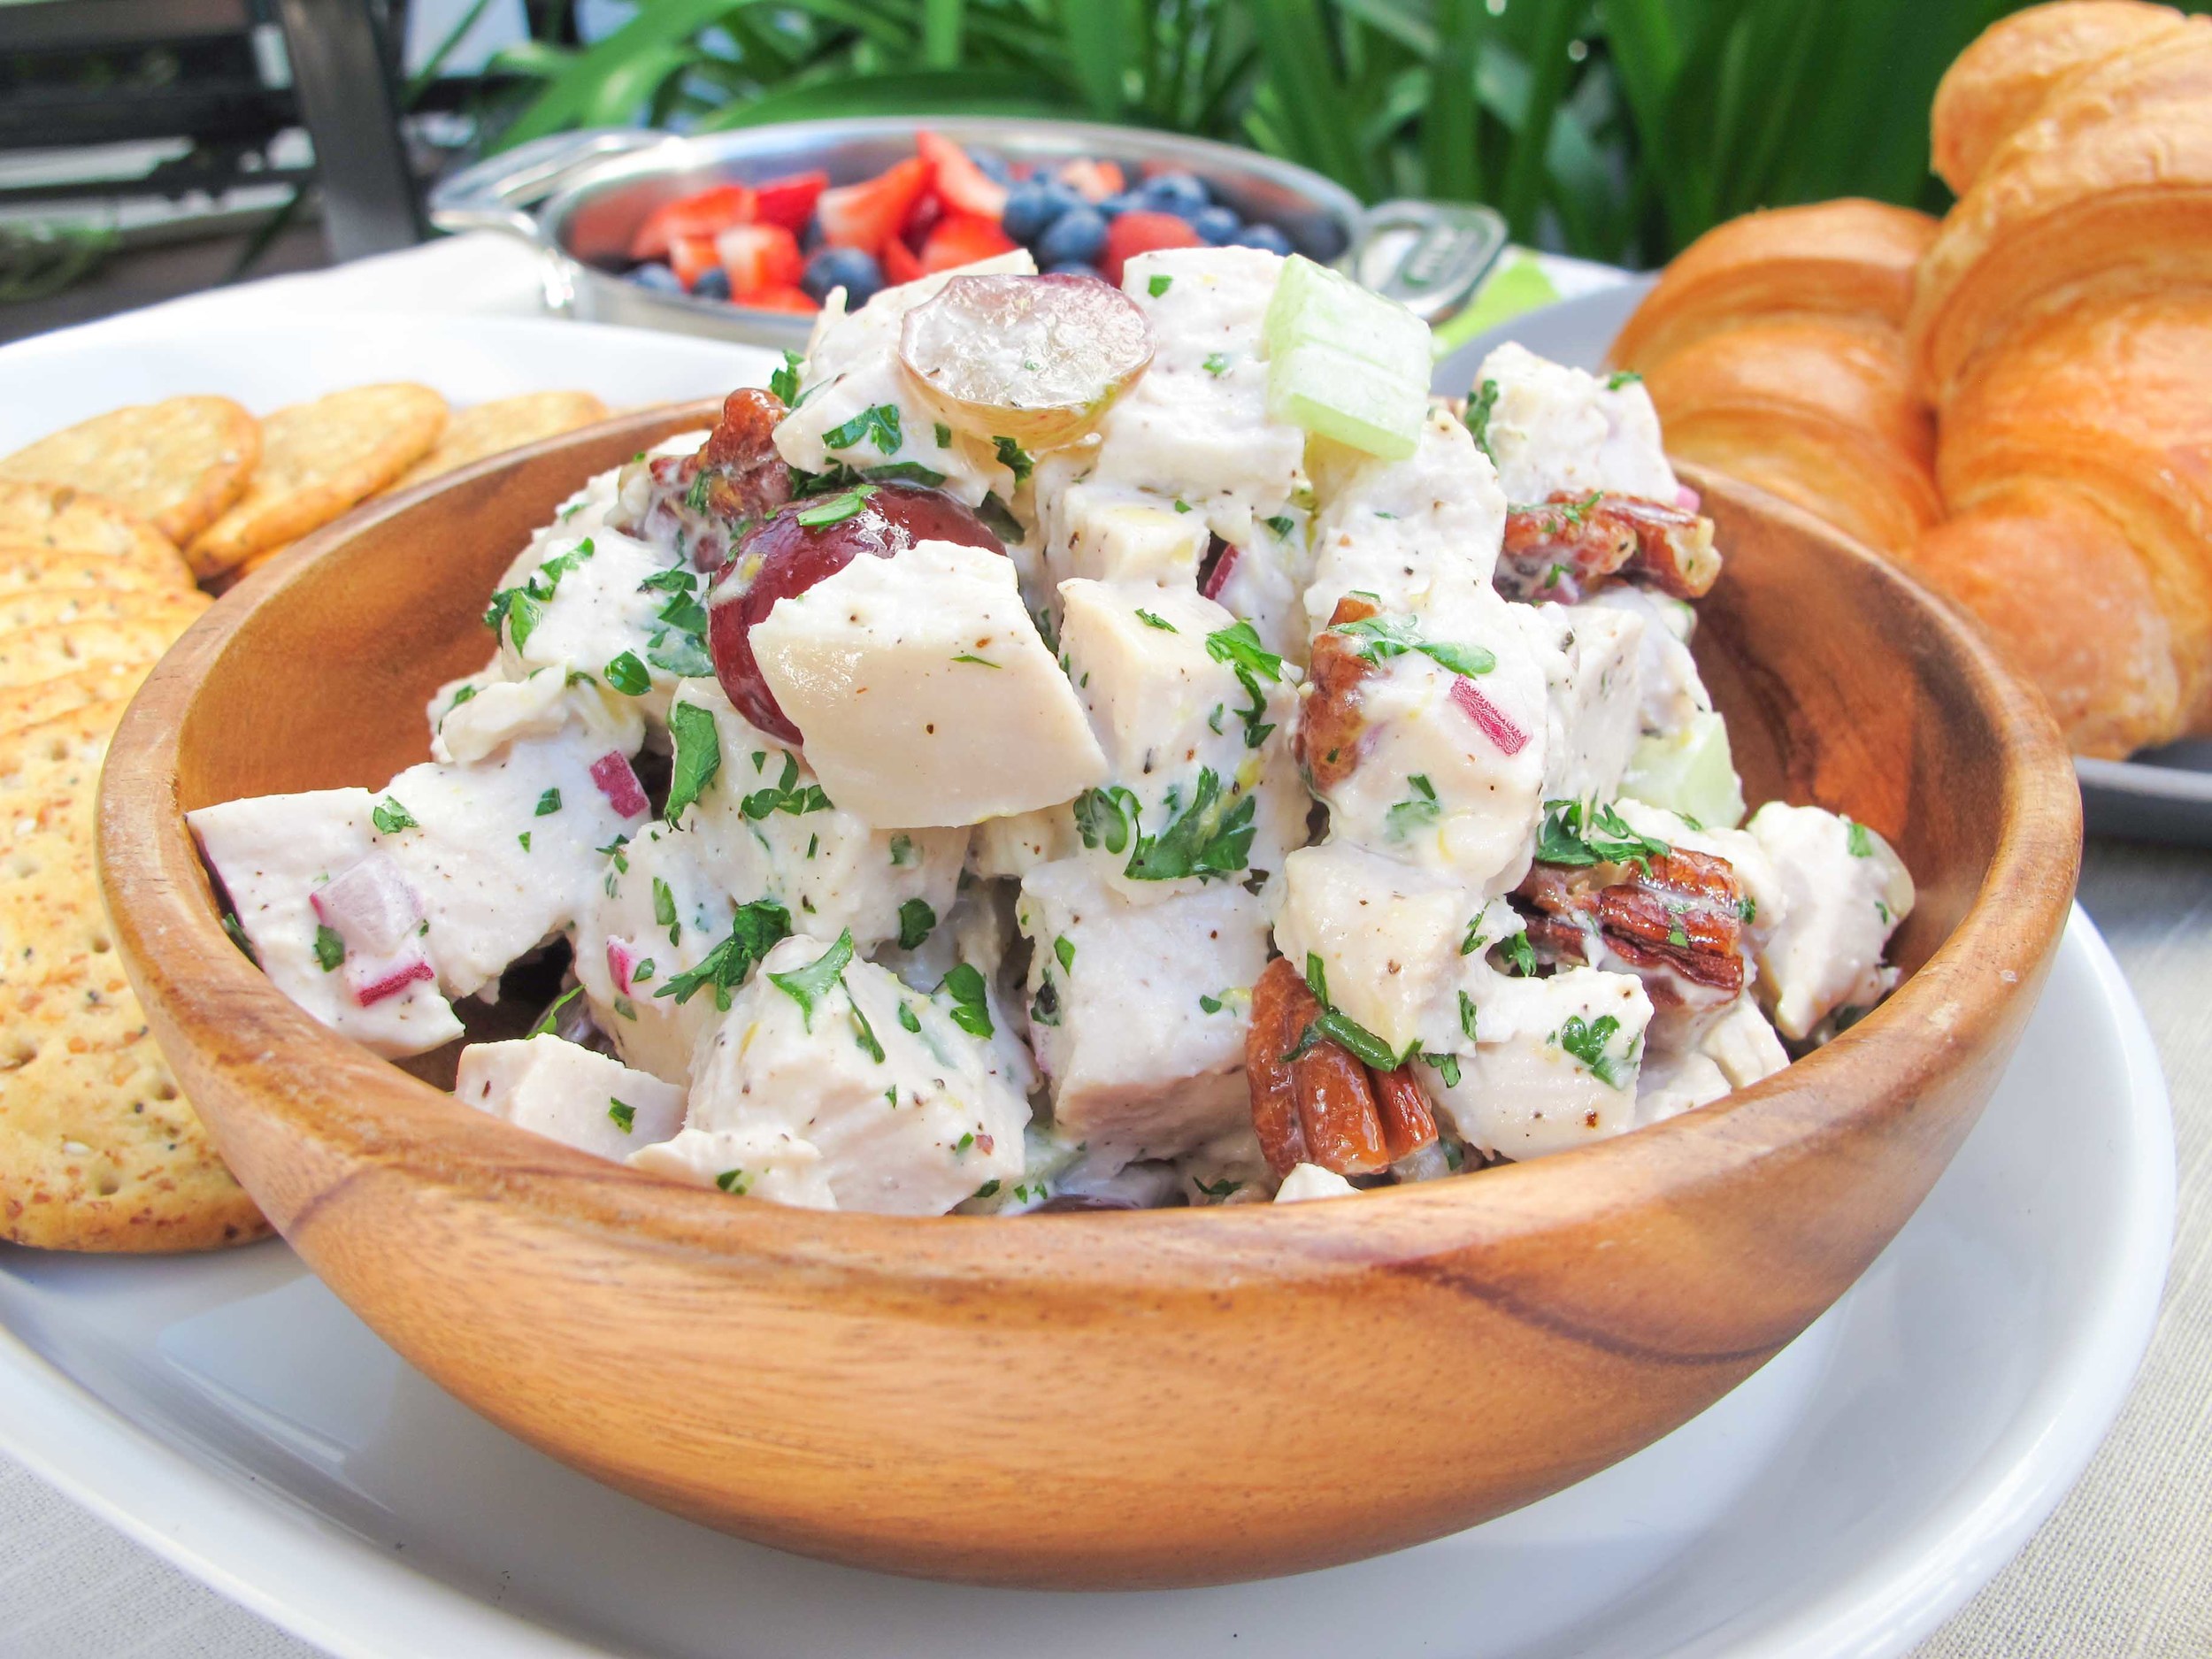
chicken salad recipe with croissants and crackers

Is there anything to dislike about chicken salad? Unless you are a vegetarian or vegan, or you don't care for mayonnaise (Amy . . . ), what is there not to love? Tender supple chicken accompanied by a crisp crunch of celery, a little sweetness from the fruit of choice, all brought together by a delicate mayonnaise dressing. Ahhh! Sounds like the perfect lunch or snack to me. I love sandwiches because they deliver the perfect bite and I especially have a thing for loosely filled sandwiches. I'm always looking for more recipes to make that keep well, and are easy to make larger quantities without much more work. This is one of those recipes and I promise it will be a crowd favorite, unless the crowd is vegetarian or hates mayonnaise (Amy . . . ).

Notes: This recipe requires a fair amount of chopping, but it comes together in a cinch. It involves very little to no cooking, depending on what chicken you choose to use. In a pinch, you can always shred chicken from a store-bought rotisserie bird or you can buy prepared chicken meat; however, I would strongly suggest you try the simple poaching method, (recipe below,) to get tender chicken and a delicious broth simultaneously with hardly any extra work. The grapes in this recipe can also be substituted with other fruit such as diced green apple or dried cranberries. I love chicken salad on a croissant because, why not? But, it's also a dream on sliced white bread, a simple roll, or on crackers.


Time: 20 minutes
Yield: 4 cups

1 tablespoon lemon zest
2 tablespoons lemon juice
1/2 cup mayo
1 1/2 teaspoon salt
1 teaspoon black pepper
1 teaspoon sugar
2 tablespoons chopped parsley
1/3 cup red onion, finely diced
1/2 cup toasted pecans, roughly chopped
3 cups (about 2 pounds) poached chicken, diced (Recipe Below)
1/2 cup celery, small dice
3/4 cups grapes, halved

In a small bowl, make the dressing by combining lemon zest, lemon juice, mayonnaise, salt, black pepper, sugar and parsley. Set aside.

In a large bowl, combine red onion, pecans, chicken, celery, and grapes. Pour dressing over chicken and stir to combine. Taste and adjust for seasoning. 

Serve as a sandwich on a roll, croissant or sliced bread; or with crackers as a light side or appetizer.

Poached Chicken

2 pounds chicken breast (about 3 moderately sized breasts)
1/2 carrot
1 celery rib
1/2 onion
10 parsley stems
1 teaspoon black peppercorns
1 tablespoon salt
Water

Place chicken in a large pot and cover with water by 1 inch. Scatter carrot, celery, onion, parsley stems and peppercorns on top. Season with salt. 

Turn heat to medium high and bring the pot to a simmer. Allow to simmer for 3 minutes, then turn off the heat and cover the pot with a tight fitting lid. Set aside and allow chicken to finish cooking in the hot liquid. Leave the chicken to cool in the pot, about 1 hour. 

Remove chicken and dice into 1/2 pieces. Strain liquid from vegetables for a beautiful and easy broth.
 

Flatbread with Chicken Shawarma, Eggplant, and Caramelized Onions by Cynthia Raub

Print Friendly and PDF

Recently, I got an email from NYT Cooking that was sharing Sam Sifton's Oven-Roasted Chicken Shawarma. It is one of those invaluable and easy pantry dishes that come together with very little prep and even less hands-on cooking. Throw marinade and chicken into a bag, let sit, dump on a sheet tray and toss it in the oven. And then what emerges is fragrant, multi-dimensional, and tasty chicken. The chicken is highly versatile as it can be served alongside typical Mediterranean sides and dishes like pita, cucumber and tomato, hummus, and rice. Or, I thought, you could throw it on a flatbread (a.k.a. pizza dough) and feel like a real, true and actual genius. Do you know what else is genius? Outsourcing the luscious spread to marry the flatbread and chicken together. You see, I am all too familiar with Amy's love for eggplant and I decided to exploit it. I told her I was planning on making the chicken shawarma, and I thought about putting it on a flatbread but that's where my ideas ended. Dang, shoot, crud - I'm plum out of ideas! Oh what could possibly be irresistibly delicious to spread on the flatbread? Then like a horse out of the gate, Amy threw out a dozen ideas, and it ended with roasted eggplant with caramelized onions. That was it. We are going to make this together, eat it, and be happy.


Notes: I used this recipe for the flatbread and pre-cooked the bread before adding any of the toppings. Like pizza, flatbread can be topped with nearly anything, so in the words of Melania Trump (just kidding, FLOTUS Michelle Obama) about flatbread toppings, "the only limit to your achievement is the strength of your dreams and your willingness to work for them." #foodwisdom


Read More: The Shared Craving


Time: 15 minutes to assemble
Makes 2 flatbreads

2 flatbreads, pre-baked
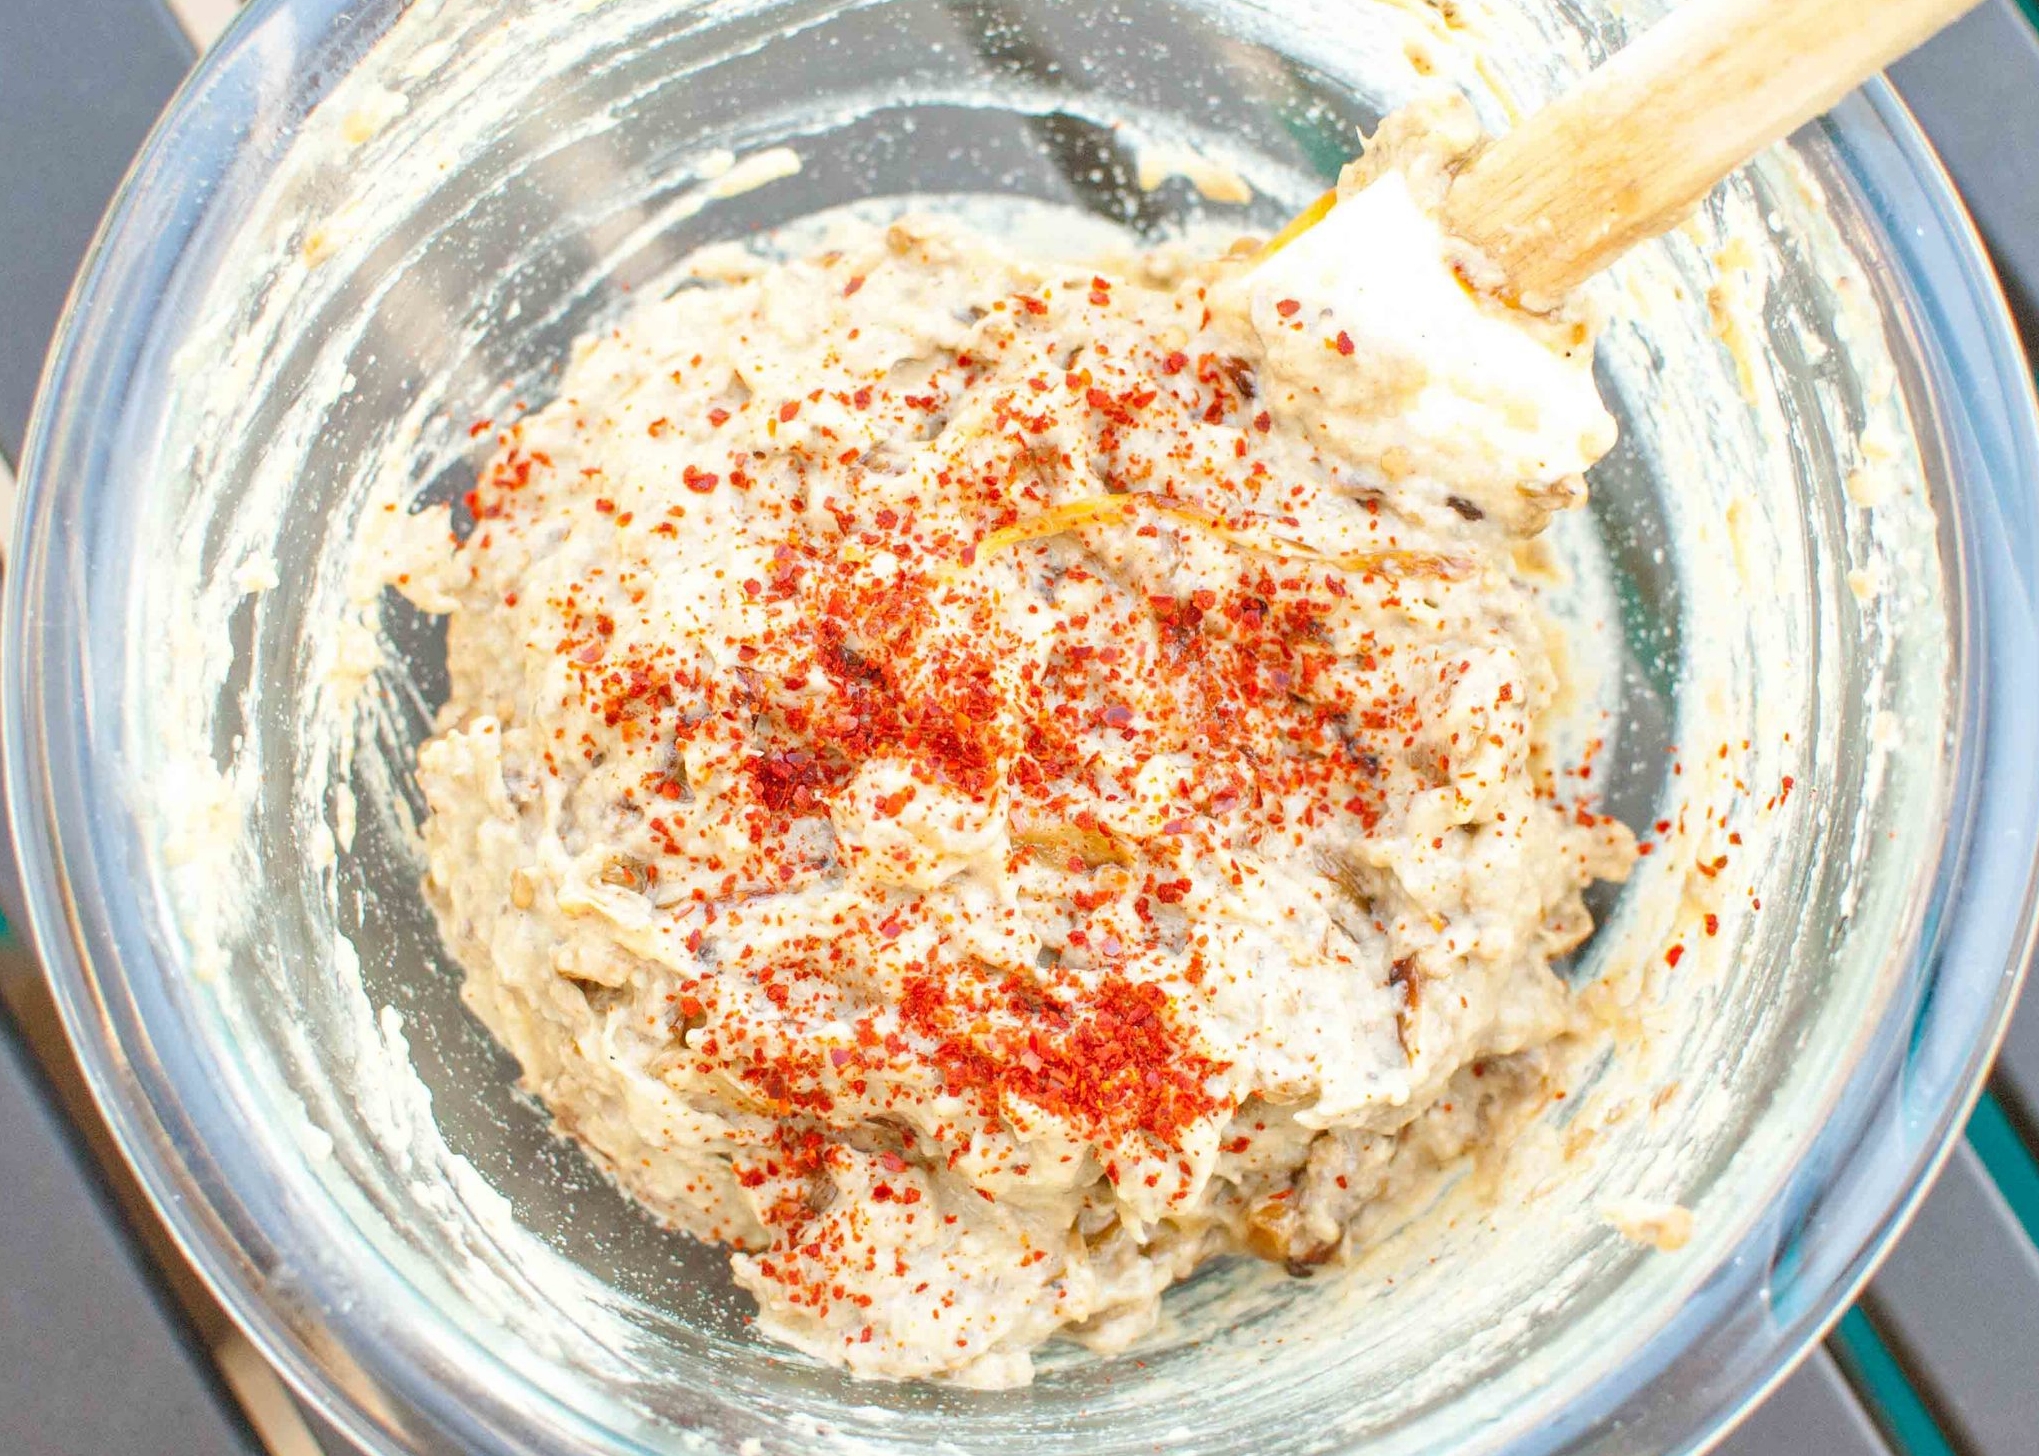
1 cup Eggplant Dip with Caramelized Onions and Tahini
1 1/2 cups shredded Chicken Shawarma
1 cup crumbled feta cheese
1/4 cup mint, chopped or chiffonade
Olive oil for finishing
Lemon wedges for serving

Preheat oven to 400 degrees. Place pre-baked flatbread dough on a full sheet tray. Spread eggplant dip generously over each flatbread and top with shredded chicken shawarma. Split feta between the two flatbreads and sprinkle evenly. Drizzle or brush edges of crust with olive oil.

Put the flatbread in the oven and cook until edges of the bread are golden and crisp and the spread, chicken and cheese are warmed through, about 6-8 minutes. Slice the flatbread and garnish with mint chiffonade and lemon wedges. 

Buttery Soft Pretzels by Amy Cantu

Print Friendly and PDF

I fell in love with the soft, chewy, buttery, salty goodness that are these pretzels, the moment I sank my teeth into them. To make these even more appealing, they can be made from start to finish in an hour. There's no fussy waiting for an hour or more begging the dough to rise or fiddly boiling them in pot of baking soda water. The process has been streamlined to get these beauties in your mouth as quickly as possible!

Notes: I would not and did not change one thing about this recipe. I do have a couple thoughts on it though. (Don't I always?) I did not have pretzel salt on hand, so I used a very light sprinkling of Fleur de Sel. Coarse sea salt or any other larger crystal finishing salt would work great.

Fun variations - Sprinkle these with cinnamon sugar after brushing the butter onto the pretzels - oh yes! Stir together granulated sugar and finely grated orange/lemon zest, then dust over the buttered pretzels - so zesty! Or shower finely grated parmesan and dried oregano over the buttery tops - oh my!  Add a minced garlic clove to the butter before brushing over the pretzels - mmhmm! Or go the mini-route, and cut the dough into bite-sized pieces for pretzel bites - perfect party food!

These are best eaten the day they are baked and are heavenly if eaten straight from the oven. 


Recipe from King Arthur Flour.

TIme: 1 hour
Yield: 8 pretzels

Dough
2 1/2 cups Unbleached All-Purpose Flour
1 teaspoon salt
1 teaspoon sugar
2 1/4 teaspoons instant yeast
7/8 to 1 cup warm water*
*Use the greater amount in the winter, the lesser amount in the summer, and somewhere in between in the spring and fall. Your goal is a soft dough.

Topping
1 cup boiling water
2 tablespoons baking soda
coarse, kosher or pretzel salt, optional
3 tablespoons unsalted butter, melted

To make dough by hand, or with a mixer: Place all of the dough ingredients into a bowl, and beat until well-combined. Knead the dough, by hand or machine, for about 5 minutes, until it's soft, smooth, and quite slack. Flour the dough and place it in a bag, and allow it to rest for 30 minutes.

To make dough with a bread machine: Place all of the dough ingredients into the pan of your bread machine, program the machine for dough or manual, and press Start. Allow the dough to proceed through its kneading cycle (no need to let it rise), then cancel the machine, flour the dough, and give it a rest in a plastic bag, as instructed above.

To make dough with a food processor: Place the flour, salt, sugar and yeast in the work bowl of a food processor equipped with the steel blade. Process for 5 seconds. Add the water, and process for 7 to 10 seconds, until the dough starts to clear the sides of the bowl. Process a further 45 seconds. Place a handful of flour in a bowl, scoop the slack dough into the bowl, and shape the dough into a ball, coating it with the flour. Transfer the dough to a plastic bag, close the bag loosely, leaving room for the dough to expand, and let it rest at room temperature for 30 minutes.

While the dough is resting, prepare the topping: Combine the boiling water and baking soda, stirring until the soda is totally (or almost totally) dissolved. Set the mixture aside to cool to lukewarm (or cooler).

Preheat your oven to 475°F. Prepare a baking sheet by spraying it with vegetable oil spray, or lining it with parchment paper. Transfer the dough to a lightly greased work surface, and divide it into eight equal pieces (about 70g, or 2 1/2 ounces, each). Allow the pieces to rest, uncovered, for 5 minutes. Pour the baking soda/water into a 9" square pan.

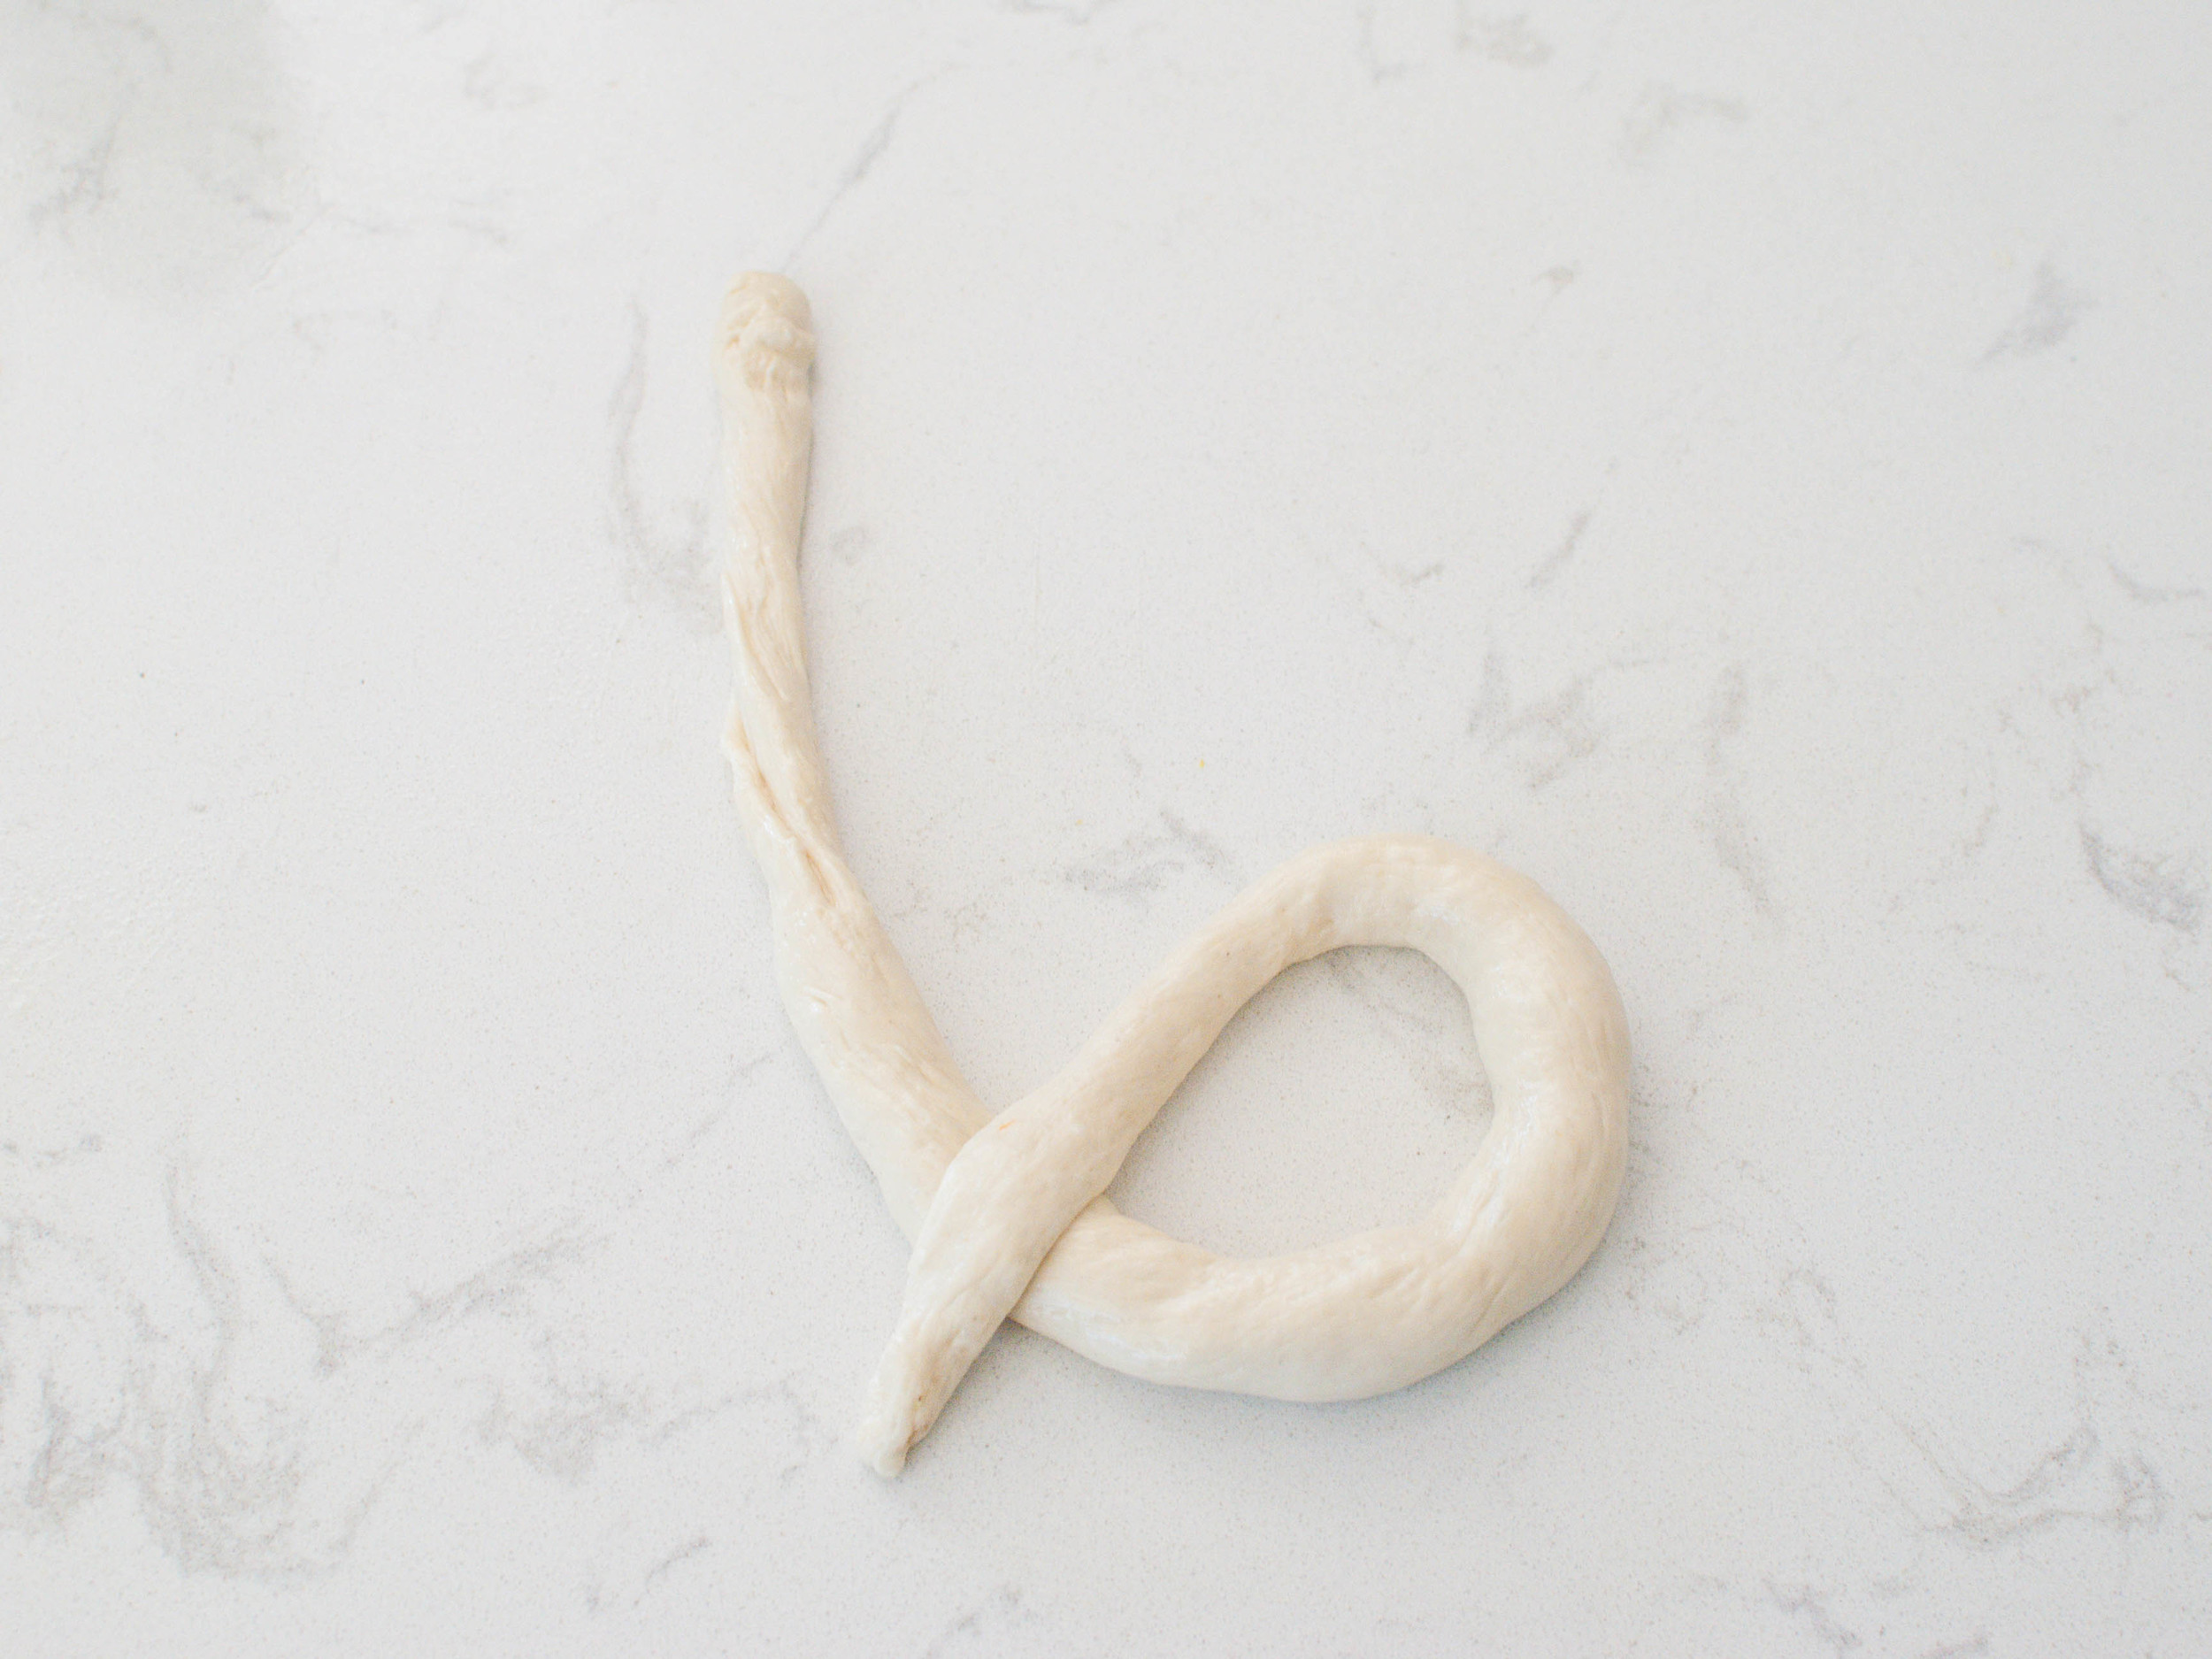
Roll each piece of dough into a long, thin rope (about 28" to 30" long), and twist each rope into a pretzel. Working with 4 pretzels at a time, place them in the pan with the baking soda/water, spooning the water over their tops; leave them in the water for 2 minutes before placing them on the baking sheet. This baking soda "bath" will give the pretzels a nice, golden-brown color.

Transfer the pretzels to the prepared baking sheet. Sprinkle them lightly with coarse, kosher, or pretzel salt, if desired. Allow them to rest, uncovered, for 10 minutes.

Bake the pretzels for 8 to 9 minutes, or until they're a dark golden brown. (If your oven runs hot or you are using a convection oven, start checking at 6 minutes.) Remove the pretzels from the oven, and brush them thoroughly with the melted butter. Keep brushing the butter on until you've used it all up; it may seem like a lot, but that's what gives these pretzels their ethereal taste. Eat the pretzels warm, or reheat them in an oven or microwave.

Tod Mun (Thai Fish Cakes) with Cucumber-Peanut Relish by Amy Cantu

Print Friendly and PDF

These crispy, spicy fish cake fritters are so fun to eat! They are perfectly sized for a shared appetizer or for the fingers of little children. We made them less spicy for the preschool-set, but feel free to adjust to your fiery tastebuds' delight. The long beans add a bit of extra texture to the fritters, and the cucumber relish infuses each bite with sweetness, tanginess, spiciness, and crunch!

Notes: Since the heat and saltiness of curry pastes and fish sauce can vary a lot from brand to brand, I recommend frying a little tester patty to see how it tastes and then adjusting the seasonings to your liking. Start with the smaller amounts and then ratchet up from there.

Long beans are found in Asian grocery stores, but you can substitute green beans if you can't find them. Fish paste is found at the seafood counter or frozen section of Asian grocery stores. If you can't source already prepared fish paste, you can make your own at home. Buy any firm white fish fillet - grind it up in a food processor or blender with 1-2 ice cubes until you have a fine paste.


Time: 30 minutes
Serves: 4-6 as an appetizer

1 lb fish paste
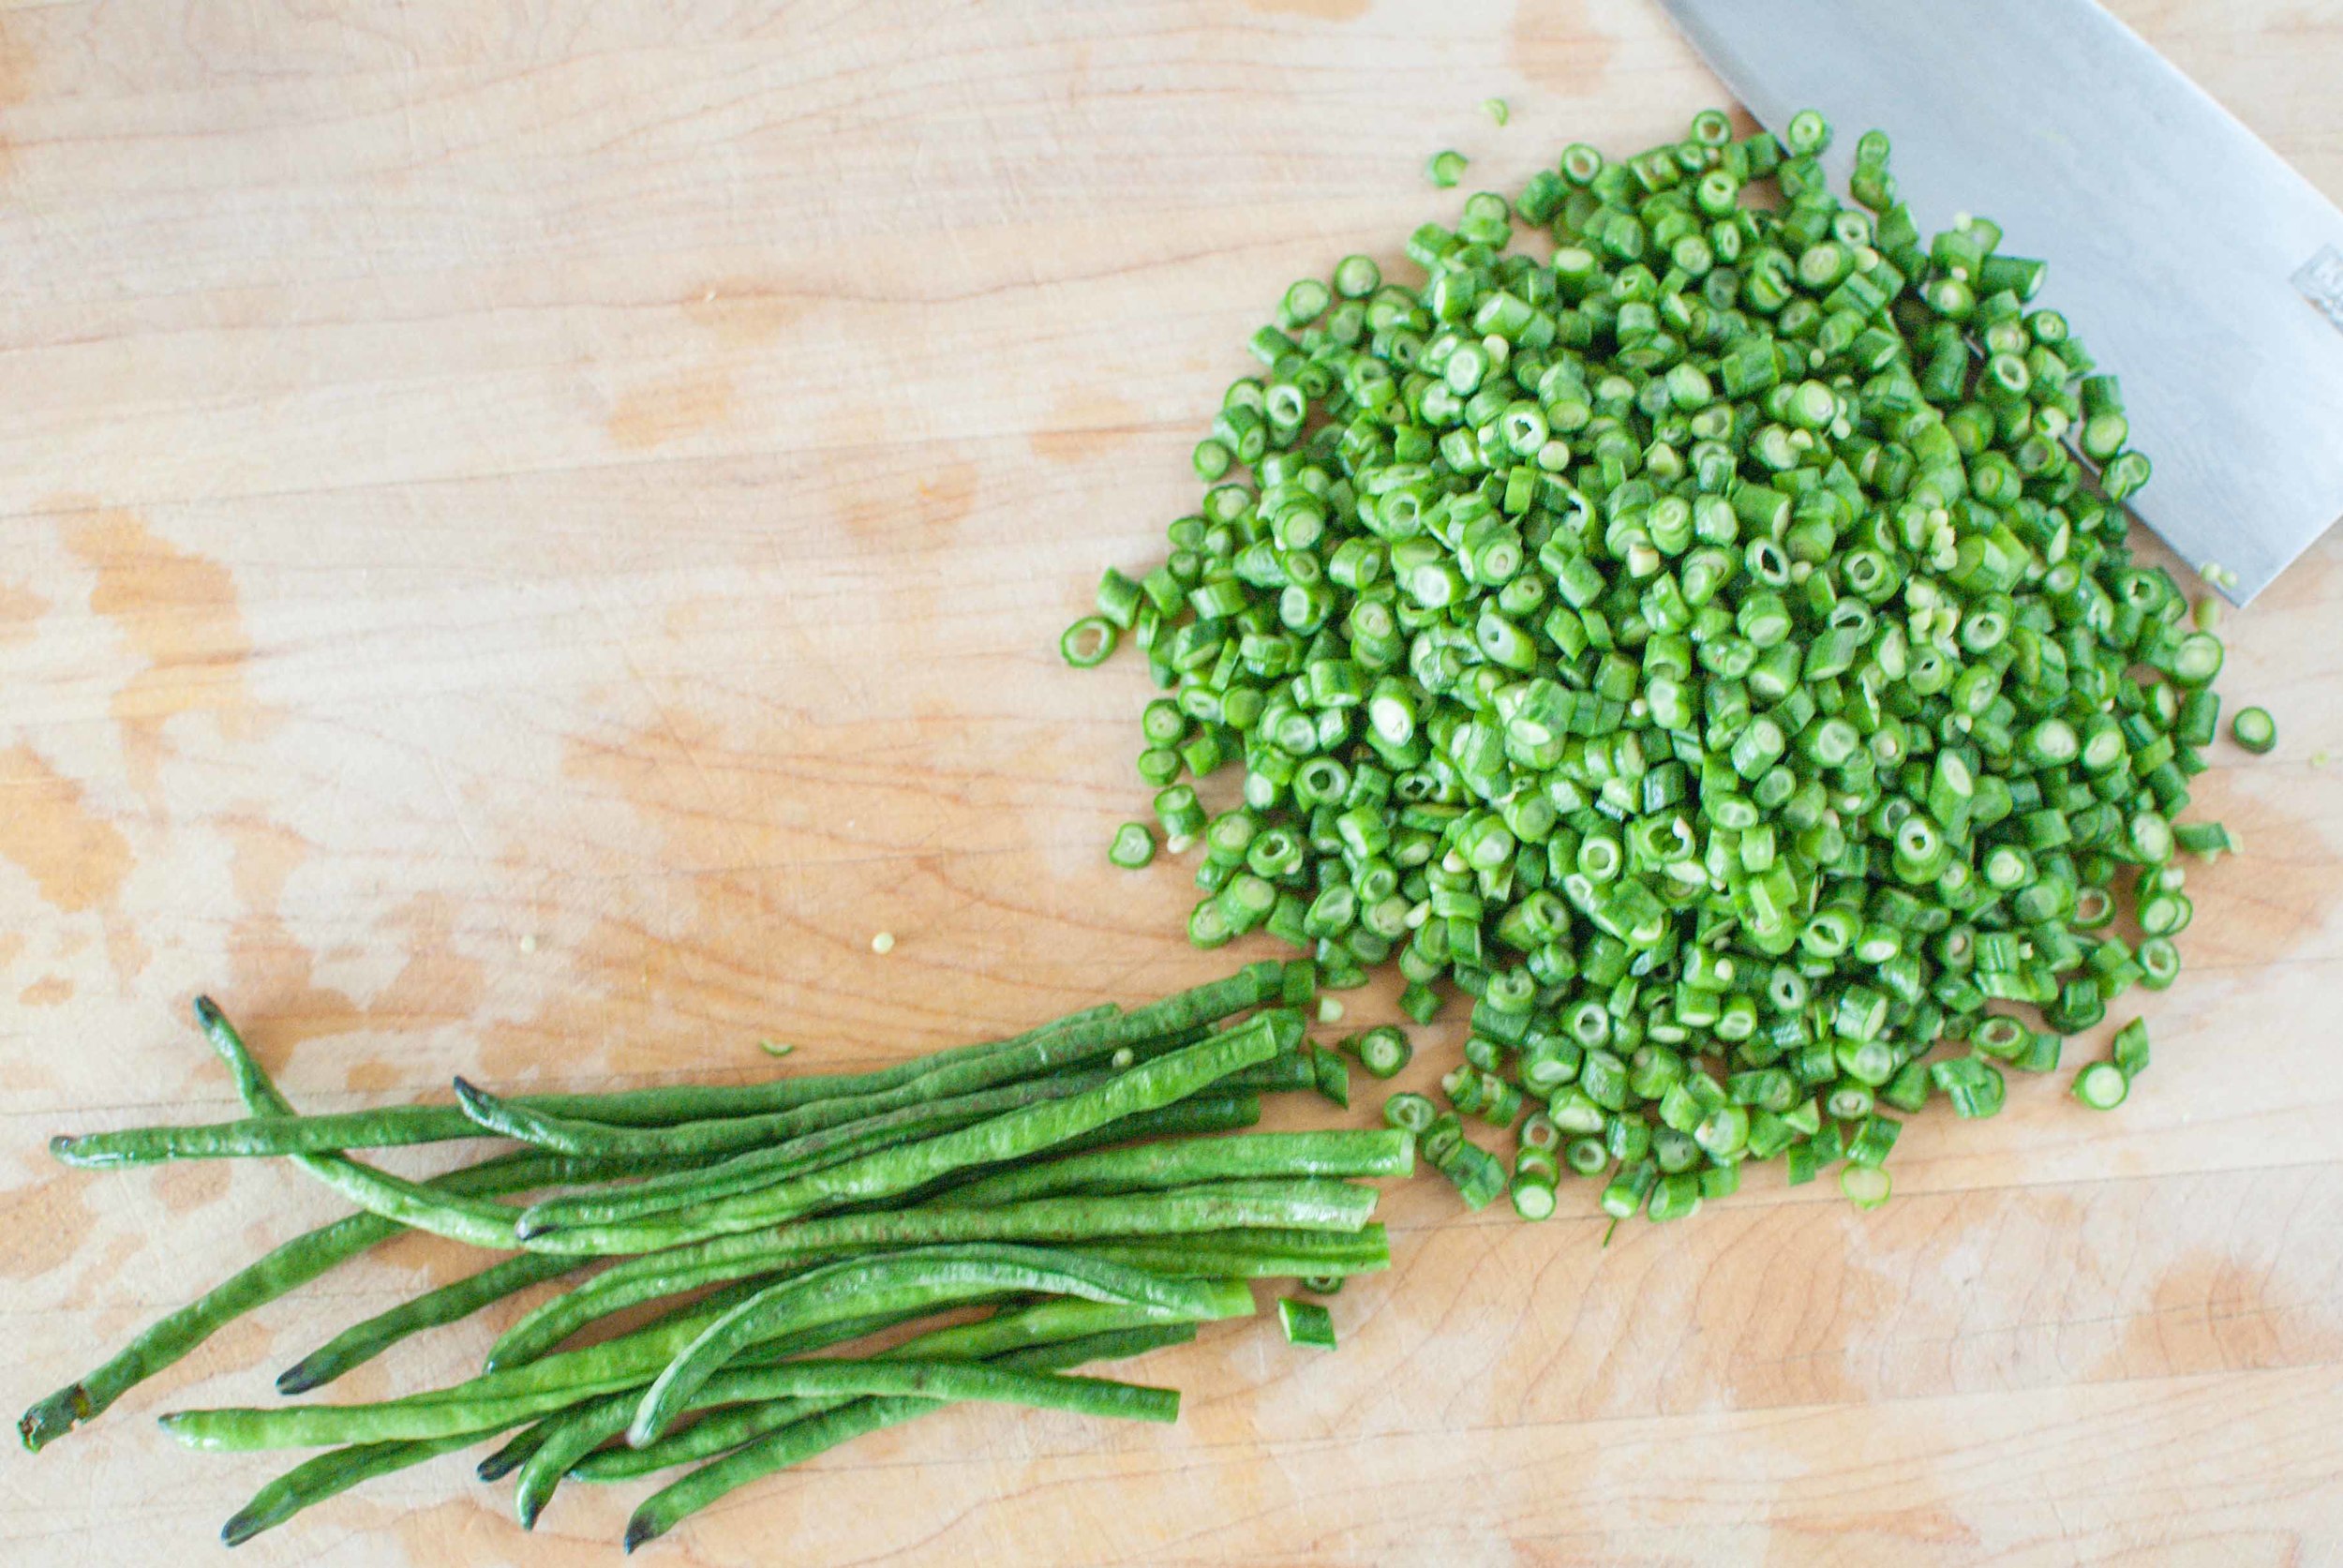
¾ cup long beans, chopped into small pieces
3 tablespoons makrut lime leaves, thinly sliced
1-2 tablespoons red curry paste, to taste
2 teaspoons brown sugar
1 egg lightly beaten
2 teaspoons fish sauce or more to taste
Oil for frying
Cucumber Relish (see recipe below)

Make cucumber relish (see recipe below) and set aside while making the fish cakes

Combine all ingredients in a large bowl. Stir well until ingredients are evenly distributed.

Heat oil over medium-high heat. You will need about 3 inches of oil for frying. Drop a small amount of fish mixture into the hot oil and fry until brown to do a taste test. Different brands of curry paste and fish sauce can vary in saltiness and intensity. Adjust the seasoning to your liking - more curry paste to make it spicier and more fish sauce to make it saltier.

Set cooling rack over a paper-towel lined baking sheet, and set aside. Set a small bowl of water and fish mixture near the stove. Use the water to wet hands. Spoon about 2 tablespoons of the fish mixture into your hands (roughly the size of a golf ball), and flatten into a patty (⅓-½ inch thick). Carefully drop patty into the oil, and repeat, being careful not to overcrowd the pot. Fry the patties until they are puffy and brown. Remove from oil and drain on the prepared rack.

Devour Tod Mun while still hot, topped with Cucumber Relish.

Cucumber Relish

½ lb seedless cucumber (such as English or Persian), peeled, small dice, including watery center
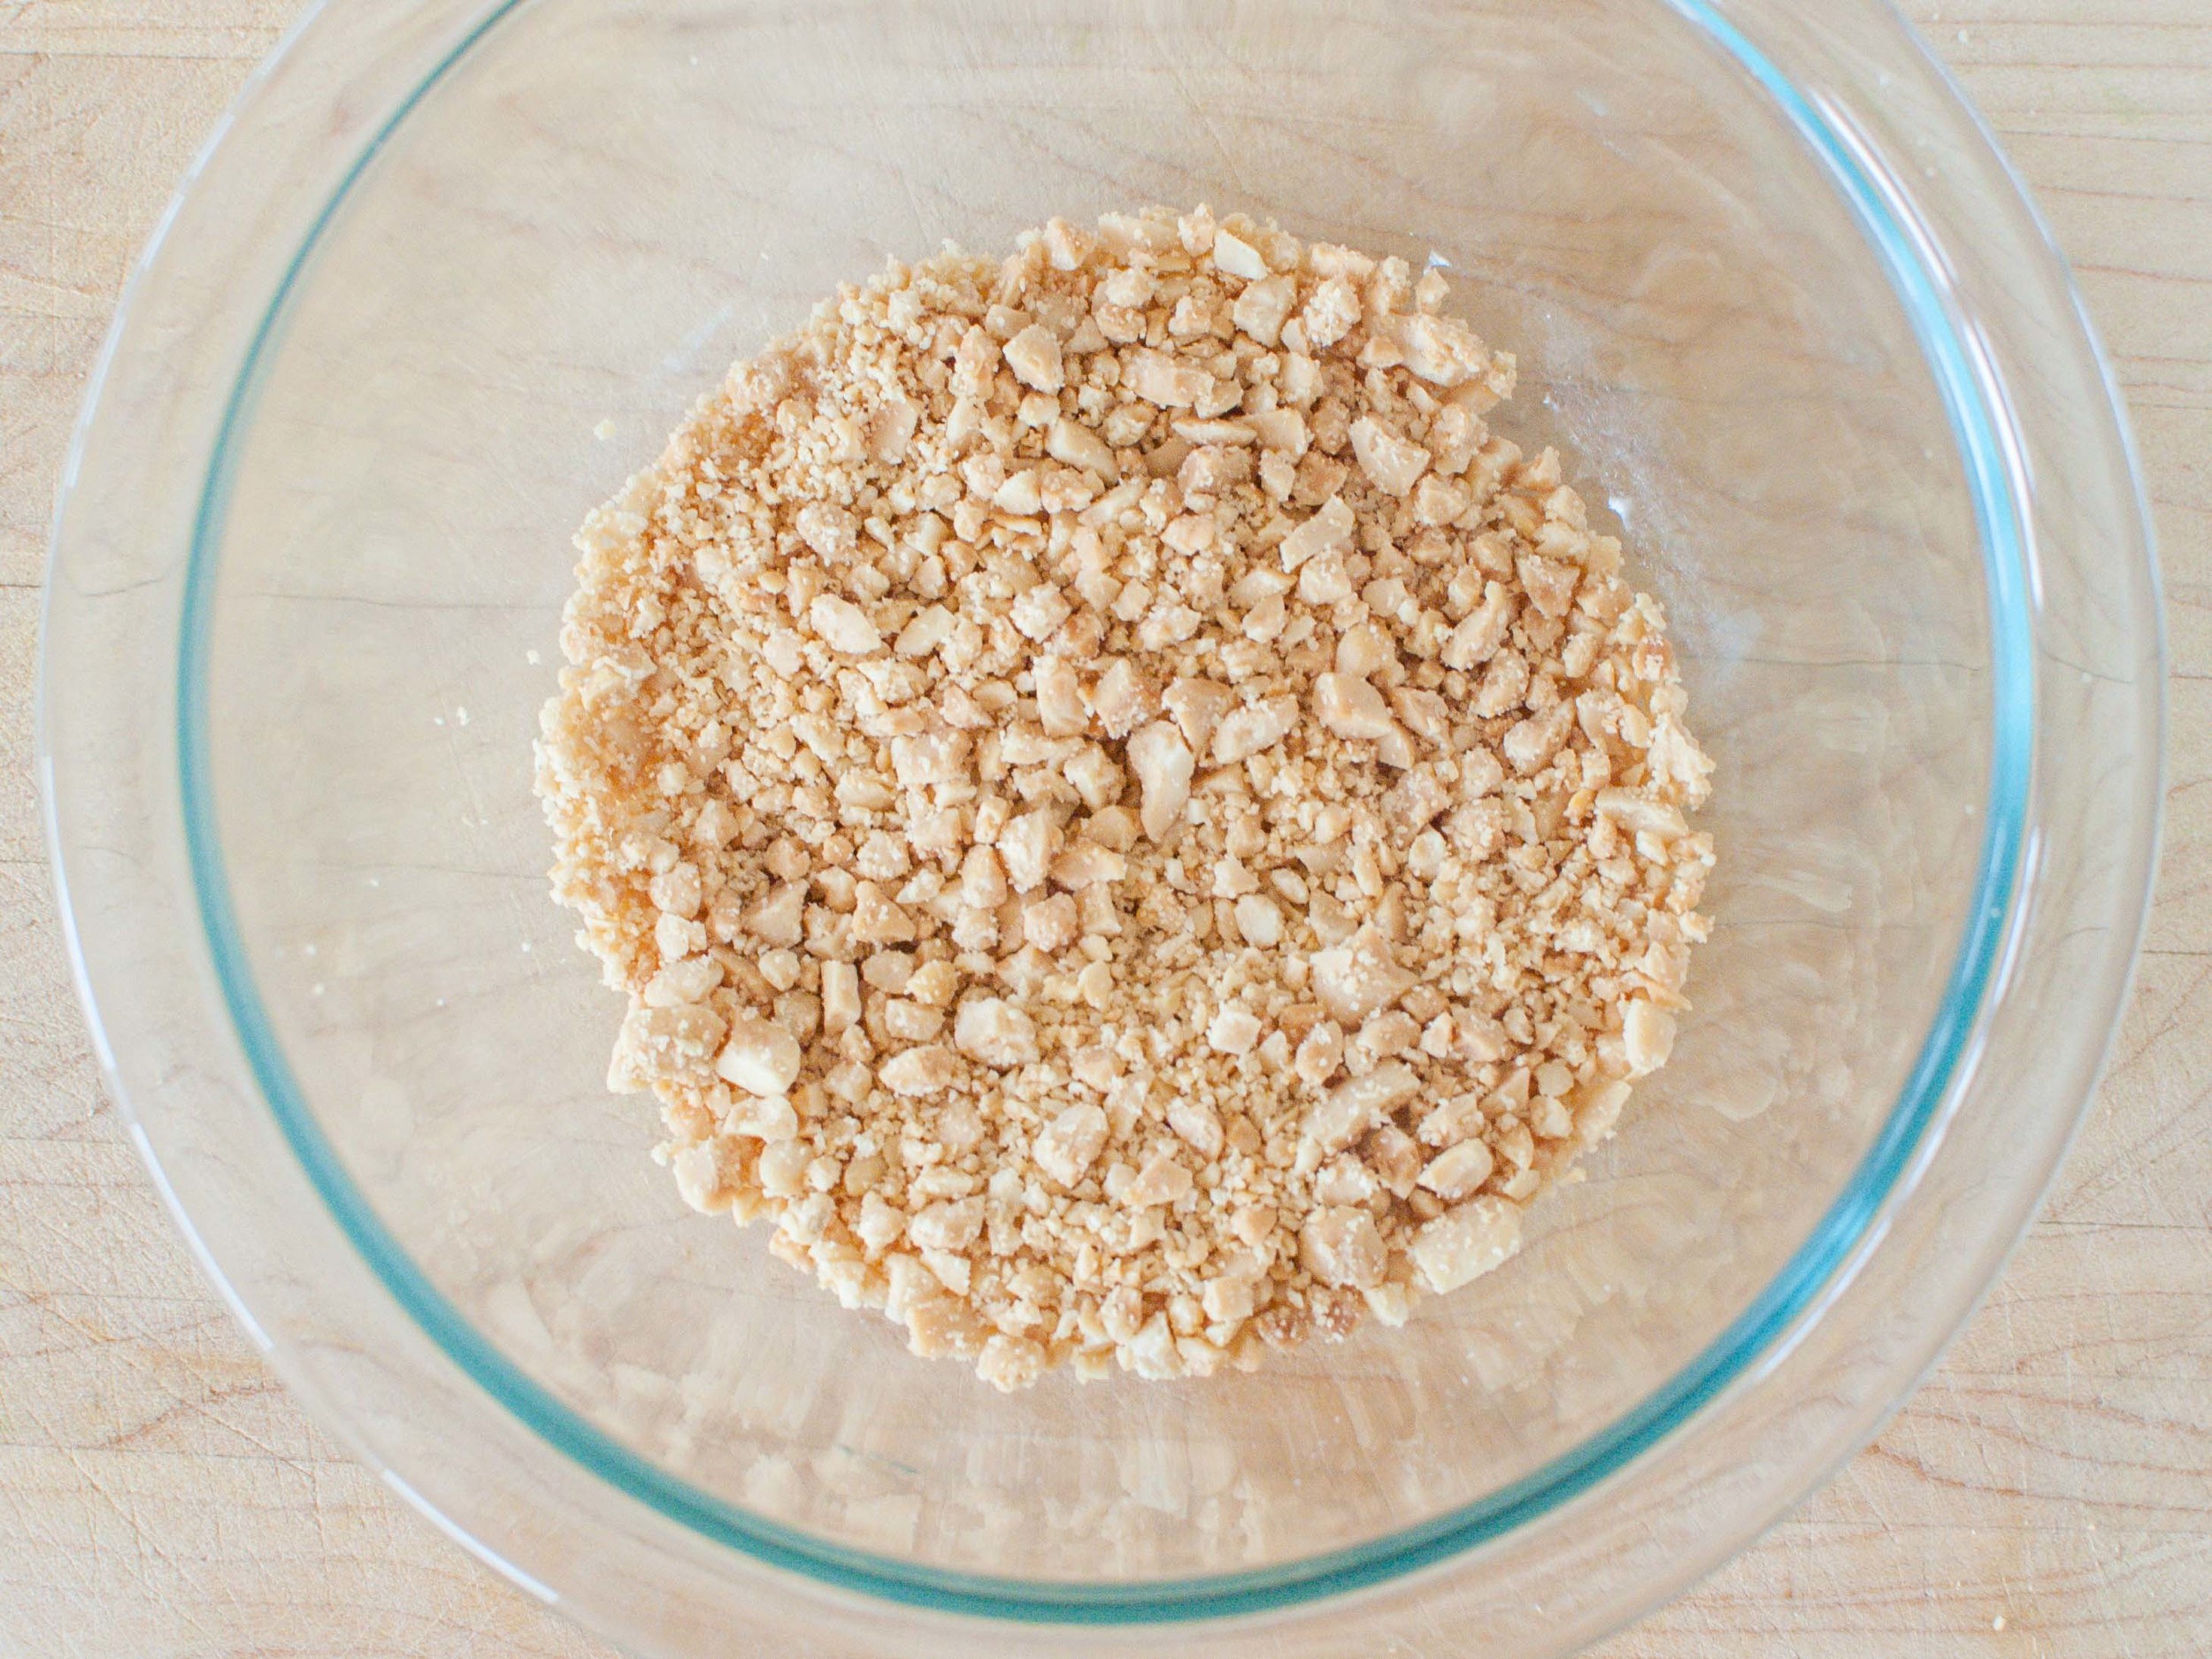
½ cup peanuts, crushed with a rolling pin or finely chopped
2 cloves garlic, minced
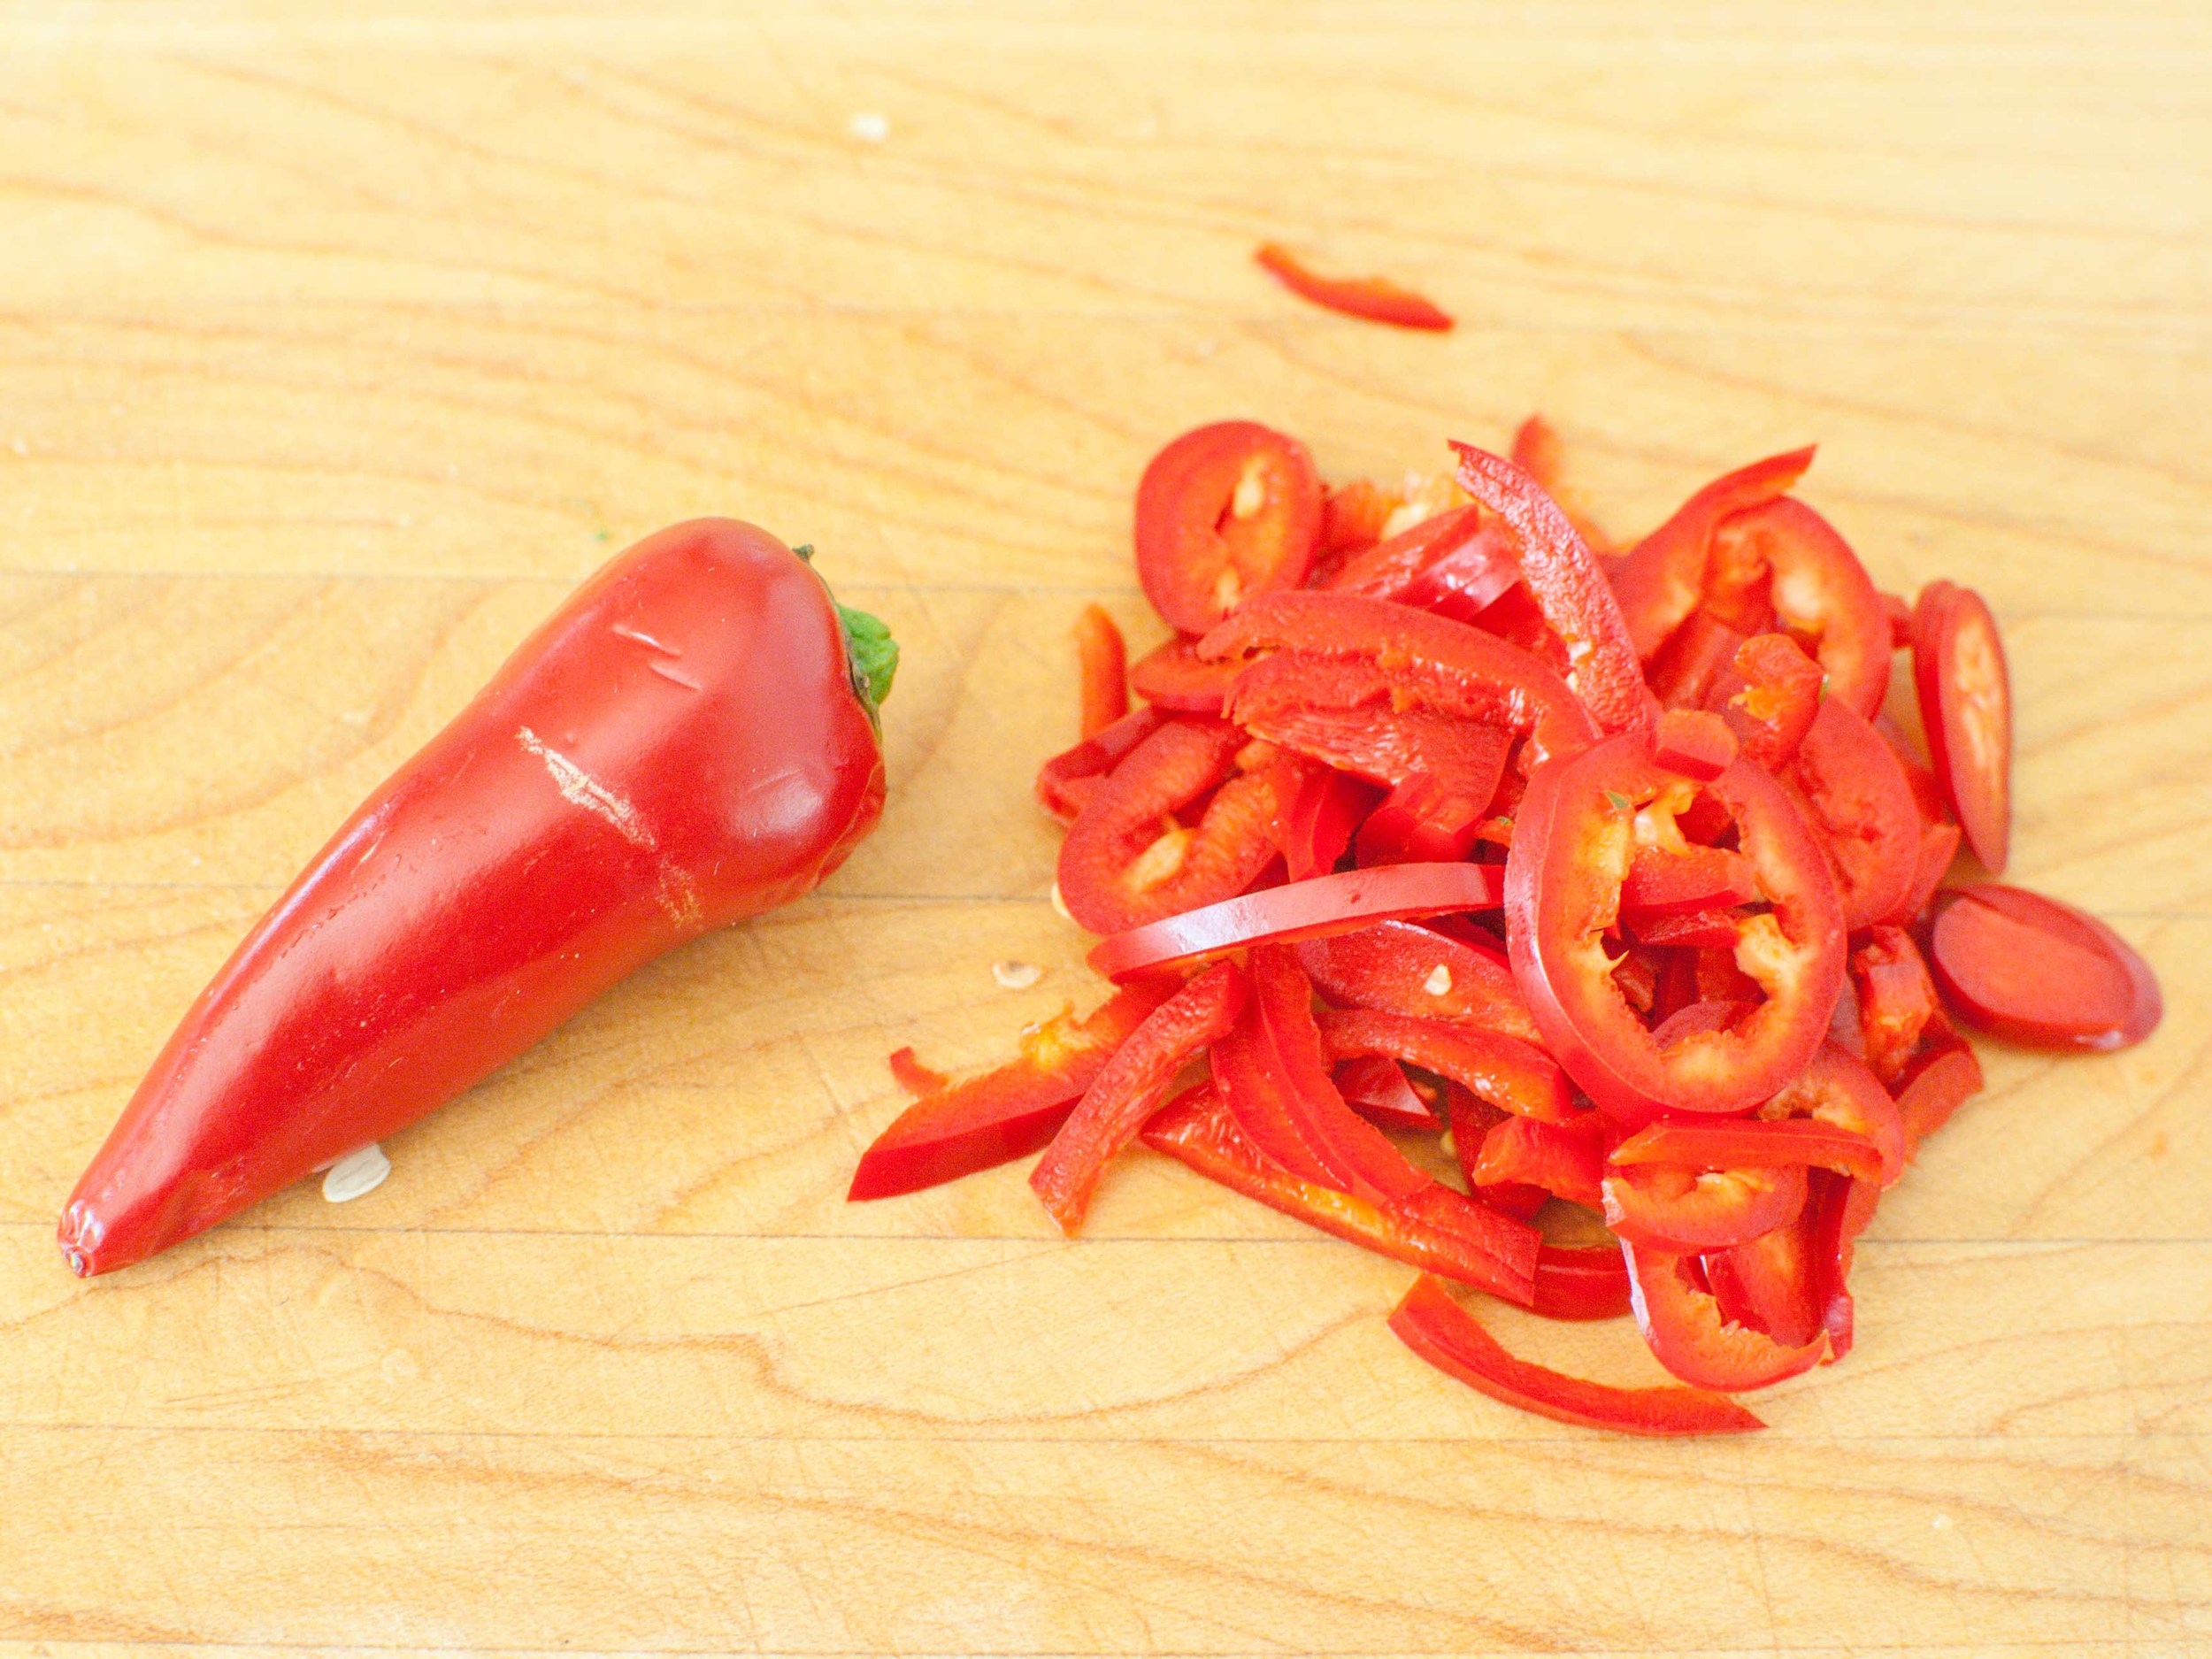
¼ cup red jalapeno, seeded, thinly sliced or 1-2 Thai bird chilies, thinly sliced (jalapeno is much less spicy)
3 tablespoons rice vinegar
2 tablespoons sugar
1 teaspoon kosher salt
¼ cup thinly sliced shallot (about ½ of a large shallot)

Combine all ingredients in a bowl and stir well. Taste and adjust seasonings. Cucumbers will release a lot of liquid, which creates a sauce for the Tod Mun. Let sit for at least 10 minutes before serving. 

Salmon Cakes by Cynthia Raub

Print Friendly and PDF


Time: 45 minutes
Servings: 10 as an appetizer, 5 as a meal

1/2 pound salmon (cooked and cooled)
4 tablespoons unsalted butter (divided)
3/4 cup small-diced red onion
1 cup small-diced celery
1/2 cup small-diced red bell pepper
1/2 cup small-diced yellow bell pepper
1/4 cup minced fresh flat-leaf parsley
1 tablespoon capers, drained and chopped
1/4 teaspoon hot sauce (recommended: Tabasco)
1/2 teaspoon Worcestershire sauce
1 1/2 teaspoons crab boil seasoning (recommended: Old Bay)
1 cup breadcrumbs
1/2 cup mayonnaise
2 teaspoons Dijon mustard
2 extra-large eggs, lightly beaten
Kosher salt and pepper
Lemon (optional)

Place 2 tablespoons of butter, 2 tablespoons olive oil, onion, celery, red and yellow bell peppers, parsley, capers, hot sauce, Worcestershire sauce, crab boil seasoning, 1/2 teaspoon salt, and 1/2 teaspoon pepper in a medium saute pan over medium-low heat and cook until the vegetables are soft, about 20 minutes. Cool to room temperature.

Flake the chilled salmon into a large bowl. Add the bread crumbs, mayonnaise, mustard, and eggs. Add the vegetable mixture and mix well. Cover and chill in the refrigerator for 30 minutes. Scoop into desired size and shape into patties. (I used a 1/4 measuring cup and made 10 good-sized patties)

Heat the remaining 2 tablespoons butter and 2 tablespoons olive oil in a large saute pan over medium heat. In batches, add the salmon cakes and fry for 3 to 4 minutes on each side, until browned. Place on paper towel lined plate, sprinkle with kosher salt. Serve with lemon wedges. 

Recipe adapted from http://www.foodnetwork.com/recipes/ina-garten/salmon-cakes-recipe.html