Sides

Chicken Salad by Cynthia Raub

Print Friendly and PDF
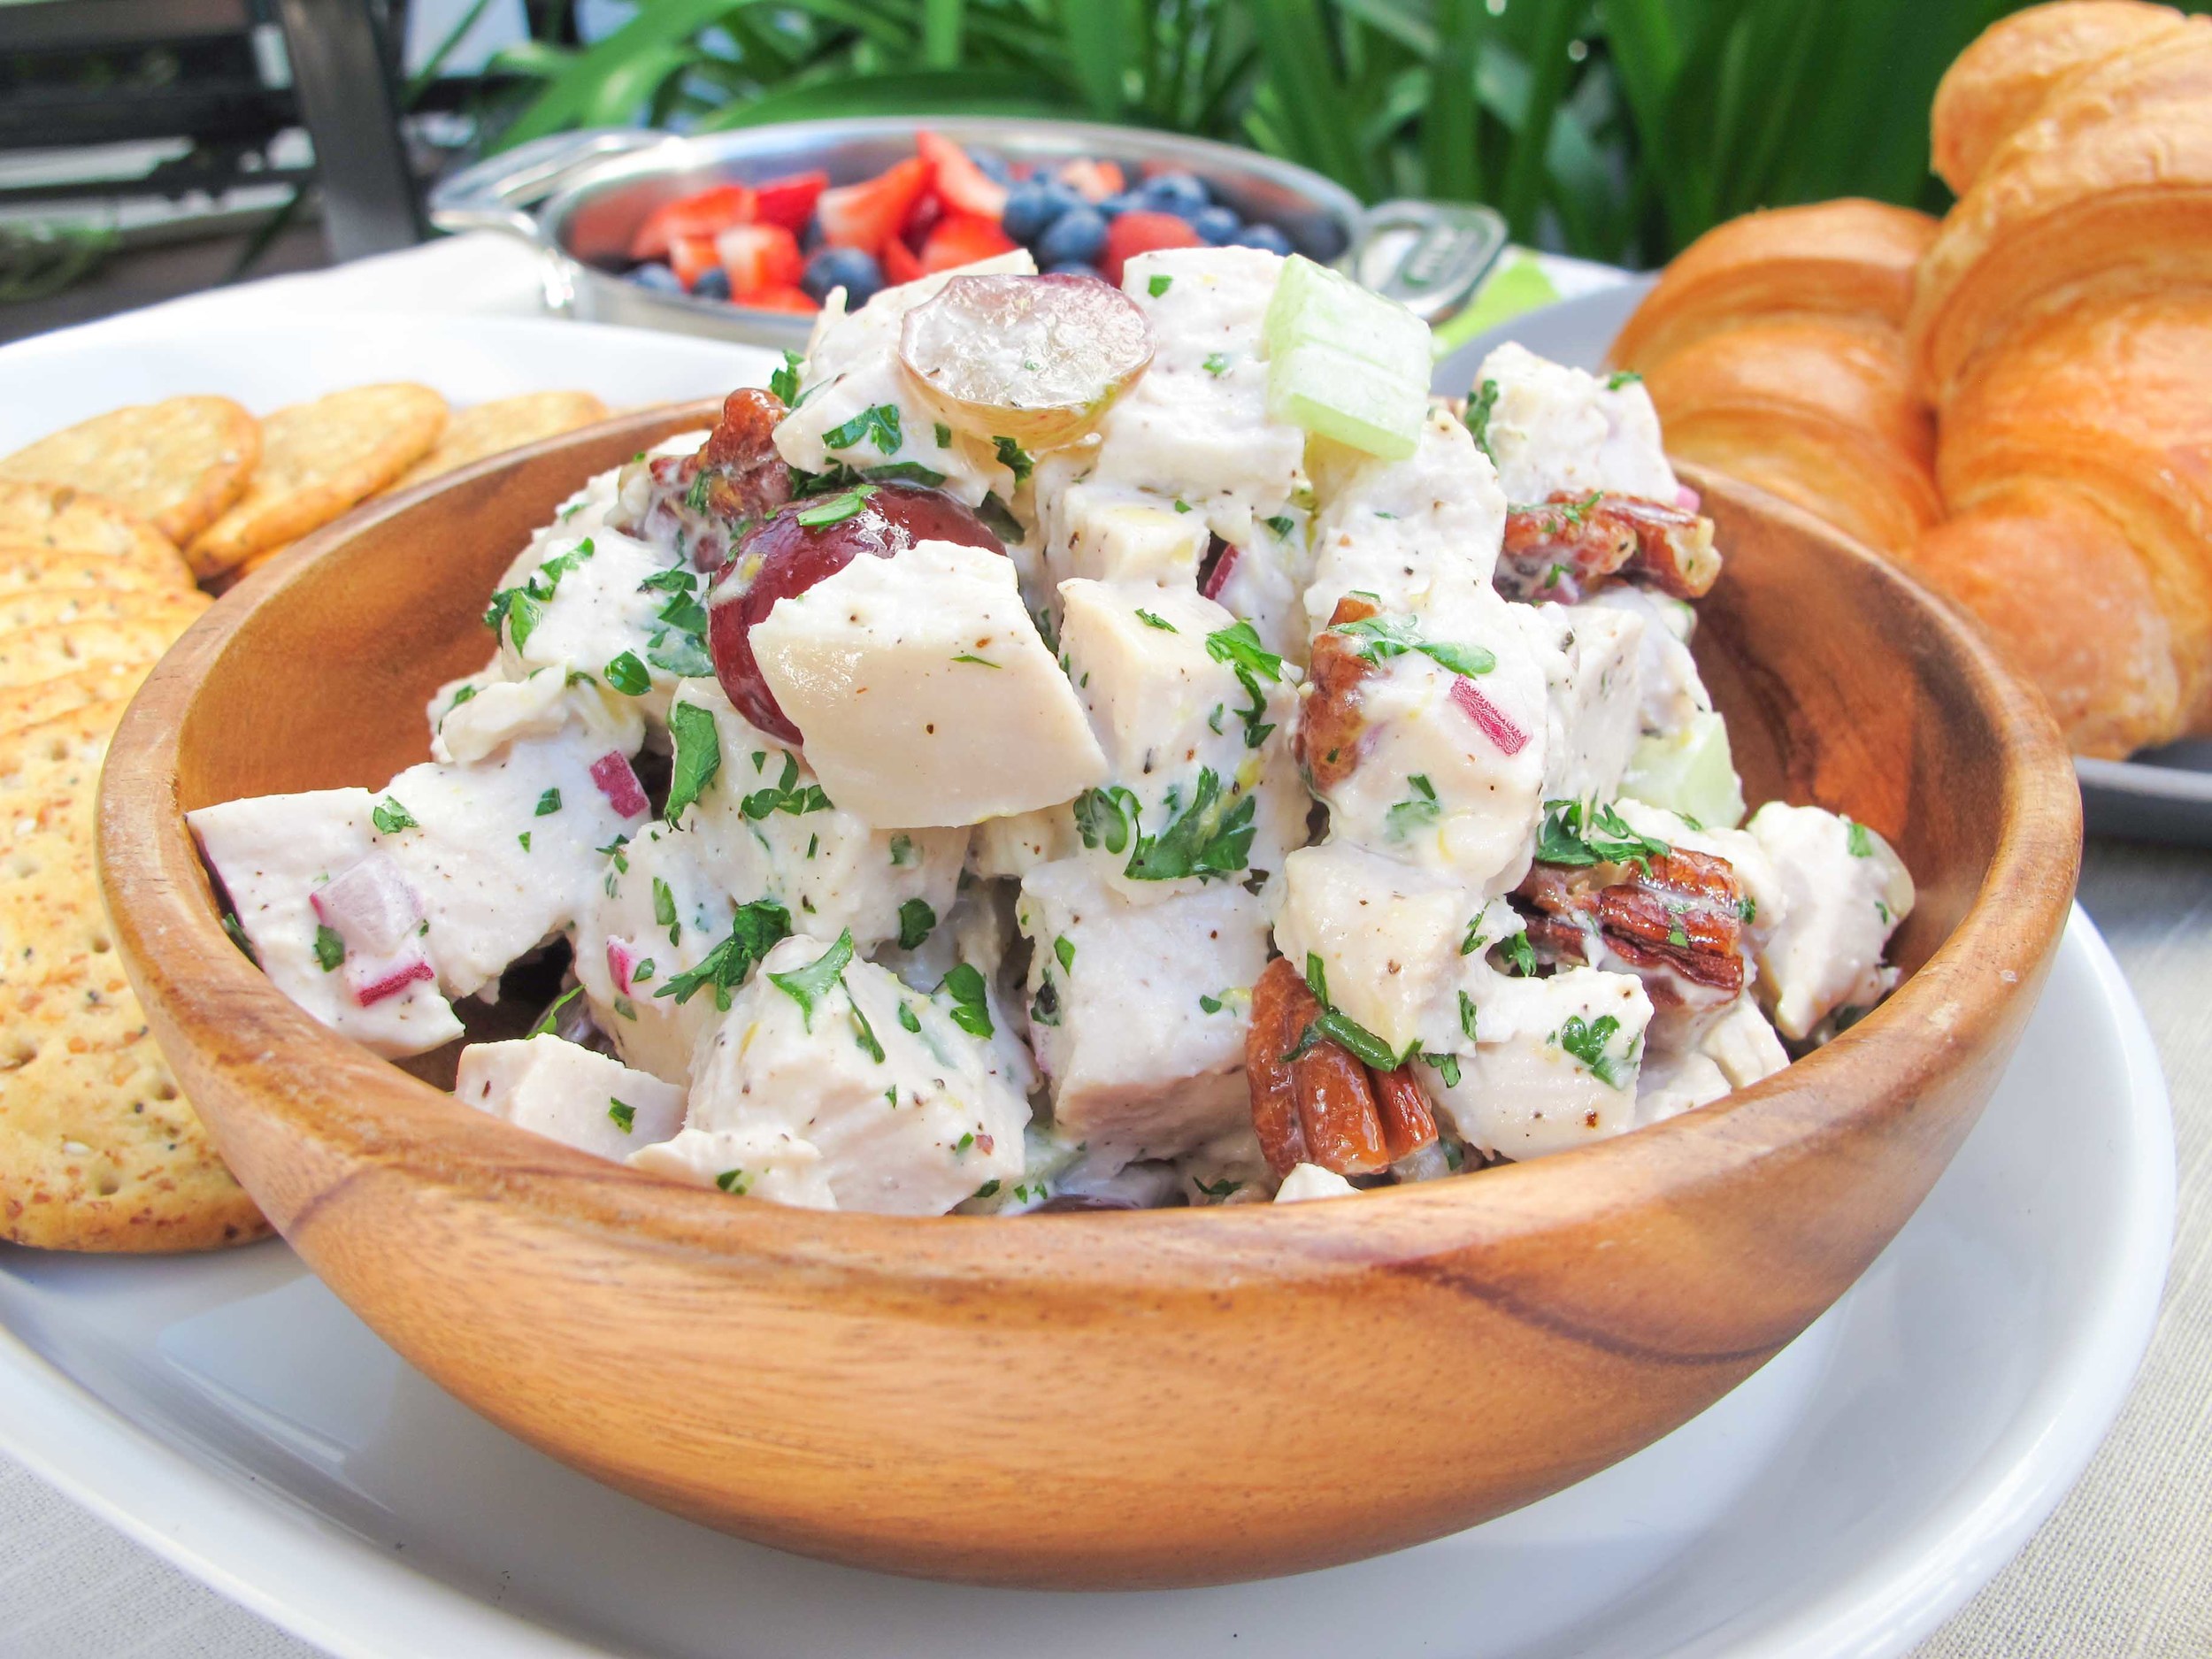
chicken salad recipe with croissants and crackers

Is there anything to dislike about chicken salad? Unless you are a vegetarian or vegan, or you don't care for mayonnaise (Amy . . . ), what is there not to love? Tender supple chicken accompanied by a crisp crunch of celery, a little sweetness from the fruit of choice, all brought together by a delicate mayonnaise dressing. Ahhh! Sounds like the perfect lunch or snack to me. I love sandwiches because they deliver the perfect bite and I especially have a thing for loosely filled sandwiches. I'm always looking for more recipes to make that keep well, and are easy to make larger quantities without much more work. This is one of those recipes and I promise it will be a crowd favorite, unless the crowd is vegetarian or hates mayonnaise (Amy . . . ).

Notes: This recipe requires a fair amount of chopping, but it comes together in a cinch. It involves very little to no cooking, depending on what chicken you choose to use. In a pinch, you can always shred chicken from a store-bought rotisserie bird or you can buy prepared chicken meat; however, I would strongly suggest you try the simple poaching method, (recipe below,) to get tender chicken and a delicious broth simultaneously with hardly any extra work. The grapes in this recipe can also be substituted with other fruit such as diced green apple or dried cranberries. I love chicken salad on a croissant because, why not? But, it's also a dream on sliced white bread, a simple roll, or on crackers.


Time: 20 minutes
Yield: 4 cups

1 tablespoon lemon zest
2 tablespoons lemon juice
1/2 cup mayo
1 1/2 teaspoon salt
1 teaspoon black pepper
1 teaspoon sugar
2 tablespoons chopped parsley
1/3 cup red onion, finely diced
1/2 cup toasted pecans, roughly chopped
3 cups (about 2 pounds) poached chicken, diced (Recipe Below)
1/2 cup celery, small dice
3/4 cups grapes, halved

In a small bowl, make the dressing by combining lemon zest, lemon juice, mayonnaise, salt, black pepper, sugar and parsley. Set aside.

In a large bowl, combine red onion, pecans, chicken, celery, and grapes. Pour dressing over chicken and stir to combine. Taste and adjust for seasoning. 

Serve as a sandwich on a roll, croissant or sliced bread; or with crackers as a light side or appetizer.

Poached Chicken

2 pounds chicken breast (about 3 moderately sized breasts)
1/2 carrot
1 celery rib
1/2 onion
10 parsley stems
1 teaspoon black peppercorns
1 tablespoon salt
Water

Place chicken in a large pot and cover with water by 1 inch. Scatter carrot, celery, onion, parsley stems and peppercorns on top. Season with salt. 

Turn heat to medium high and bring the pot to a simmer. Allow to simmer for 3 minutes, then turn off the heat and cover the pot with a tight fitting lid. Set aside and allow chicken to finish cooking in the hot liquid. Leave the chicken to cool in the pot, about 1 hour. 

Remove chicken and dice into 1/2 pieces. Strain liquid from vegetables for a beautiful and easy broth.
 

Mustardy Potato Salad by Cynthia Raub

Print Friendly and PDF

Potato salad isn't the most alluring side dish at the barbecue - often times overcooked potatoes are drenched in mayonnaise, which makes it difficult to tell what other ingredients lurk under the dressing. But, this mustard-heavy, tangy version is bright and flavorful, a perfect counterpoint to rich barbecued meats. The baby potatoes are supple and firm, while the crisp green beans lend a fresh crunch to every bite. All the while, the light and tart mustard dressing showcases the beautiful vegetables in appearance and flavor. 

Notes: This side dish can be made in advance and only gets better after the first 24 hours. Also, adding the seasoned dressing to hot potatoes will yield more flavorful potatoes. The potatoes will absorb the dressing while they are still hot and it makes such a big difference in their flavor! You can also substitute the green beans for practically any other hearty summer vegetable, but I love the crisp snap from the green beans opposed to the dense chew of the potatoes.


Time: 25 minutes
Servings: 8-10

3 pounds baby potatoes
1 pounds green beans, trimmed and cut into 1-inch pieces
1/3 cup finely minced red onion
2 cloves of finely minced garlic
3 tablespoons whole grain mustard
1 tablespoon dijon mustard
2 tablespoons mayonnaise
2 tablespoons apple cider vinegar
1 tablespoon kosher salt (+ more for boiling the potatoes)
1 teaspoon freshly cracked pepper

In a large pot, cover potatoes with 1 inch of water and season water with 1/4 cup of salt. Bring the potatoes to a boil over high heat and cook for 15-20 minutes, until tender and easily pierced with a knife.

As the potatoes are boiling, in small bowl combine the red onion, garlic, whole grain mustard, dijon mustard, mayonnaise, apple cider vinegar, salt and pepper. Whisk to combine and set aside. 

When the potatoes are cooked, strain them carefully into a large colander. Drape a clean kitchen towel on top of the potatoes to absorb any excess moisture. 

In the same pot, bring water to a boil and season with salt. Add the green beans and cook until tender-crisp, about 1 minute. Strain carefully into a colander and toss to release steam, excess water, and to cool slightly. 

Once the potatoes are cooled enough to touch (but still very warm or hot), slice in half and add to a large bowl. Add the mustard dressing to the potatoes while the potatoes are still hot so they can absorb the flavors in the dressing. Add green beans and toss to coat with the dressing.

Pesto Pasta Salad with Roasted Tomatoes by Amy Cantu

Print Friendly and PDF


The first time I ever made a Pesto Pasta Salad with store bought pesto, I thought, really? This is it? I was underwhelmed and disappointed because I was looking forward to luscious pesto coating hot, long strands of pasta. The pasta was too firm, (even though I cooked the pasta to al dente,) with only a hint of basil, and it just tasted flat. This recipe for Pesto Pasta Salad with Roasted Tomatoes is not altogether different from that first attempt, but it tastes worlds apart. THIS pesto salad is a glorious celebration of summer, and the difference is all in the details. I made my own pesto sauce (instead of store-bought) using fresh basil. I toasted the pine nuts to bring out their nutty flavor. Beautiful summer cherry tomatoes were roasted to make them taste like candied tomatoes, without adding any sugar. I made sure to check the seasoning and add more salt before serving, to keep the flavors tasting bright and savory. Milky fresh mozzarella provided nuggets of soft, creamy flavor and texture. Each pesto-infused bite of pasta was a revelation in my mouth, with big, bold basil flavor. I was very, very happy.

Notes: I beg you to try making your own pesto at least once, (as in this recipe,) before deciding to use the store-bought kind. I have definitely used store-bought before for convenience, but when I developed this recipe, I did a side-by-side comparison of freshly made pesto vs. the store-bought pesto, and the fresh pesto blew my mind. Really. The difference was huge, and if you have a food processor or blender, fresh pesto only takes a few minutes to make. 

I have been overcooking my pasta for pasta salad by a minute or two ever since I read this post on Serious Eats about how pasta gets stiffer when it cools, so over-cooking the pasta a bit for pasta salad is great because it keeps the texture from getting too firm.

Pine nuts are at least half of what makes pesto so darn good, but I realize they are pricey. You can substitute half or all of the pine nuts for walnuts, and it will be a suitable substitution.

This Pesto Pasta Salad alongside Cynthia's Mediterranean Turkey Burgers and Mustardy Potato Salad makes an amazing barbecue. Adding shredded or diced chicken would also make this the perfect light summer meal, rather than a side.


Time: 45 minutes
Servings: 8-10

1 pound cherry tomatoes
1 tablespoon plus 1 cup extra virgin olive oil, divided use
Kosher salt
Freshly ground black pepper
1 cup pine nuts, divided use
1 pound farfalle (bow tie) pasta
1 cup parmesan cheese, grated
4 cups basil leaves, packed (about 5 ounces)
4 cloves garlic, roughly chopped
1/2 cup parsley, finely chopped
1 cup green onions, thinly sliced
pound fresh mozzarella, cut (or torn) into 1-inch piece

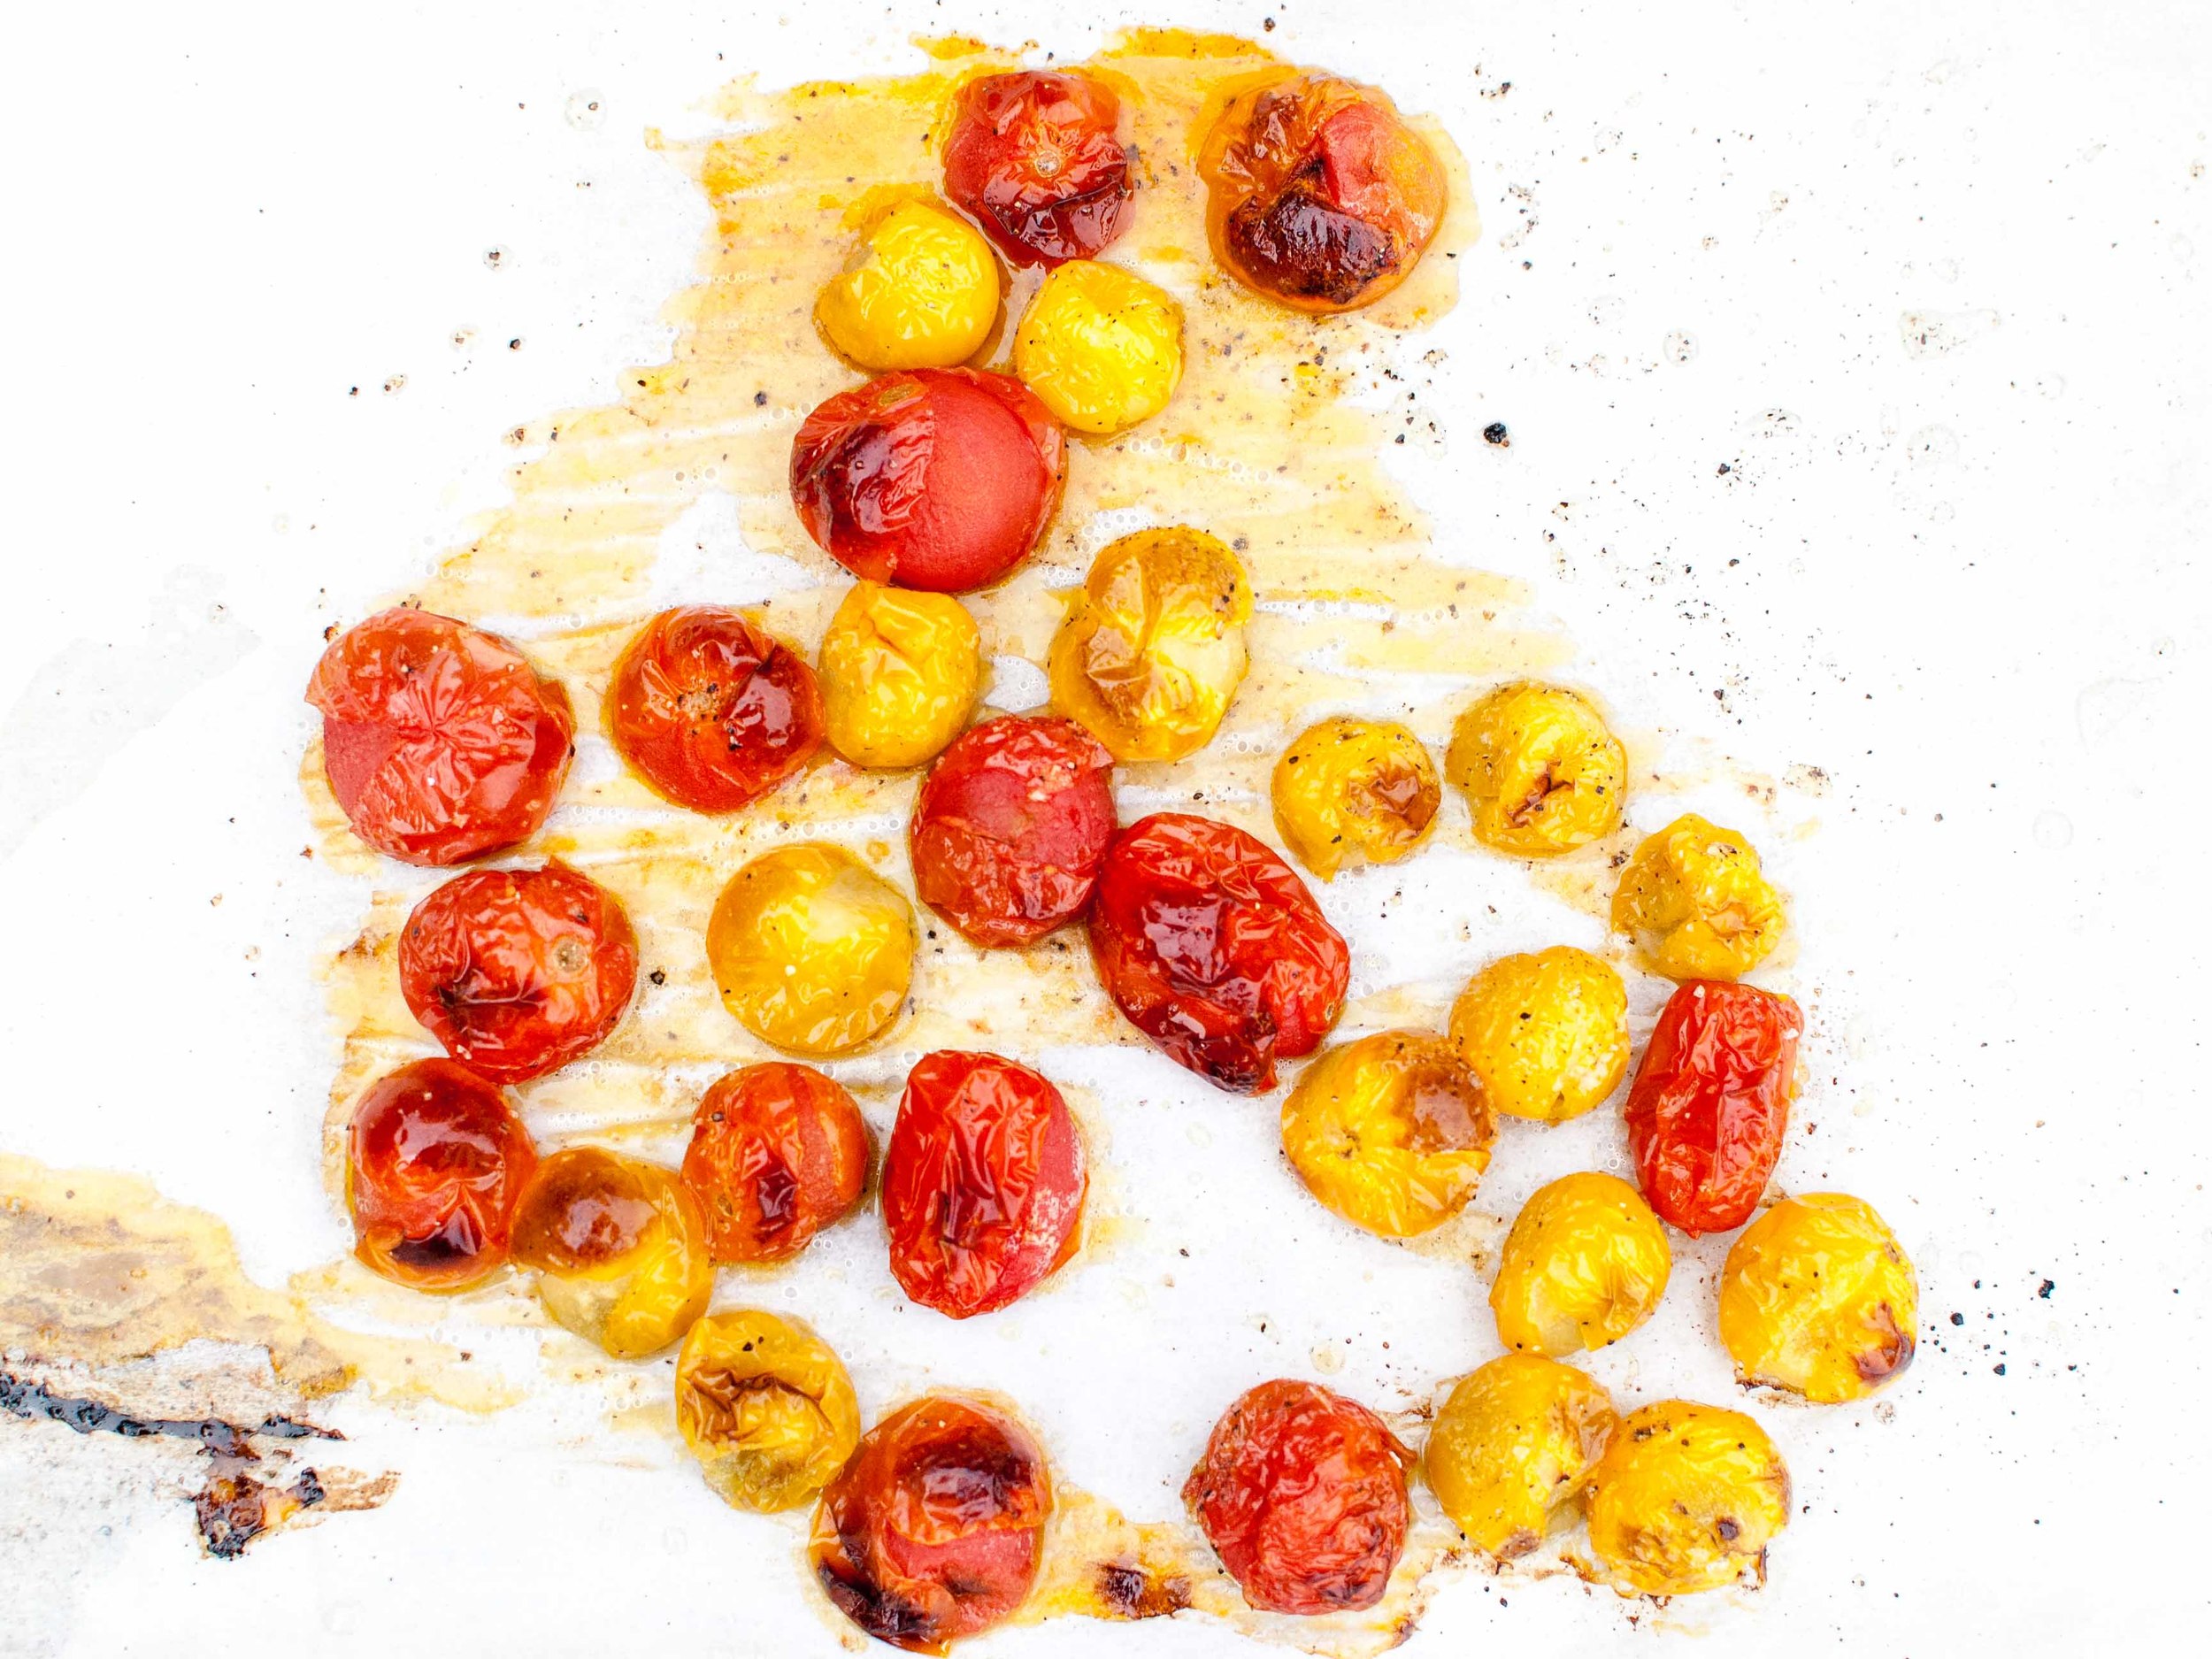
Preheat oven to 400 degrees F. Combine cherry tomatoes and 1 tablespoon olive oil on a rimmed sheet pan. Sprinkle lightly with salt and pepper. Roast tomatoes for 20-25 minutes, until tomatoes are soft and releasing some of its juice. Let cool.

Reduce oven temperature to 375 degrees F. Place pine nuts on a rimmed sheet pan, and toast in oven until golden brown, about 5 minutes. Let cool.

Meanwhile, bring a large pot of salted water to boil. Stir in pasta, and adjust heat to maintain a low boil. Cook for two minutes longer than the package instructions. Drain and rinse pasta in cold water until the pasta is no longer warm.

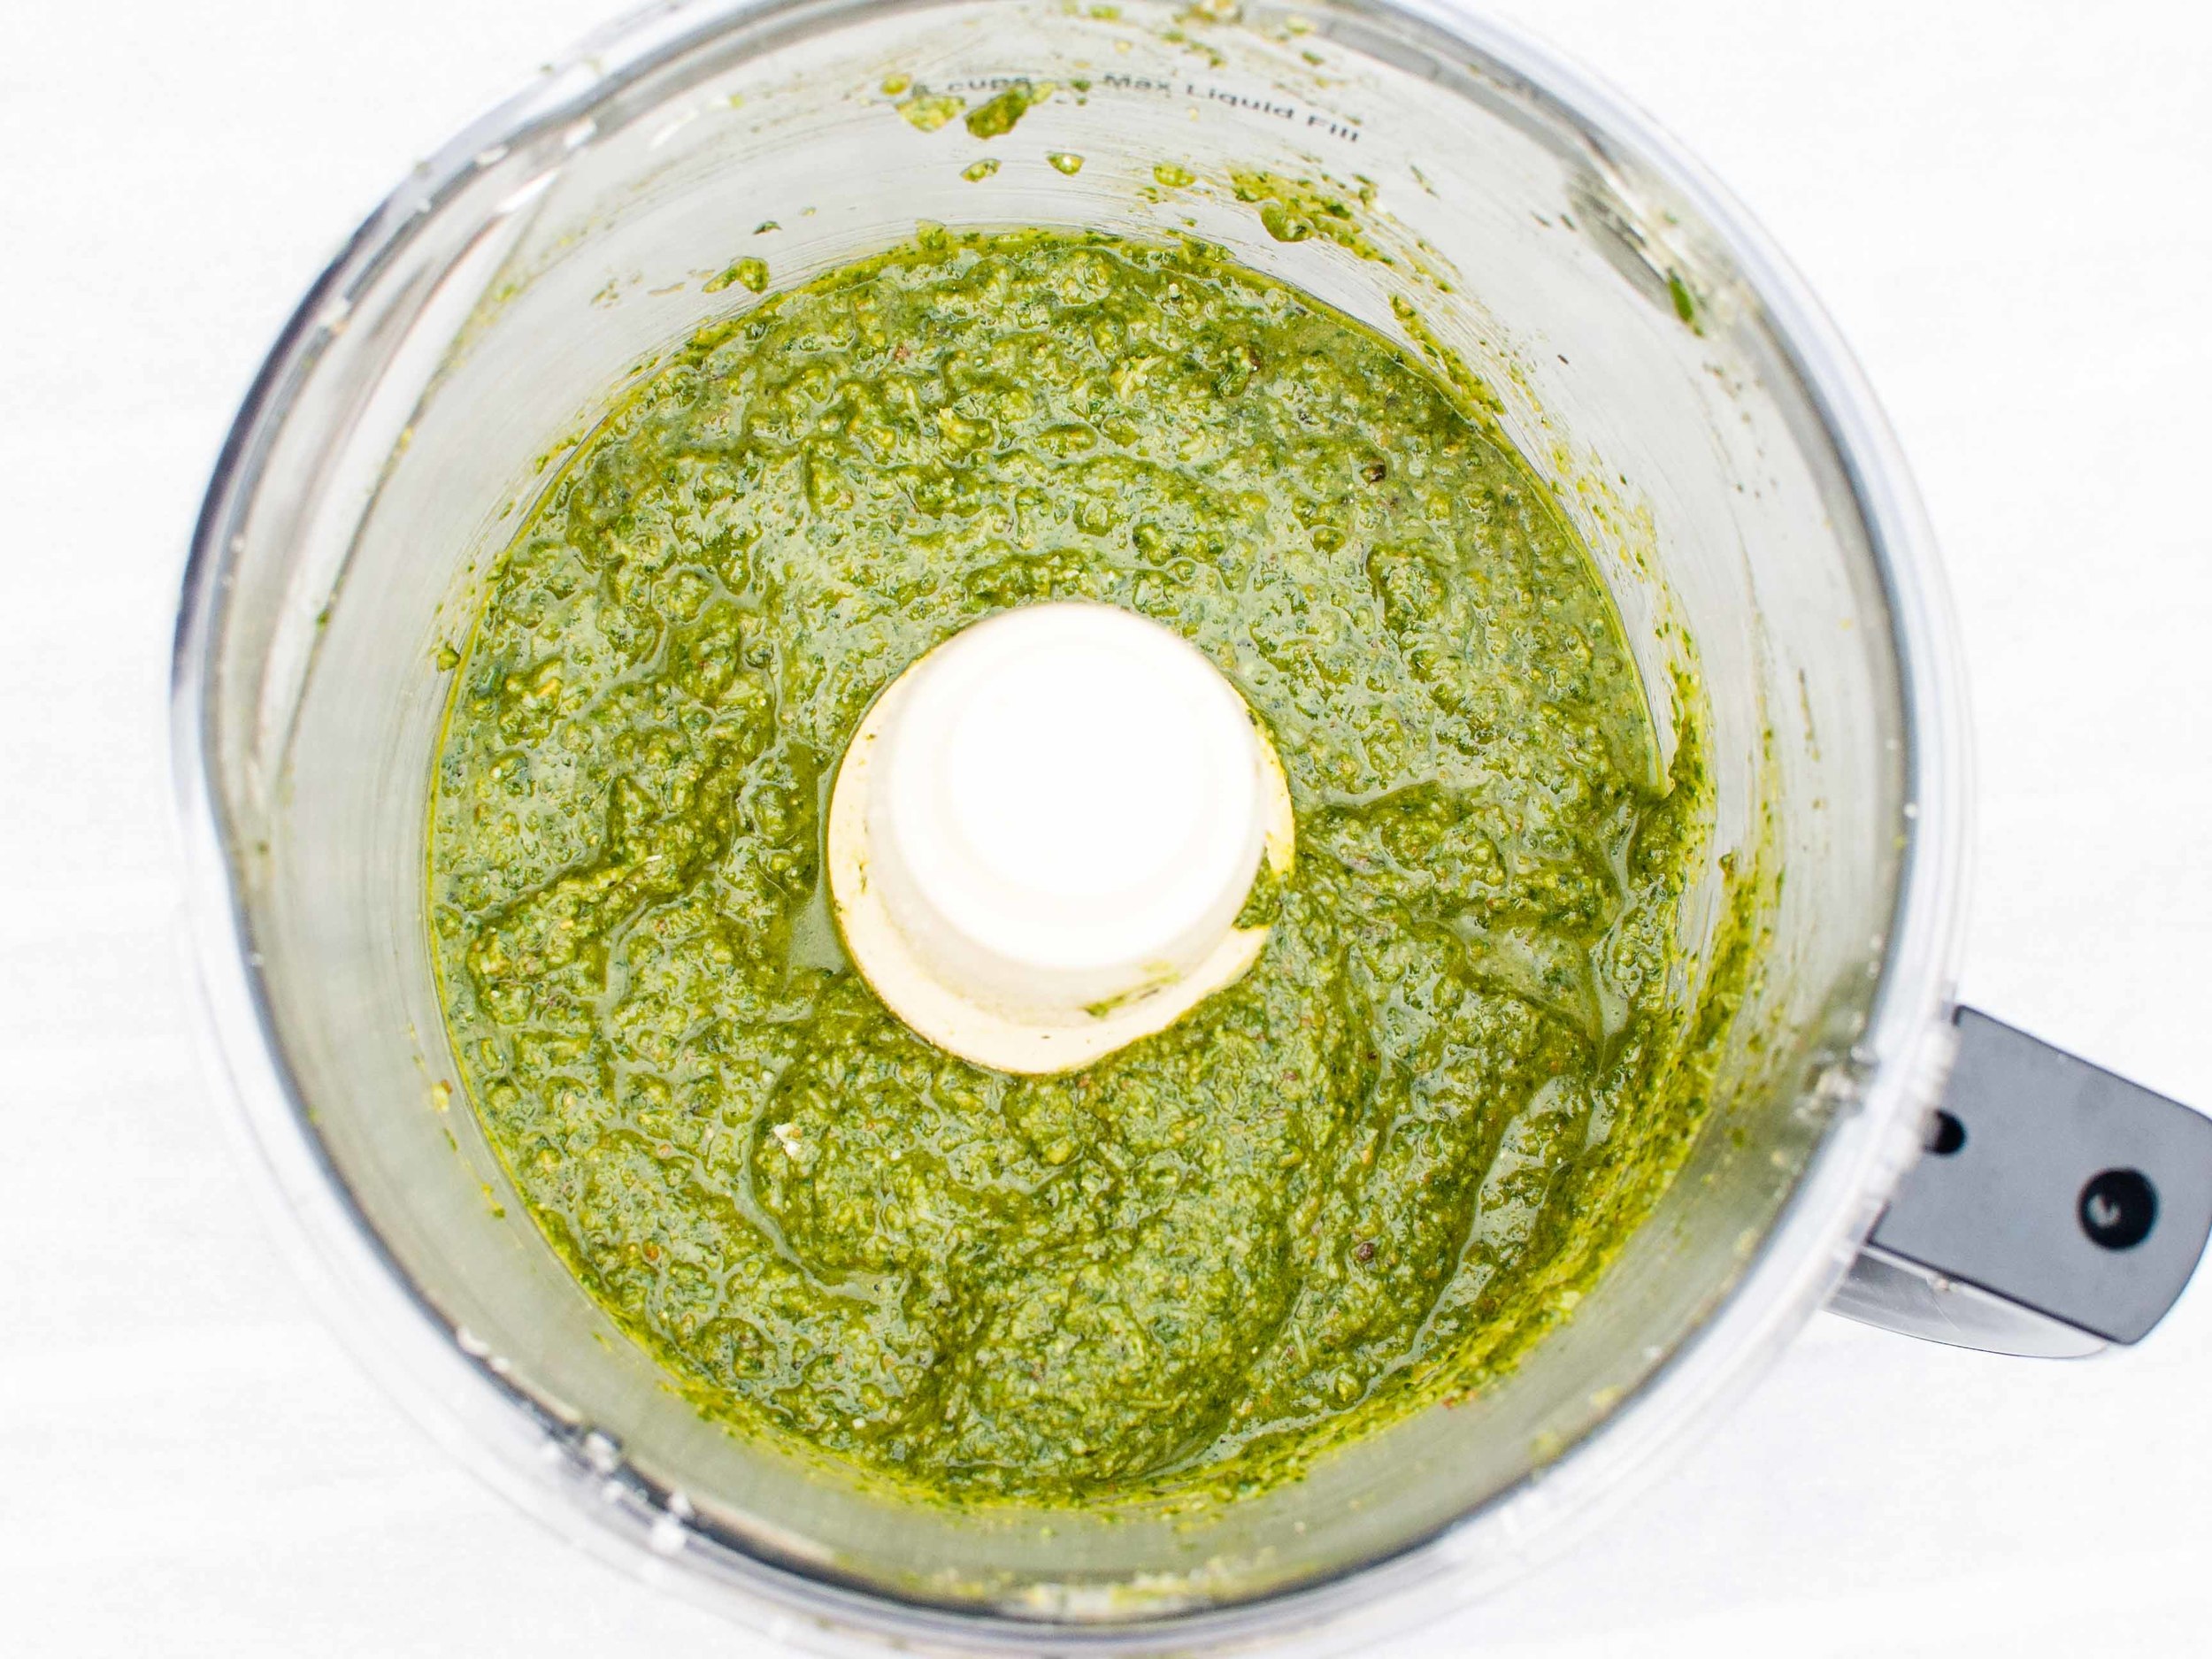
Make pesto: Combine 1/2 cup toasted pine nuts, parmesan, basil leaves, and garlic in a food processor or blender. Process until a paste is formed, stopping to scrape the container down as needed. With the motor running, drizzle in 1 cup olive oil, and process until the oil is fully incorporated and pesto is smooth.
In a large mixing bowl, combine pasta, pesto, chopped parsley, sliced green onions, and remaining toasted pine nuts until pasta is evenly coated. Add half of the roasted tomatoes and half the mozzarella and toss to combine. Taste and adjust seasoning with additional salt and freshly ground pepper. Pour pasta salad into a large serving bowl, and arrange the remaining tomatoes and mozzarella on top. Serve at room temperature.

Rice Salad With Nuts and Sour Cherries by Cynthia Raub

Print Friendly and PDF
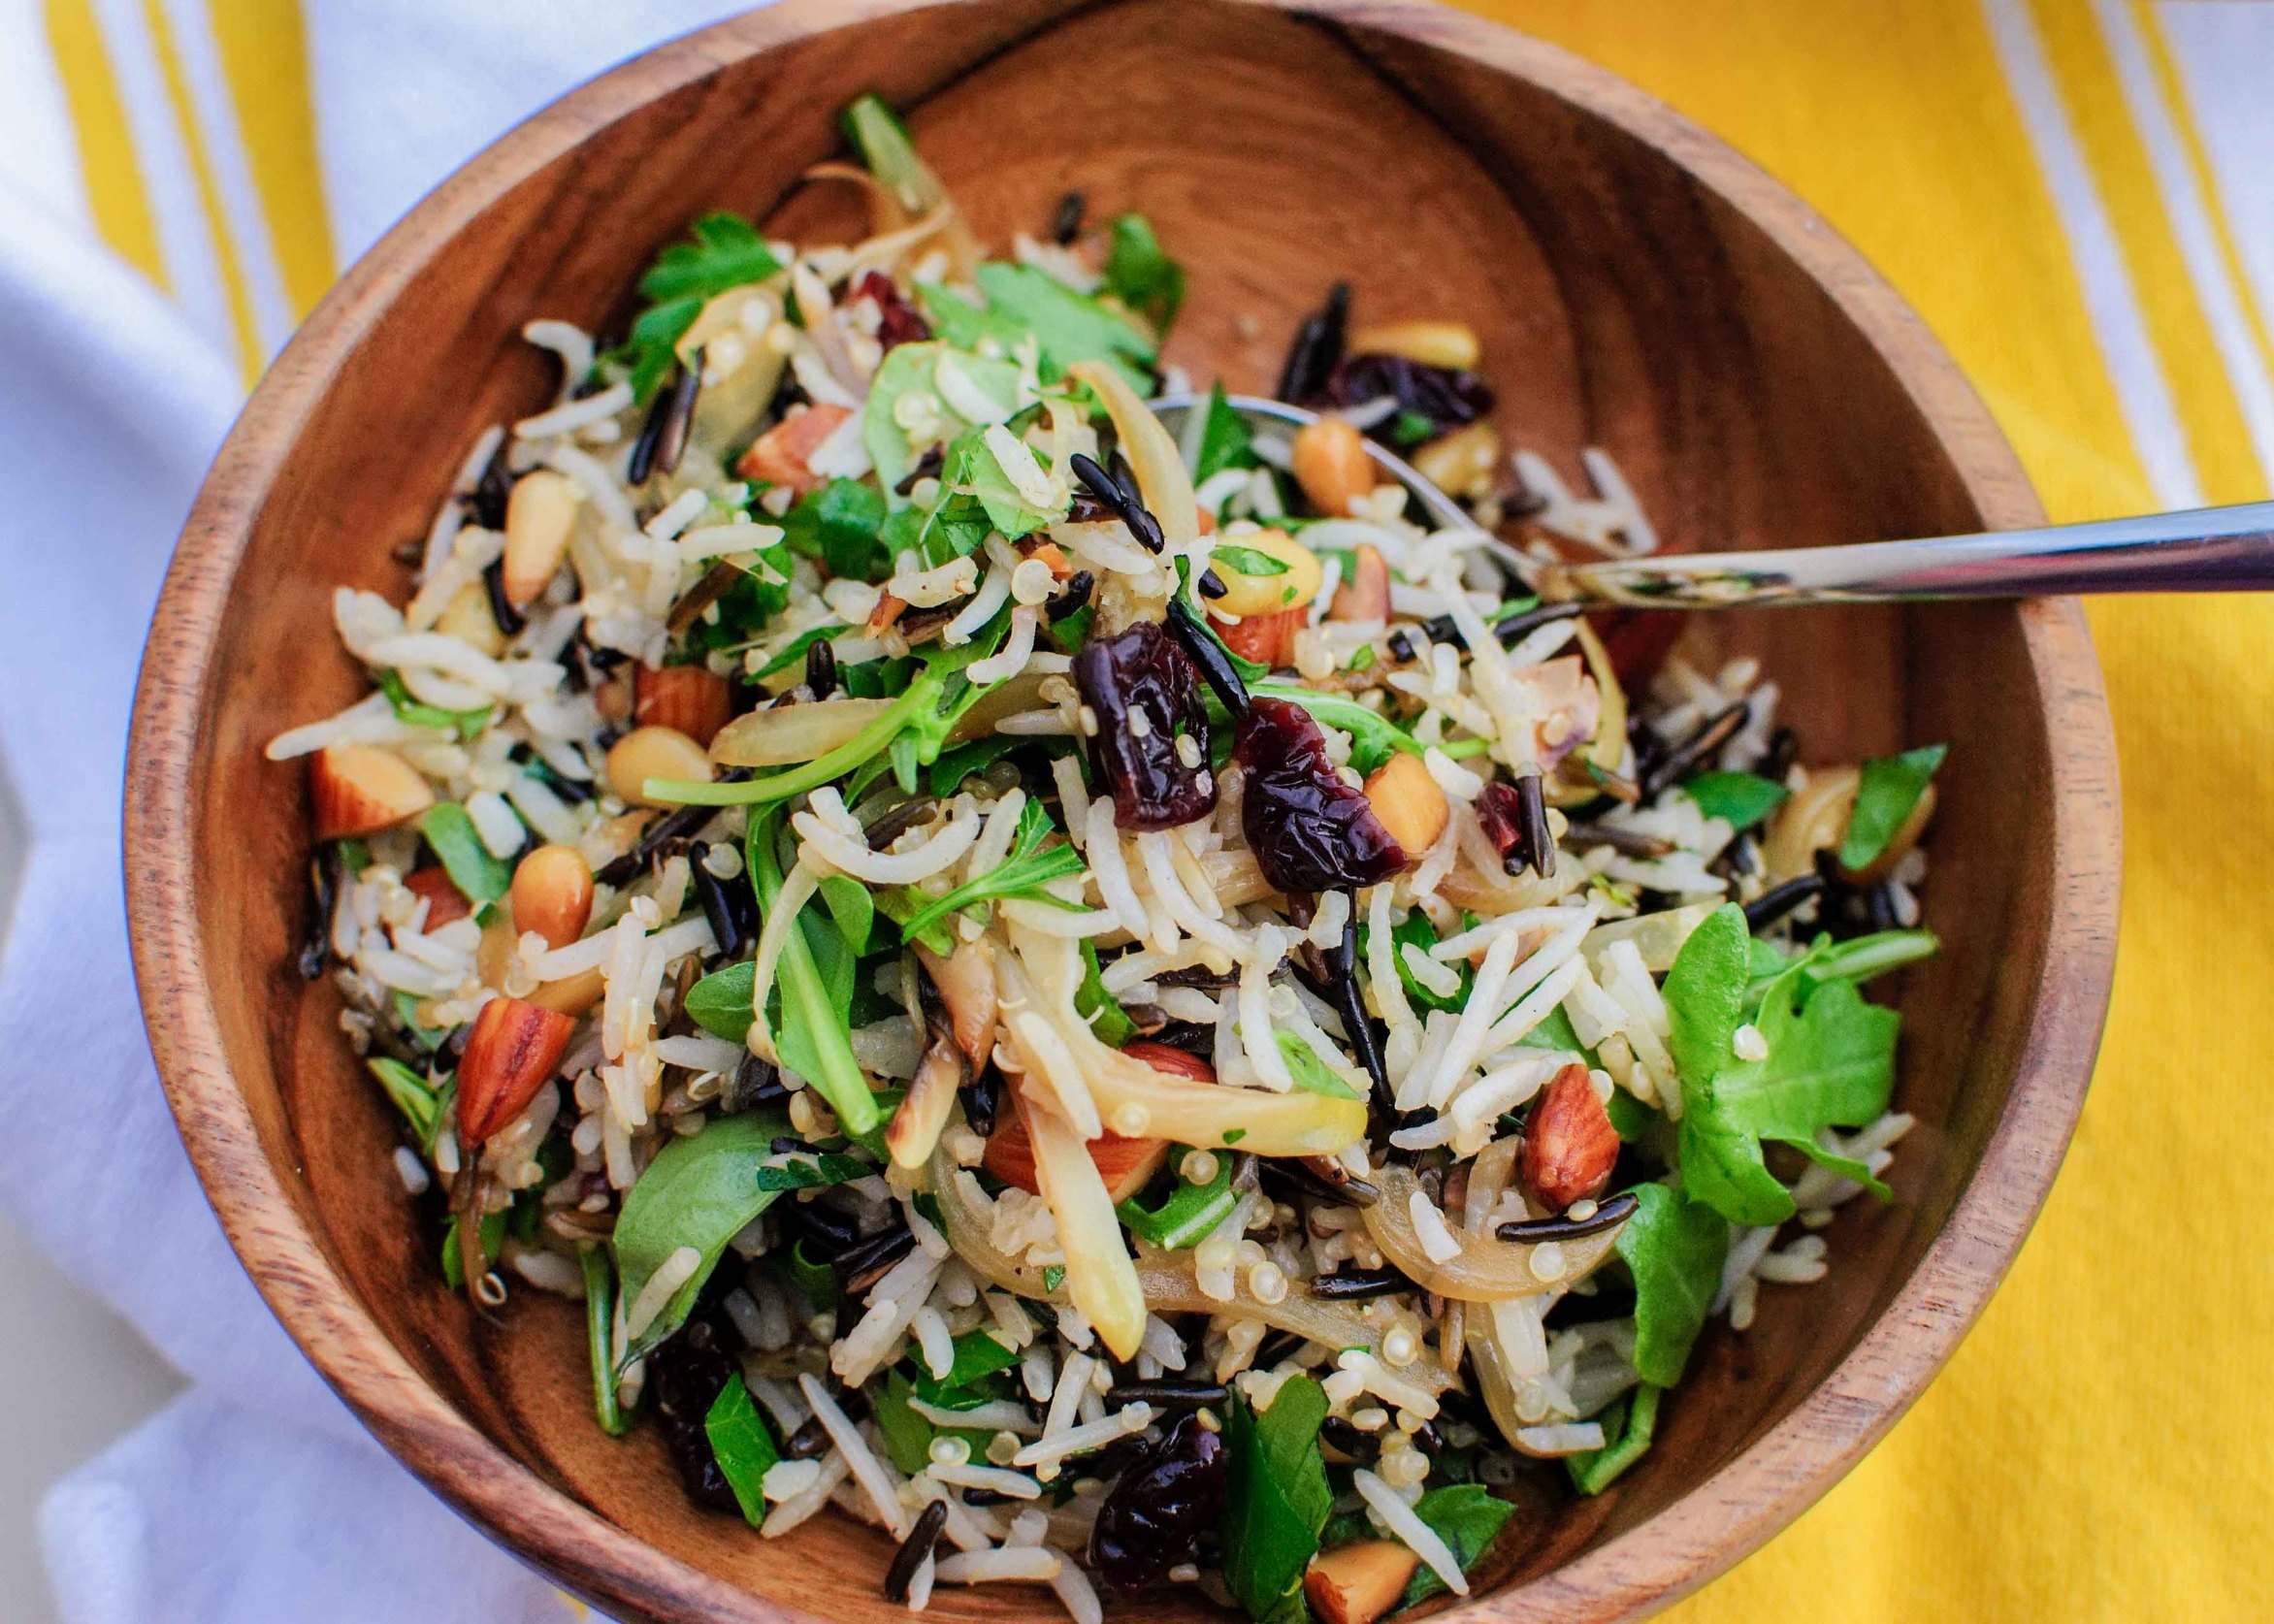
rice salad with nuts and sour cherries

I love me a rice salad. A bit ago, I cooked a Korean meal for us complete with Seafood and Green Onion Pancake (Pa Jun) and a Soft Tofu Stew (Soondoobu Jjigae). Bi Bim Bap is also a traditional Korean dish with rice, various barely-cooked vegetables and topped with an egg. I like to describe Bi Bim Bap as a rice salad dressed with a browned and runny egg. This is what attracted me so much to this recipe: the various textures, temperatures and flavors make for an elegant statement dish. Ottolenghi' rice salad is nutty from the rice and quinoa, crunchy and rich from two kinds of nuts, and has a surprising subtle sweetness courtesy of the cherries and browned onions. Finished with herbs and spicy arugula for brightness, it's a wonderful side dish to practically anything.

Notes: This recipe yields a staggering amount of food. As written, it is at least 8 if not 12 generous servings. Tart dried cherries may be cumbersome to acquire, so I think that dried cranberries or even dried apricot would be complementary substitutes. This is a wonderful dish to bring to a potluck or a holiday gathering because of its versatility and because it makes such a large amount.


Scant 1 cup/150 g wild rice
Scant 1 1/4 cup/220 g basmati rice
5 1/2 tbsp/80 ml olive oil
2/3 cup/100 g quinoa
6 1/2 tbsp/60 g almonds, skins on, coarsely chopped
7 tbsp/60 g pine nuts
1/4 cup/60 ml sunflower oil
2 medium onions, thinly sliced (about 3 cups/320 g)
1 cup/30 g flat-leaf parsley leaves, coarsely chopped
2/3 cup/20 g basil leaves, coarsely chopped
1/3 cup/10 g tarragon leaves, coarsely chopped
2 cups/40 g arugula
2/3 cup/80 g dried sour cherries
1/4 cup/60 ml lemon juice, plus the grated zest of 1 lemon
2 cloves garlic, crushed
Salt and black pepper

Place the wild rice in a saucepan, cover with plenty of water, bring to a boil, and then turn down to a gentle simmer and cook for 35 minutes, until the rice is cooked but still firm. Drain, rinse under cold water, and set aside to dry.

Mix the basmati rice with 1 tablespoon of the olive oil and 1/2 teaspoon salt. Place in a saucepan with 1 1/3 cups/ 330 ml of boiling water, cover, and cook over the lowest possible heat for 15 minutes. Remove from the heat, place a tea towel over the pan, replace the lid, and set aside for 10 minutes. Uncover and allow to cool down completely.

Bring a small saucepan of water to a boil and add the quinoa. Cook for 9 minutes, then drain into a fine sieve, refresh under cold water, and set aside.

Place the almonds and pine nuts in a small pan with 1 tablespoon of the olive oil and a pinch of salt. Cook over medium-low heat for about 5 minutes, stirring frequently. Transfer to a small plate as soon as the pine nuts begin to color and set aside.

Heat the sunflower oil in a large sauté pan and add the onions, 1/4 teaspoon salt, and some black pepper. Cook over high heat for 5 to 8 minutes, stirring often, so that parts of the onion get crisp and others just soft. Transfer to paper towels to drain.

Place all the grains in a large bowl along with the chopped herbs, arugula, fried onion, nuts, and sour cherries. Add the lemon juice and zest, the remaining 3 1/2 tbsp olive oil, the garlic, 1/2 teaspoon salt, and some pepper. Mix well and set aside for at least 10 minutes before serving.

Lentils with Broiled Eggplant by Amy Cantu

Print Friendly and PDF

Luxurious. I would not have ever imagined that I might describe a lentil salad this way, but luxurious is exactly the perfect word. Smoky, silky, creamy, spicy, and a bit tangy: All of these sensations tangle together into one luxurious bite after another. Eggplant can be sensual. Yes, I said it. The broiled eggplant lifts ordinary lentils into a sensual tizzy of textures and flavors, and I don't think I've been the same ever since! Please eat this. It's a feast of colors for the eyes, sustaining nutrients for the body, and sensual luxury for the mouth and tongue. I understand completely now why Yotam Ottolenghi's approach to treating and eating vegetables can become an obsessive experience. I am forever changed, and now seeking to cook every single recipe in his cookbooks. (Speaking of which, Cynthia shared Ottolenghi's Rice Salad with Nuts and Sour Cherries with us, and I will be making this immediately. So good.)

Notes: The smoky broiled eggplant is what makes this dish so special. Roasting them directly over a gas stove is the fastest way to cook them and achieve that smoky flavor, but it definitely made a mess that took scrubbing to clean up. If you can lay down aluminum foil around the flame to catch some of the drippings, that would help a lot, but this was hard to do with my particular stovetop. Using the oven broiler to roast the eggplant is a less messy alternative, but it does take an hour instead of 15 minutes. If you choose the broiler method, please ensure that you poke the eggplant all over with a small sharp knife, to allow steam to escape. Otherwise, the eggplant may explode all over the oven - an even bigger mess to clean up!

The harissa is optional, but I was so happy to have a jar of homemade harissa gifted to me from Cynthia. It elevated this already excellent lentil salad into something truly special.


Time: 45 minutes to 1 hour, 30 minutes (depending on your method for roasting the eggplant)
Servings: 4

2 medium eggplants
2 tablespoons top-quality red wine vinegar
salt and black pepper
1 cup small dark lentils (such as Puy or Castelluccio), rinsed
3 small carrots, peeled
2 celery stalks
1 bay leaf
3 thyme sprigs
1/2 white onion
3 tablespoons olive oil, plus extra to finish
12 cherry tomatoes, halved
1/3 teaspoon brown sugar
1 tablespoon each roughly chopped parsley, cilantro and dill
2 tablespoon crème fraîche (or natural yogurt, if you prefer)
2 tablespoons harissa (purchased or homemade), optional

To cook the eggplants on a gas stovetop, which is the most effective way: Start by lining the area around the burners with foil to protect them. Put the eggplants directly on two moderate flames and roast for 12 to 15 minutes, turning frequently with metal tongs, until the flesh is soft and smoky and the skin is burnt all over. Keep an eye on them the whole time so they don’t catch fire.

To broil the eggplants in an oven instead: pierce the eggplants all over with a sharp knife. (This creates exit points for the steam to escape the eggplant; otherwise, the eggplant will explode and make a giant mess!) Put them on a foil-lined tray and place directly under a hot broiler for 1 hour, turning them a few times. The eggplants need to deflate completely and their skin should burn and break.

Remove the eggplants from the heat. If you used an oven broiler, change the oven to its normal setting. Heat the oven to 275°F. Cut a slit down the center of the eggplants and scoop out the flesh into a colander, avoiding the black skin. Leave to drain for at least 15 minutes and only then season with plenty of salt and pepper and 1/2 tablespoon of the vinegar.

While the eggplants are broiling, place the lentils in a medium saucepan. Cut one carrot and half a celery stalk into large chunks and throw them in. Add the bay leaf, thyme and onion, cover with plenty of water and bring to the boil. Simmer on a low heat for up to 25 minutes, or until the lentils are tender, skimming away the froth from the surface from time to time. Drain in a sieve. Remove and discard the carrot, celery, bay leaf, thyme and onion and transfer the lentils to a mixing bowl. Add the rest of the vinegar, 2 tablespoons of the olive oil and plenty of salt and pepper; stir and set aside somewhere warm.

Cut the remaining carrot and celery into 3/8-inch dice and mix with the tomatoes, the remaining oil, the sugar and some salt. Spread in an ovenproof dish and cook in the oven for about 20 minutes, or until the carrot is tender but still firm.

Add the cooked vegetables to the warm lentils, followed by the chopped herbs and stir gently. Taste and adjust the seasoning. Spoon the lentils onto serving plates. Pile some eggplant in the center of each portion and top it with a dollop each of crème fraîche or yogurt and harissa. Finish with a trickle of oil.

Fresh Egg Pasta by Amy Cantu

Print Friendly and PDF

I never fully understood why anyone liked pasta with butter and parmesan. It always just sounded bland and boring to me. I filed it under "picky kid food". This luscious and ethereal fresh egg pasta changed my entire understanding of what pasta with butter and parmesan could actually mean. These wide ribbons were at once delightfully delicate and richly filling. A quick toss with a pat of butter and shower of grated parmesan infused the springy strands with a bit of luxury and saltiness without masking its simple glory. Cynthia and I went mad for it - dancing around the kitchen, swooning, moaning, eyes-rolling-into-the-back-of-our-heads, madness. This fresh pasta meets and exceeds any and all expectations you might have for homemade noodles.  If eating a bowl of nothing but plain pasta is too one note for you, (I promise that I struggled to consider eating anything else with it,) Cynthia's spring vegetables are a bright and punchy (if not guilt-appeasing) match to the simple indulgence of homemade pasta.

Notes: Homemade pasta is not terribly difficult to make, even for a novice. It can even be made with no special equipment, except perhaps a rolling pin. I had a pasta machine collecting dust in the closet (I almost forgot I even had it and only used it once 10 years ago), so I pulled it out to see if it still worked. It does, and it's been getting a lot of use ever since we tested this recipe. I pulled inspiration and direction from both Serious Eats, which has yet to fail me, and also a recipe from Melissa Clark in New York Times Cooking. I love the delicate richness of an extra egg yolk and detailed, fool-proof directions from Serious Eats; I also liked the addition of olive oil in Melissa Clark's version, which added flavor and made the dough easier to roll out. My first batch of pasta sported some ragged edges and uneven texture, but it still tasted better than any pasta I'd ever eaten. So, don't toss out any uglies - close your eyes and enjoy the perfect taste!

If the recipe makes more pasta than you need, the strands can be twisted together into a few loose nests and then frozen to cook later. The frozen pasta can be cooked without thawing, adding an extra minute or two to cook through.


Time: 1 hour
Serves: 4-6

2 1/4 cups all purpose flour
1 teaspoon kosher salt
1 tablespoon extra version olive oil
2 eggs
4 egg yolks

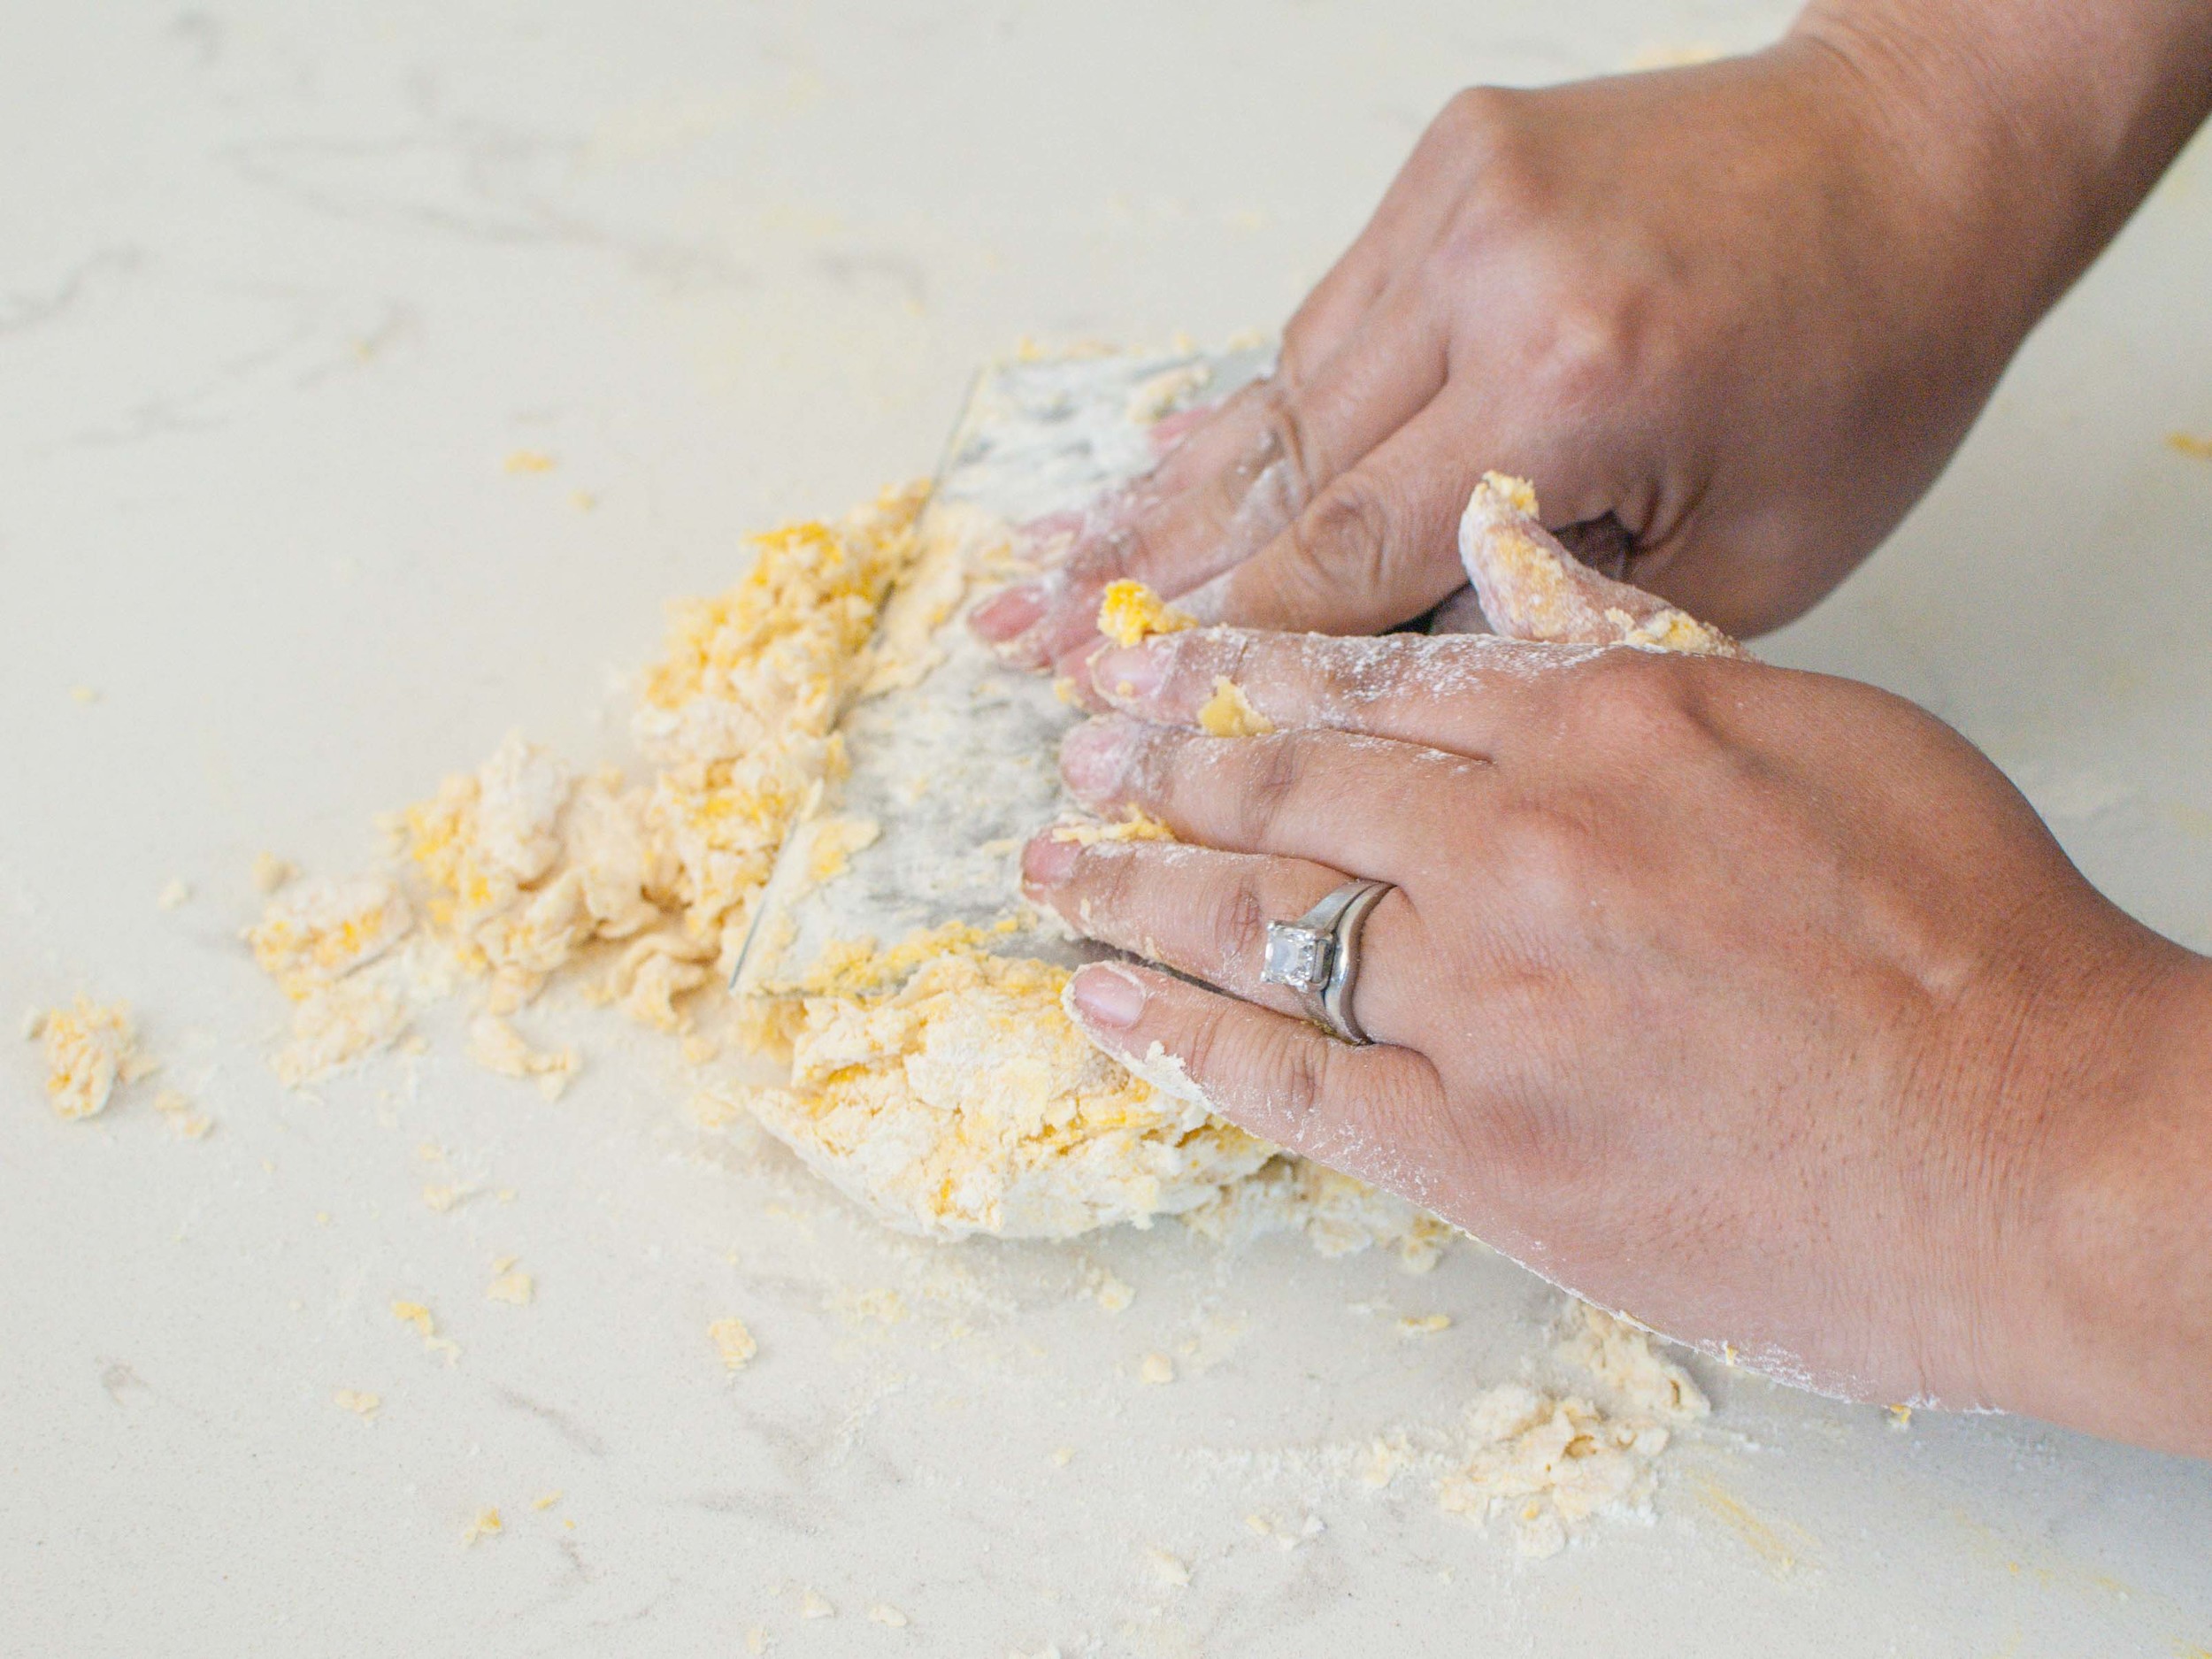
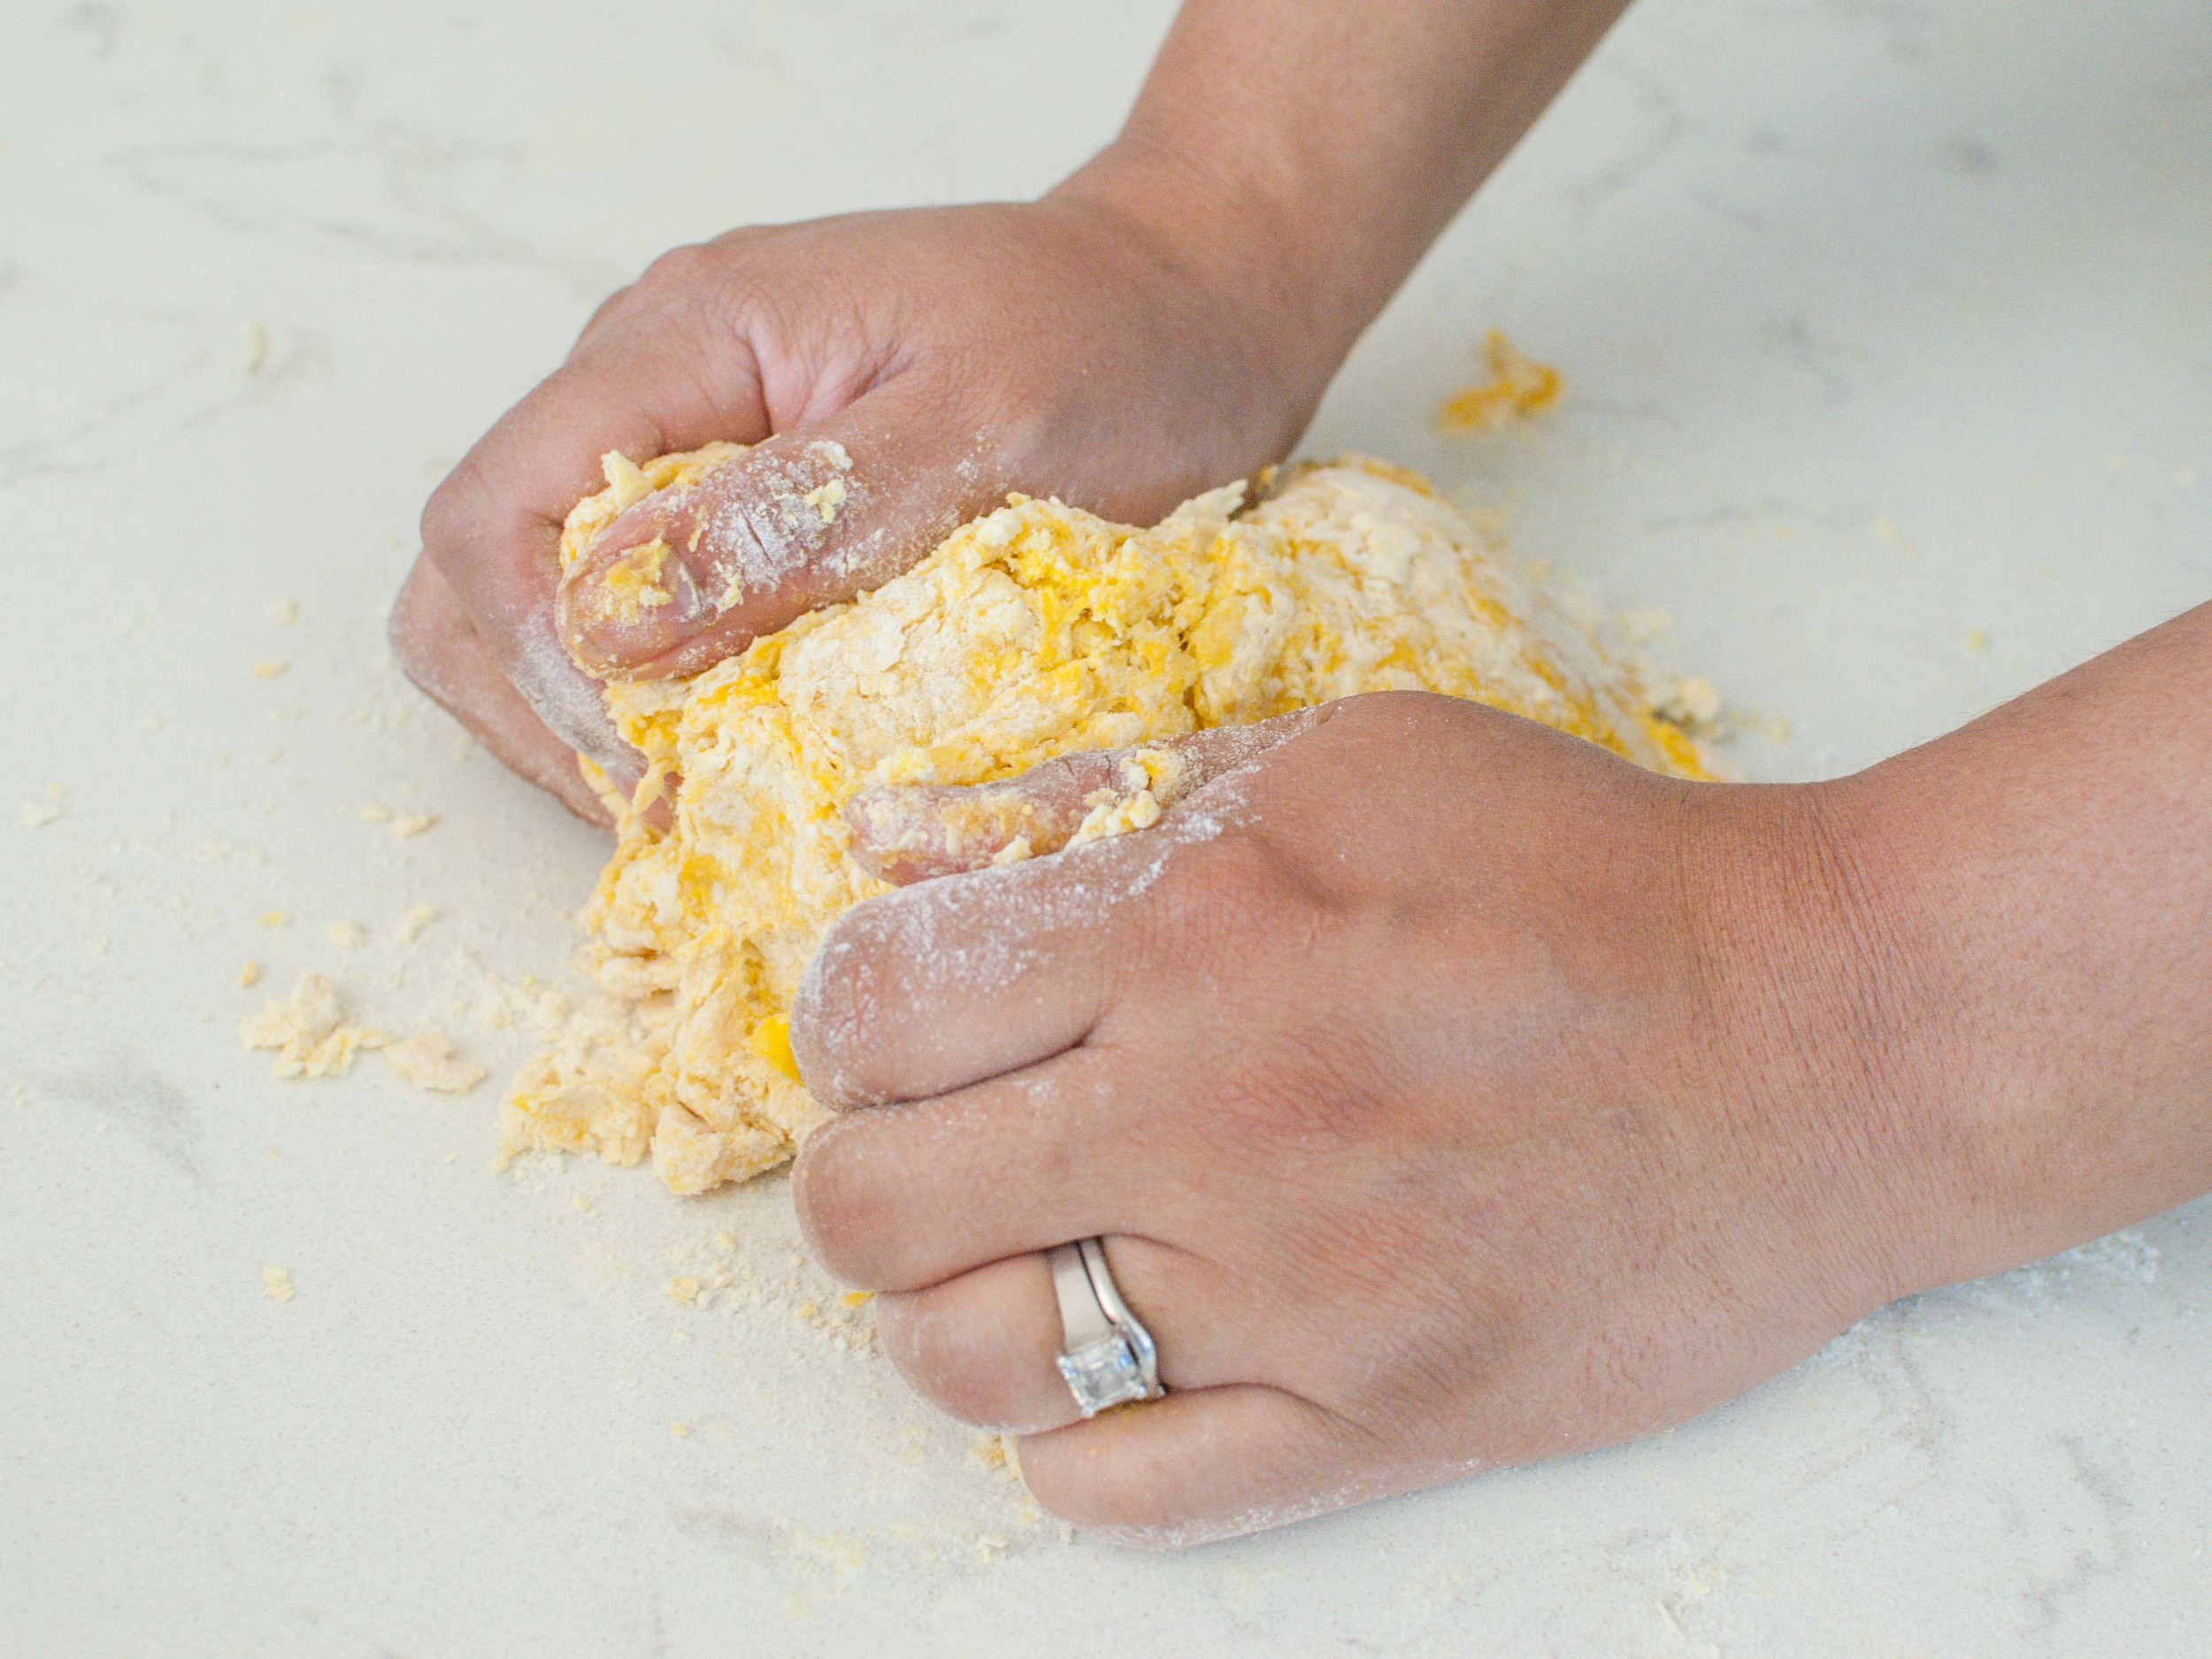
Dump the flour onto a clean work surface, making a large well in the center. Sprinkle the salt and drizzle the olive oil over the flour. Carefully pour the eggs and egg yolks into the well. Use a fork to break up the egg yolks and beat well. With a bench scraper, fold flour into the egg, creating a shaggy dough ball. Scrape the dough from fingers then continue to knead the dough using the heels of your hands until the dough is very smooth and elastic. Add additional water 1 tablespoon at a time, if the dough feels too dry, or add additional flour 1 tablespoon at a time, if the dough feels too wet. Wrap dough in plastic wrap and let rest at least 30 minutes on the countertop or overnight in the fridge.

To use a pasta machine:

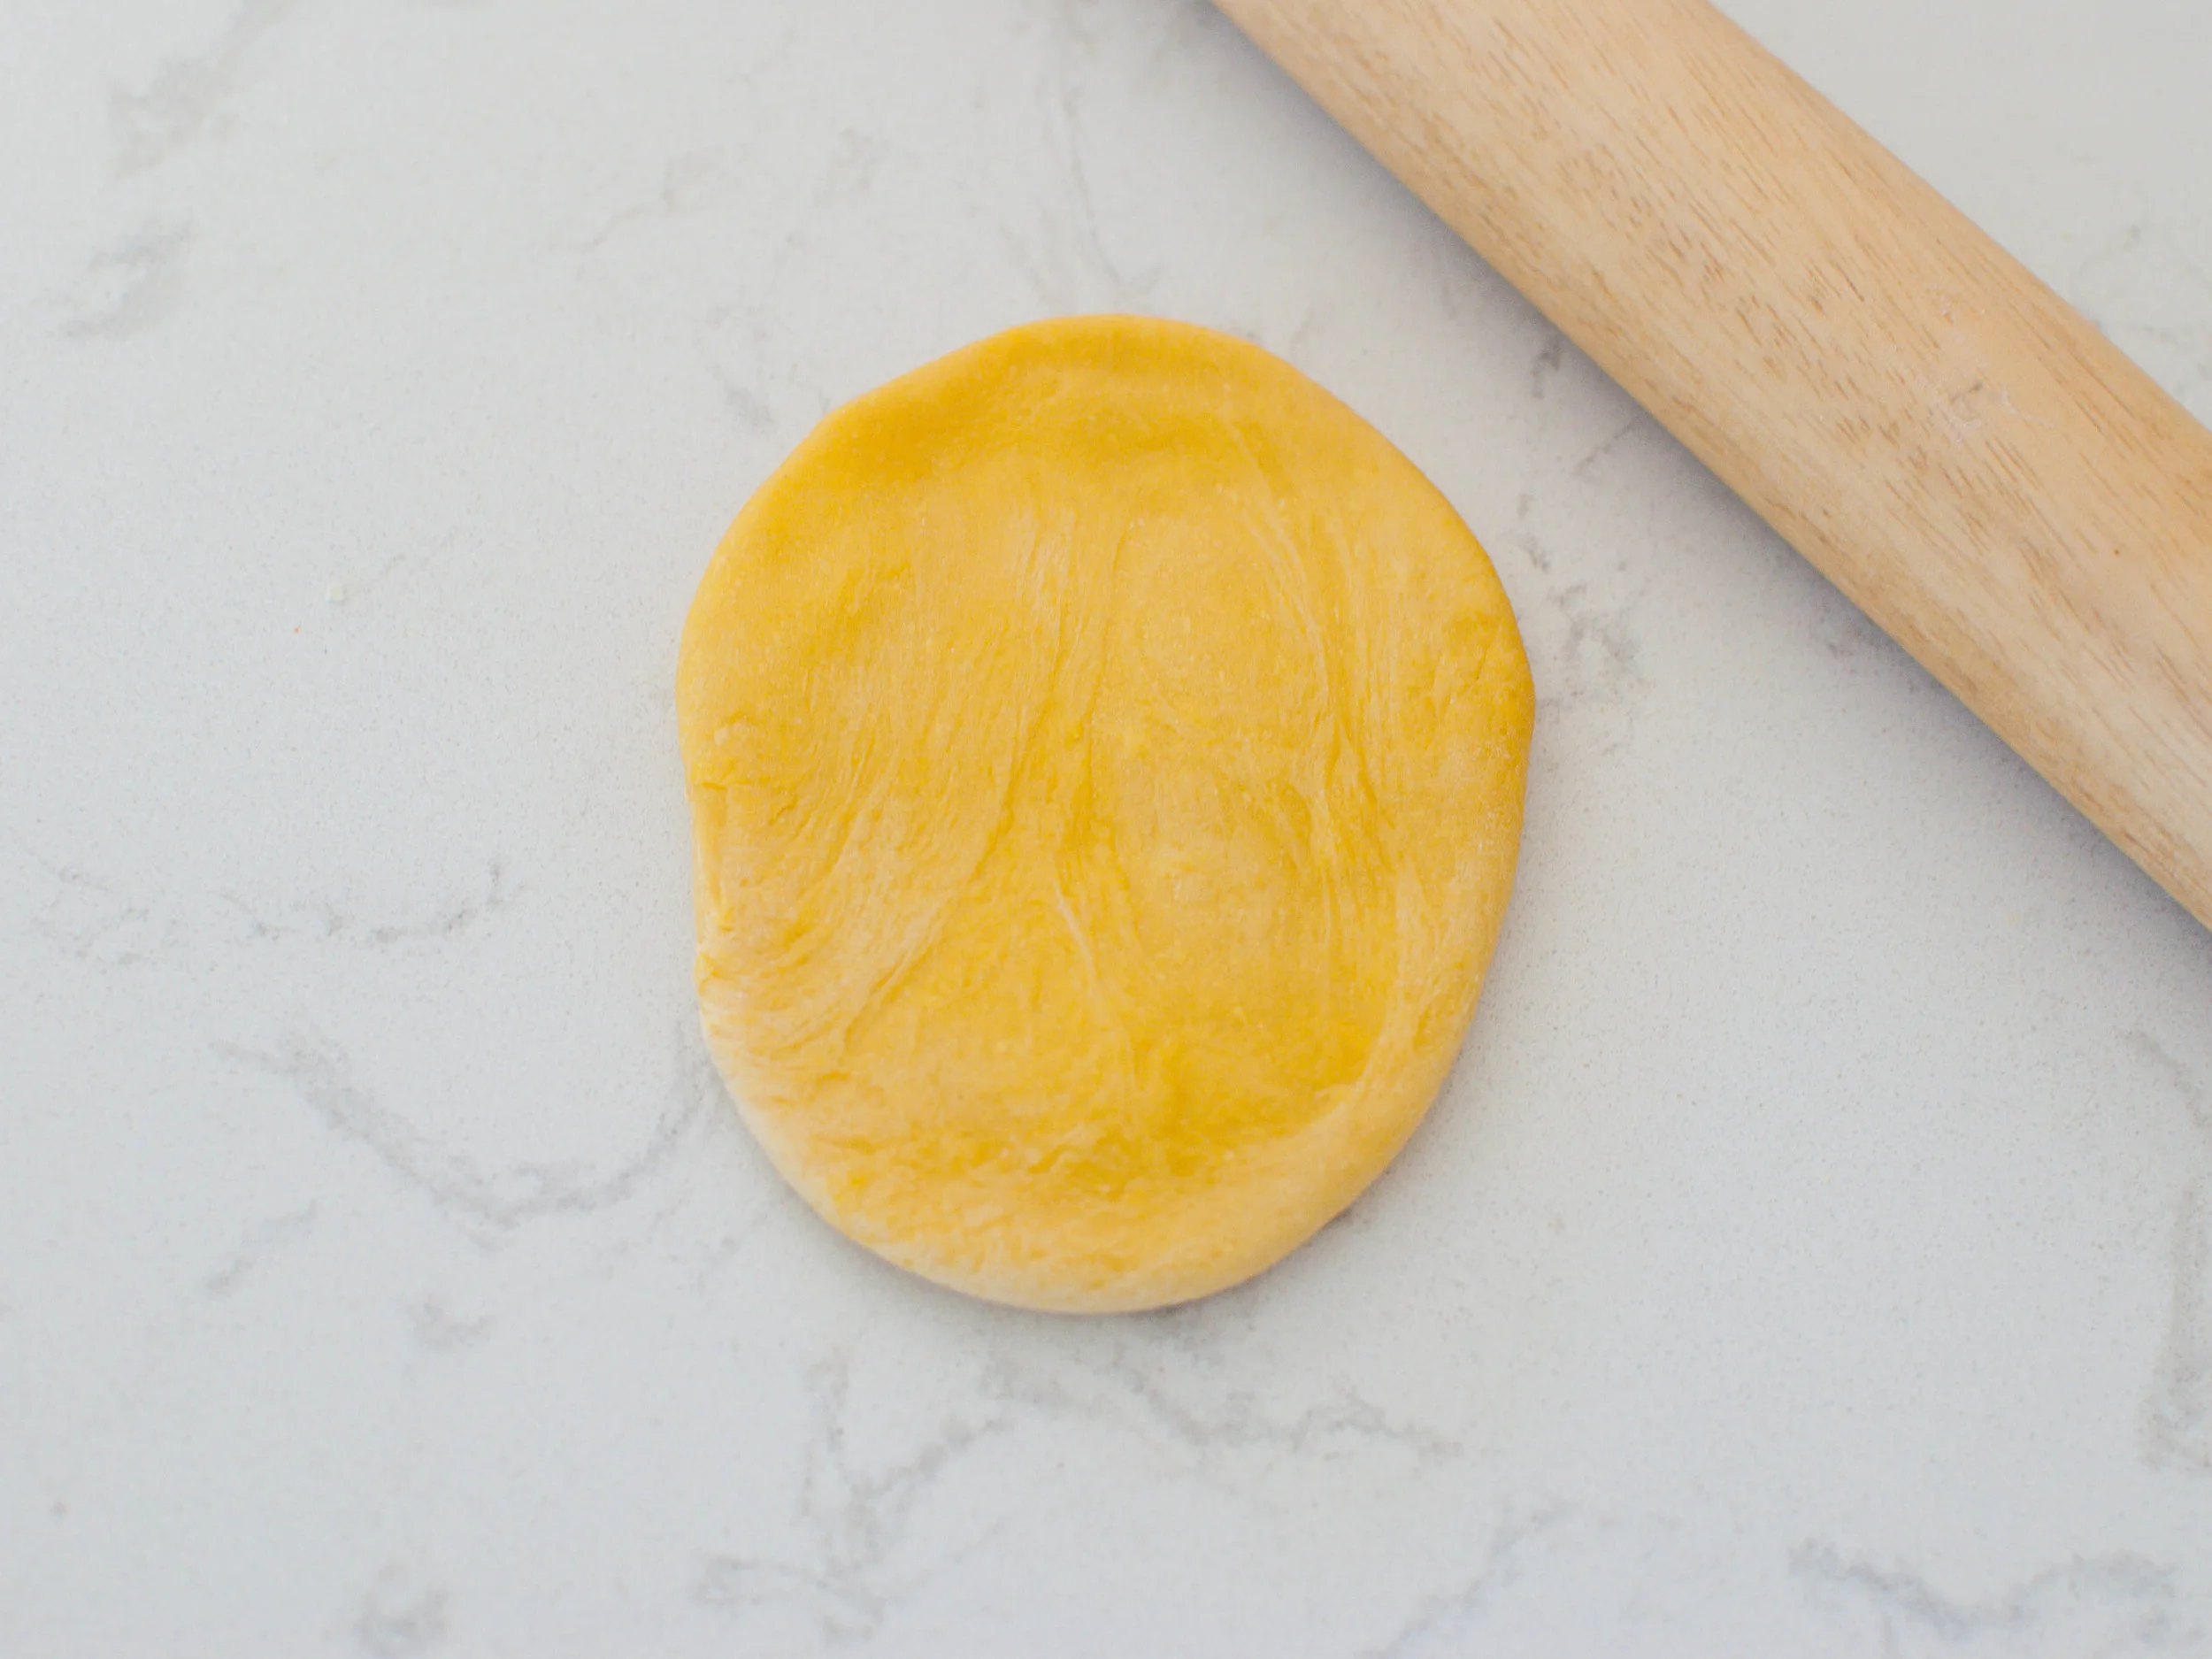
Cut dough into quarters. Place one quarter on a lightly floured work surface and re-cover the remaining dough. Using a rolling pin, roll the dough into an oblong shape about 1/2-inch thick.

Set the pasta machine to the widest setting. Pass the dough through the pasta machine to make a sheet, then repeat 2 more times. 

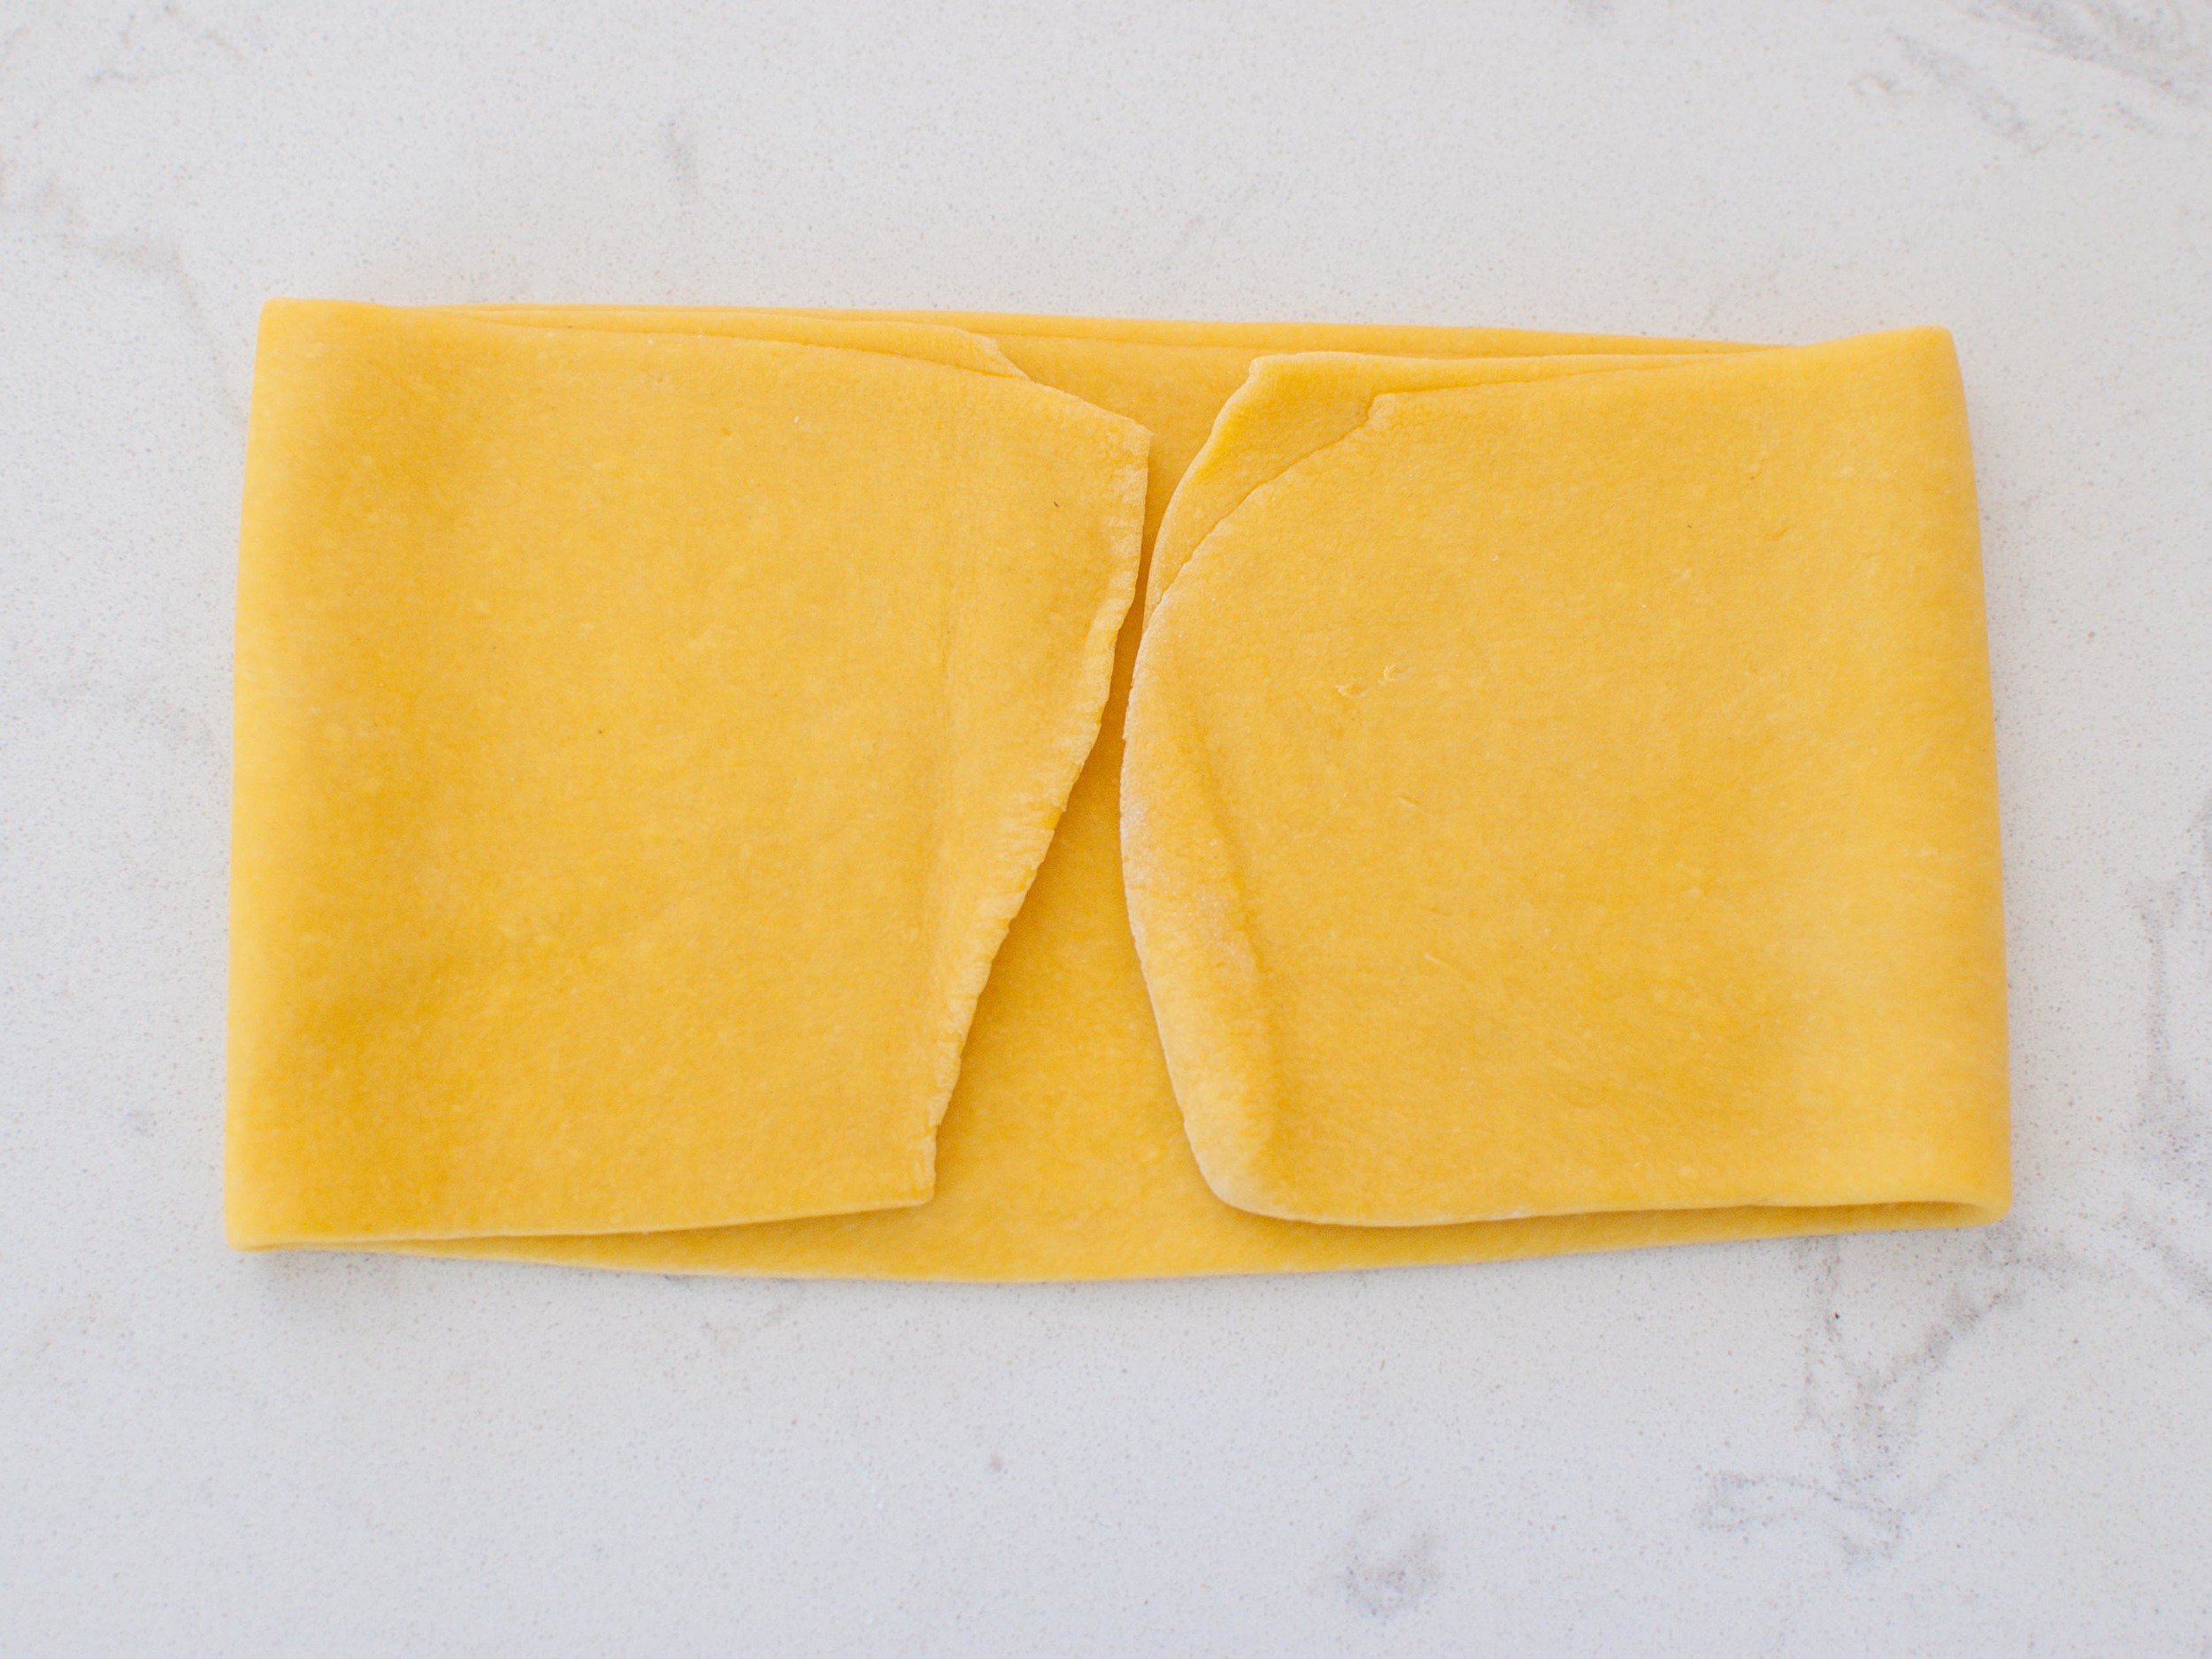
Place dough on a lightly floured work surface. Fold both ends in so that they meet at the center of the dough, and then fold the dough in half where the end points meet, trying not to incorporate too much air into the folds. Using rolling pin, flatten dough to 1/2-inch thick. Pass through the rollers 3 additional times.

Reduce the setting, and repeat rolling and folding the dough, passing it through the machine 2 or 3 times before going to the next setting. For pappardelle and fettuccine, stop rolling when the dough is about 1 or 2 settings wider than the thinnest one on your roller. For lasagna noodles, and for ravioli and other stuffed or filled pasta, go to the thinnest setting. 

Narrow the setting by 1 notch and repeat the folding and rolling process. Repeat once more (the dough should now have passed through the third widest setting). Continue passing the dough through the rollers, reducing the thickness by 1 setting each time until it reaches the desired thickness. It should now be very delicate and elastic to the touch, and slightly translucent.

Place rolled dough onto a work surface or baking sheet lightly dusted with flour or lined with parchment paper, folding the dough over as necessary so that it fits; sprinkle with flour or line with parchment between folds to prevent sticking.

Cover dough with plastic wrap or a kitchen towel to prevent drying, then repeat rolling and folding process with remaining dough quarters. If making noodles, cut dough into 12- to 14-inch segments. Run the dough through the pasta machine again using the cutter attachment, or cut the dough into your desired width using a pizza cutter or chefs knife.

If rolling by hand:

Cut the rested dough into 2 pieces, keeping them covered with plastic wrap or a dish towel when not in use. Use a rolling pin to flatten the dough until it is as thin as a penny for fettuccine and pappardelle, or even thinner for lasagna sheets. This will take some time and arm strength, but the process is easy and the results are rewarding! Cut the noodles to the desired width and length using a pizza cutter or chefs knife.

To cook the pasta:

Bring a large pot of well-salted water to a boil, add fresh pasta and boil for 1 to 3 minutes, depending on thickness of the pasta. Drain well. 

To enjoy this simple indulgence, toss noodles with butter, a light sprinkling of coarse salt, and a heavy shower of freshly grated parmesan cheese. Perfection!

Asparagus, Peas and Fava Beans with Gremolata and Mozzarella by Cynthia Raub

Print Friendly and PDF

Suddenly, they were everywhere. Delicate, thin stalks of asparagus appeared in the markets in all of their glory. They are on special! They are as tender and flavorful as all get out! It was time to get excited about spring vegetables. Granted, asparagus, like most all other produce, is now available year-round. While it is tolerable during the other seasons, out of season asparagus does not compare to the first of the season, local crop. The other spring beauties that shine like green diamonds in the spring are fresh English peas and finicky fava beans. Combined, these veggies make a beautiful statement as a side dish or an alternative to a salad. My initial thought was to dress the vegetables simply with olive oil, salt, pepper and lemon juice. But then I remembered that the lemon juice would turn the green vegetables brown and unappealing. Boo! That's when it occurred to me to dress it with a gremolata: a minced combination of lemon zest, parsley and garlic. The lemon zest would provide the acidic zing, the parsley would bring brightness and even more freshness to the veggie party and the garlic does what garlic was created to do (aka make everything more delicious). Topping this loose, green dish with a soft and white cheese really brought it together and made it a perfect accompaniment to Amy's Fresh Egg Pasta.

Notes: Gremolata can be prepared several ways. I primarily used a microplane to finely grate the garlic and zest the lemon - I found that this method cut down my chopping time tremendously. Some people use a mortar and pestle to make a paste with all of the ingredients, others chop everything completely with a knife, and some use a food processor to get the results they want. Fava beans have a very short and sweet season so they can be cumbersome to acquire. They are also time intensive to shell and prepare. I was committed to fava beans, but if you can't find them or don't want to prepare them, omitting them won't do any harm, either.


Time: 50 minutes
Serves: 4-6

2 bunches of asparagus
1 cup of english peas
1/2 cup fava beans (optional)
3 tablespoons extra virgin olive oil
2 teaspoons kosher salt
1 teaspoon freshly cracked pepper

1 lemon
3 garlic cloves
1 cup of parsley leaves, packed

8 oz fresh mozzarella (or burrata)

In a large pot, bring salted water to a rolling boil over medium heat. Fill a large bowl with ice and water - set ice bath aside. Prepare asparagus bunches by cutting off the woody ends (about 2 inches). Blanch asparagus for 1-2 minutes depending on the thickness of your asparagus stalks and your vegetable doneness preference. Remove from boiling water with tongs and submerge in the ice bath to stop the cooking. Remove asparagus from the ice bath onto a towel to absorb the excess water.

In the same pot of boiling water, blanch and cool the peas as you did the asparagus. Set aside.

Lastly, blanch the fava bean pods in the boiling water for 2-4 minutes cooking them through. Strain the pods and set aside to cool. Once the pods are cool, remove the waxy bean shells from the pod. Using a small pairing knife, slit the waxy shells to release the beans. Set the shelled beans aside.

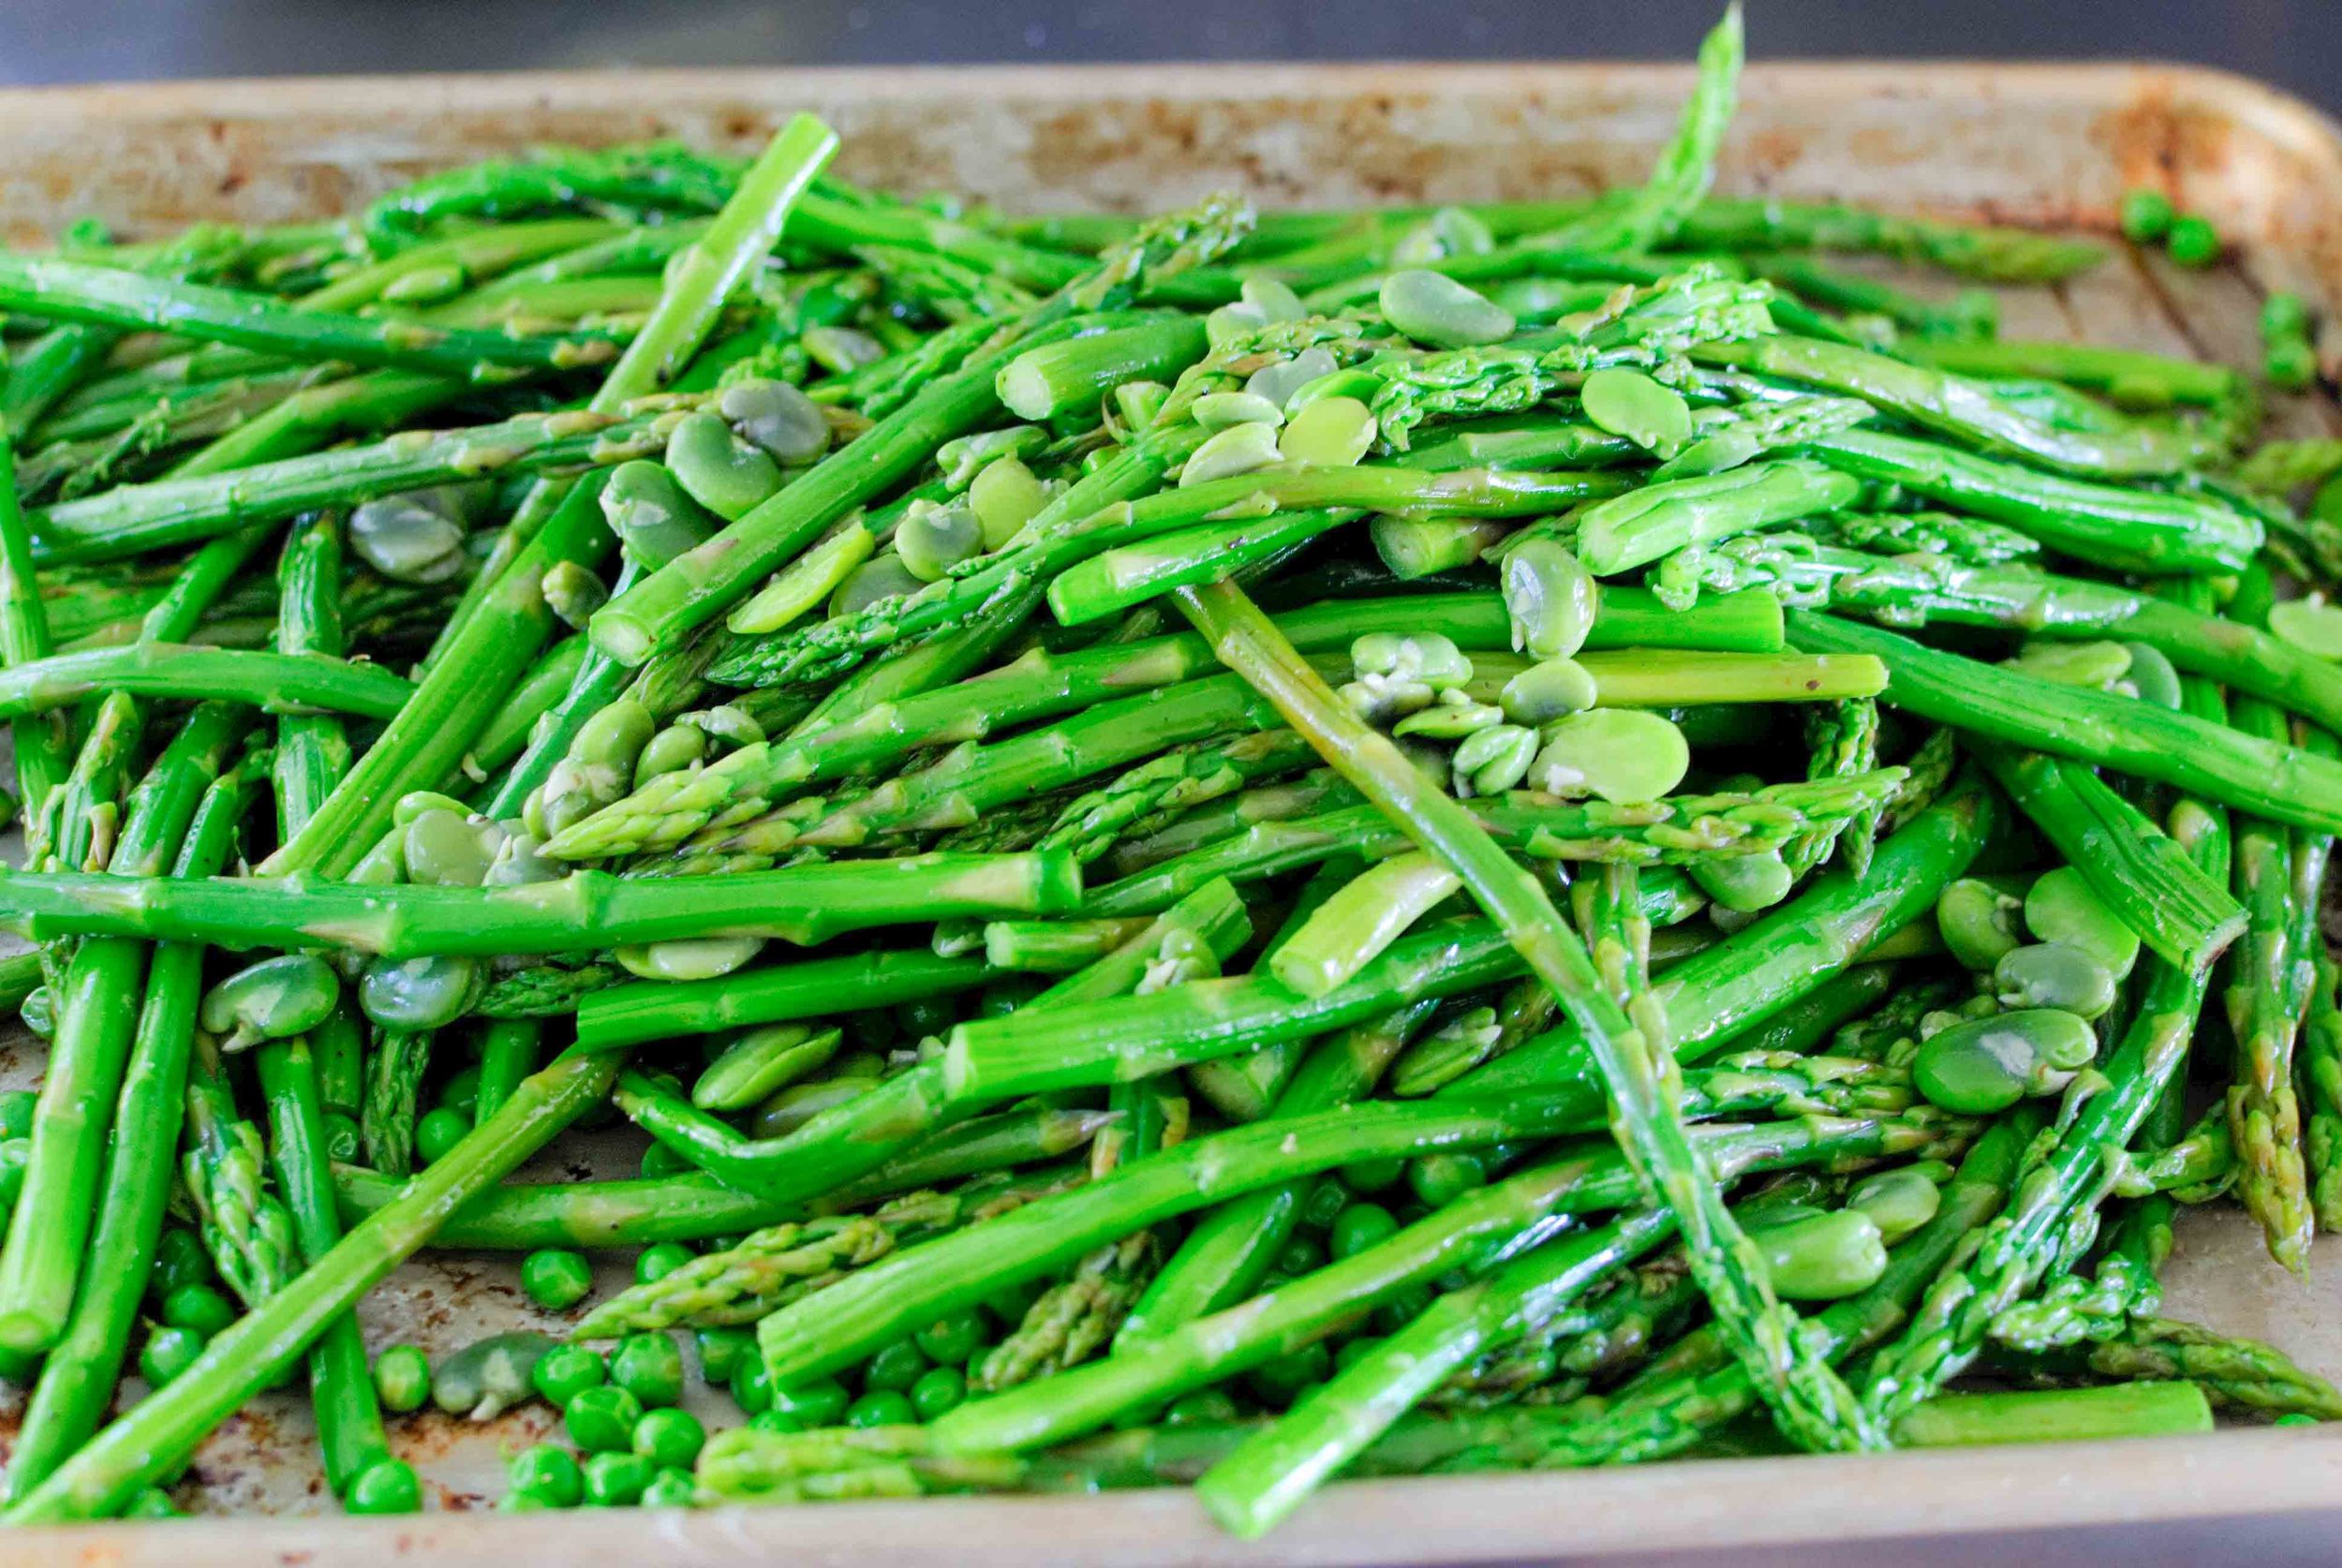
In a large bowl (I used a half sheet baking pan), gently combine the asparagus, peas and fava beans. Season the vegetables with kosher salt, pepper and olive oil.

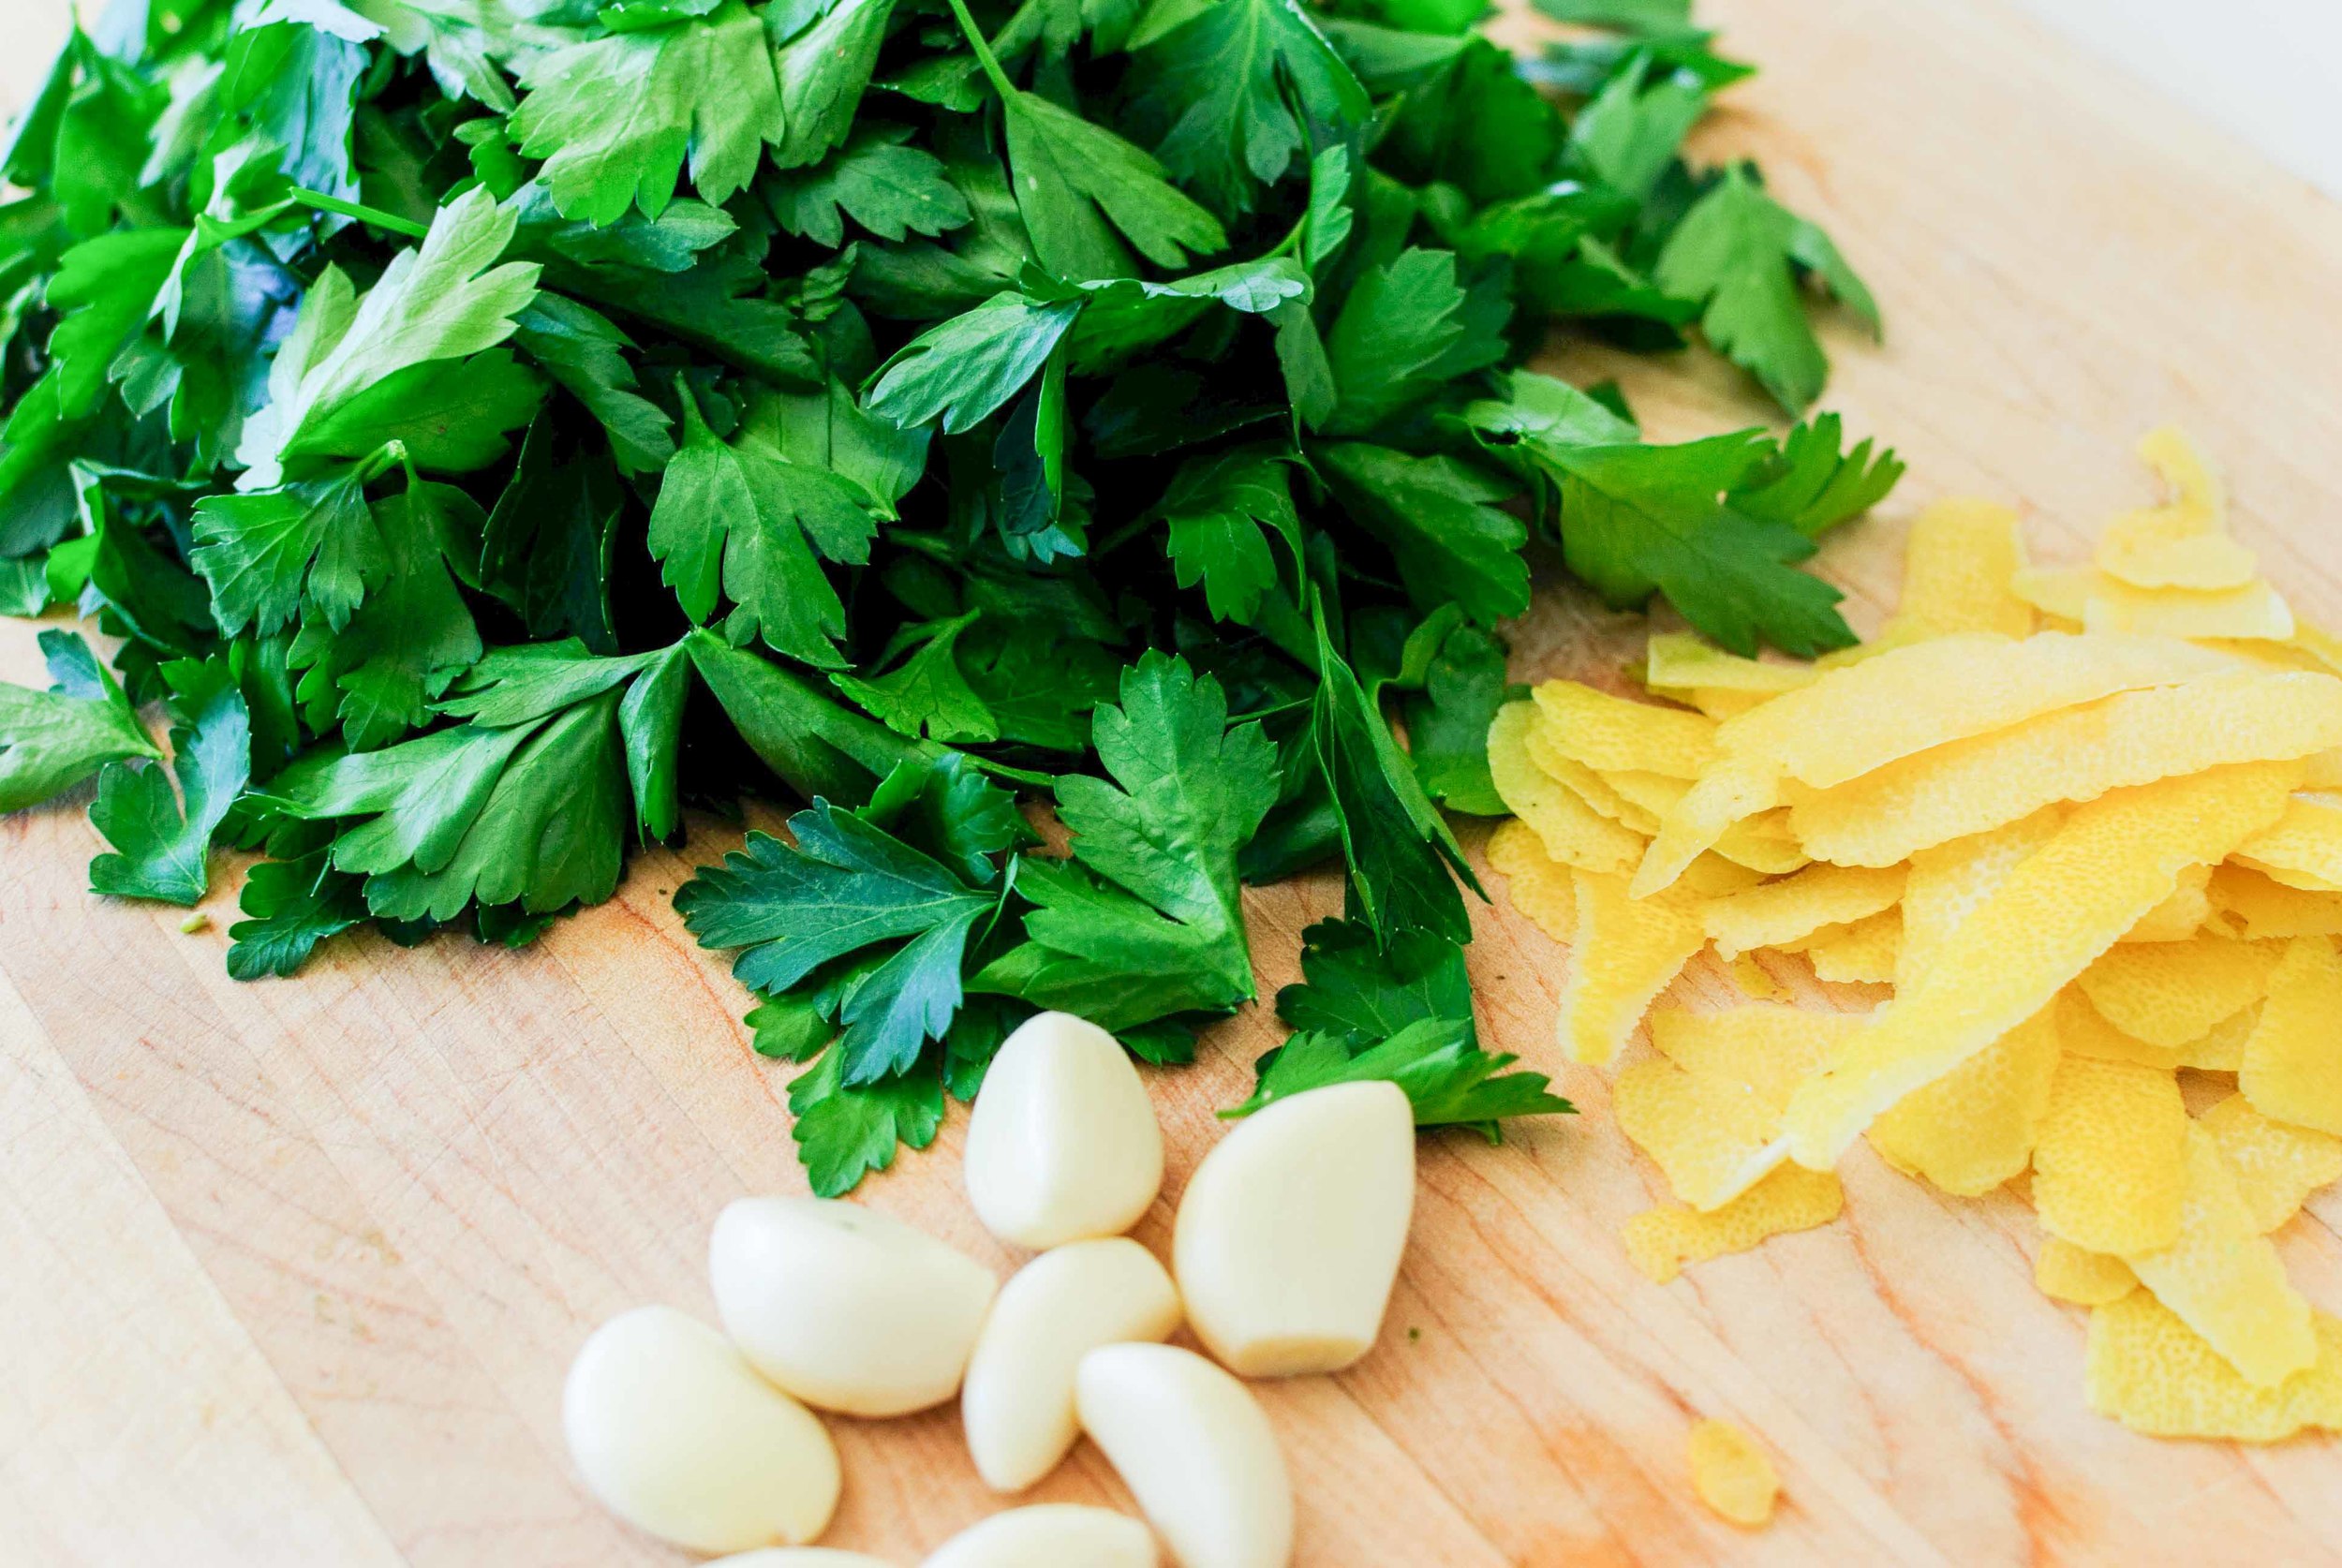
For the gremolata: using a microplane, zest one entire lemon onto your cutting board. Microplane the garlic on top of the lemon zest. Finely chop the parsley on the same cutting board, incorporating the lemon zest and grated garlic as you mince away until everything is well combined.

Sprinkle the asparagus mixture with the gremolata to taste. Mix and combine, and let sit for 15 minutes to allow the flavors to meld before serving. Tear mozzarella and dot over asparagus. Taste and adjust seasoning, adding salt or gremolata as necessary!

Tod Mun (Thai Fish Cakes) with Cucumber-Peanut Relish by Amy Cantu

Print Friendly and PDF

These crispy, spicy fish cake fritters are so fun to eat! They are perfectly sized for a shared appetizer or for the fingers of little children. We made them less spicy for the preschool-set, but feel free to adjust to your fiery tastebuds' delight. The long beans add a bit of extra texture to the fritters, and the cucumber relish infuses each bite with sweetness, tanginess, spiciness, and crunch!

Notes: Since the heat and saltiness of curry pastes and fish sauce can vary a lot from brand to brand, I recommend frying a little tester patty to see how it tastes and then adjusting the seasonings to your liking. Start with the smaller amounts and then ratchet up from there.

Long beans are found in Asian grocery stores, but you can substitute green beans if you can't find them. Fish paste is found at the seafood counter or frozen section of Asian grocery stores. If you can't source already prepared fish paste, you can make your own at home. Buy any firm white fish fillet - grind it up in a food processor or blender with 1-2 ice cubes until you have a fine paste.


Time: 30 minutes
Serves: 4-6 as an appetizer

1 lb fish paste
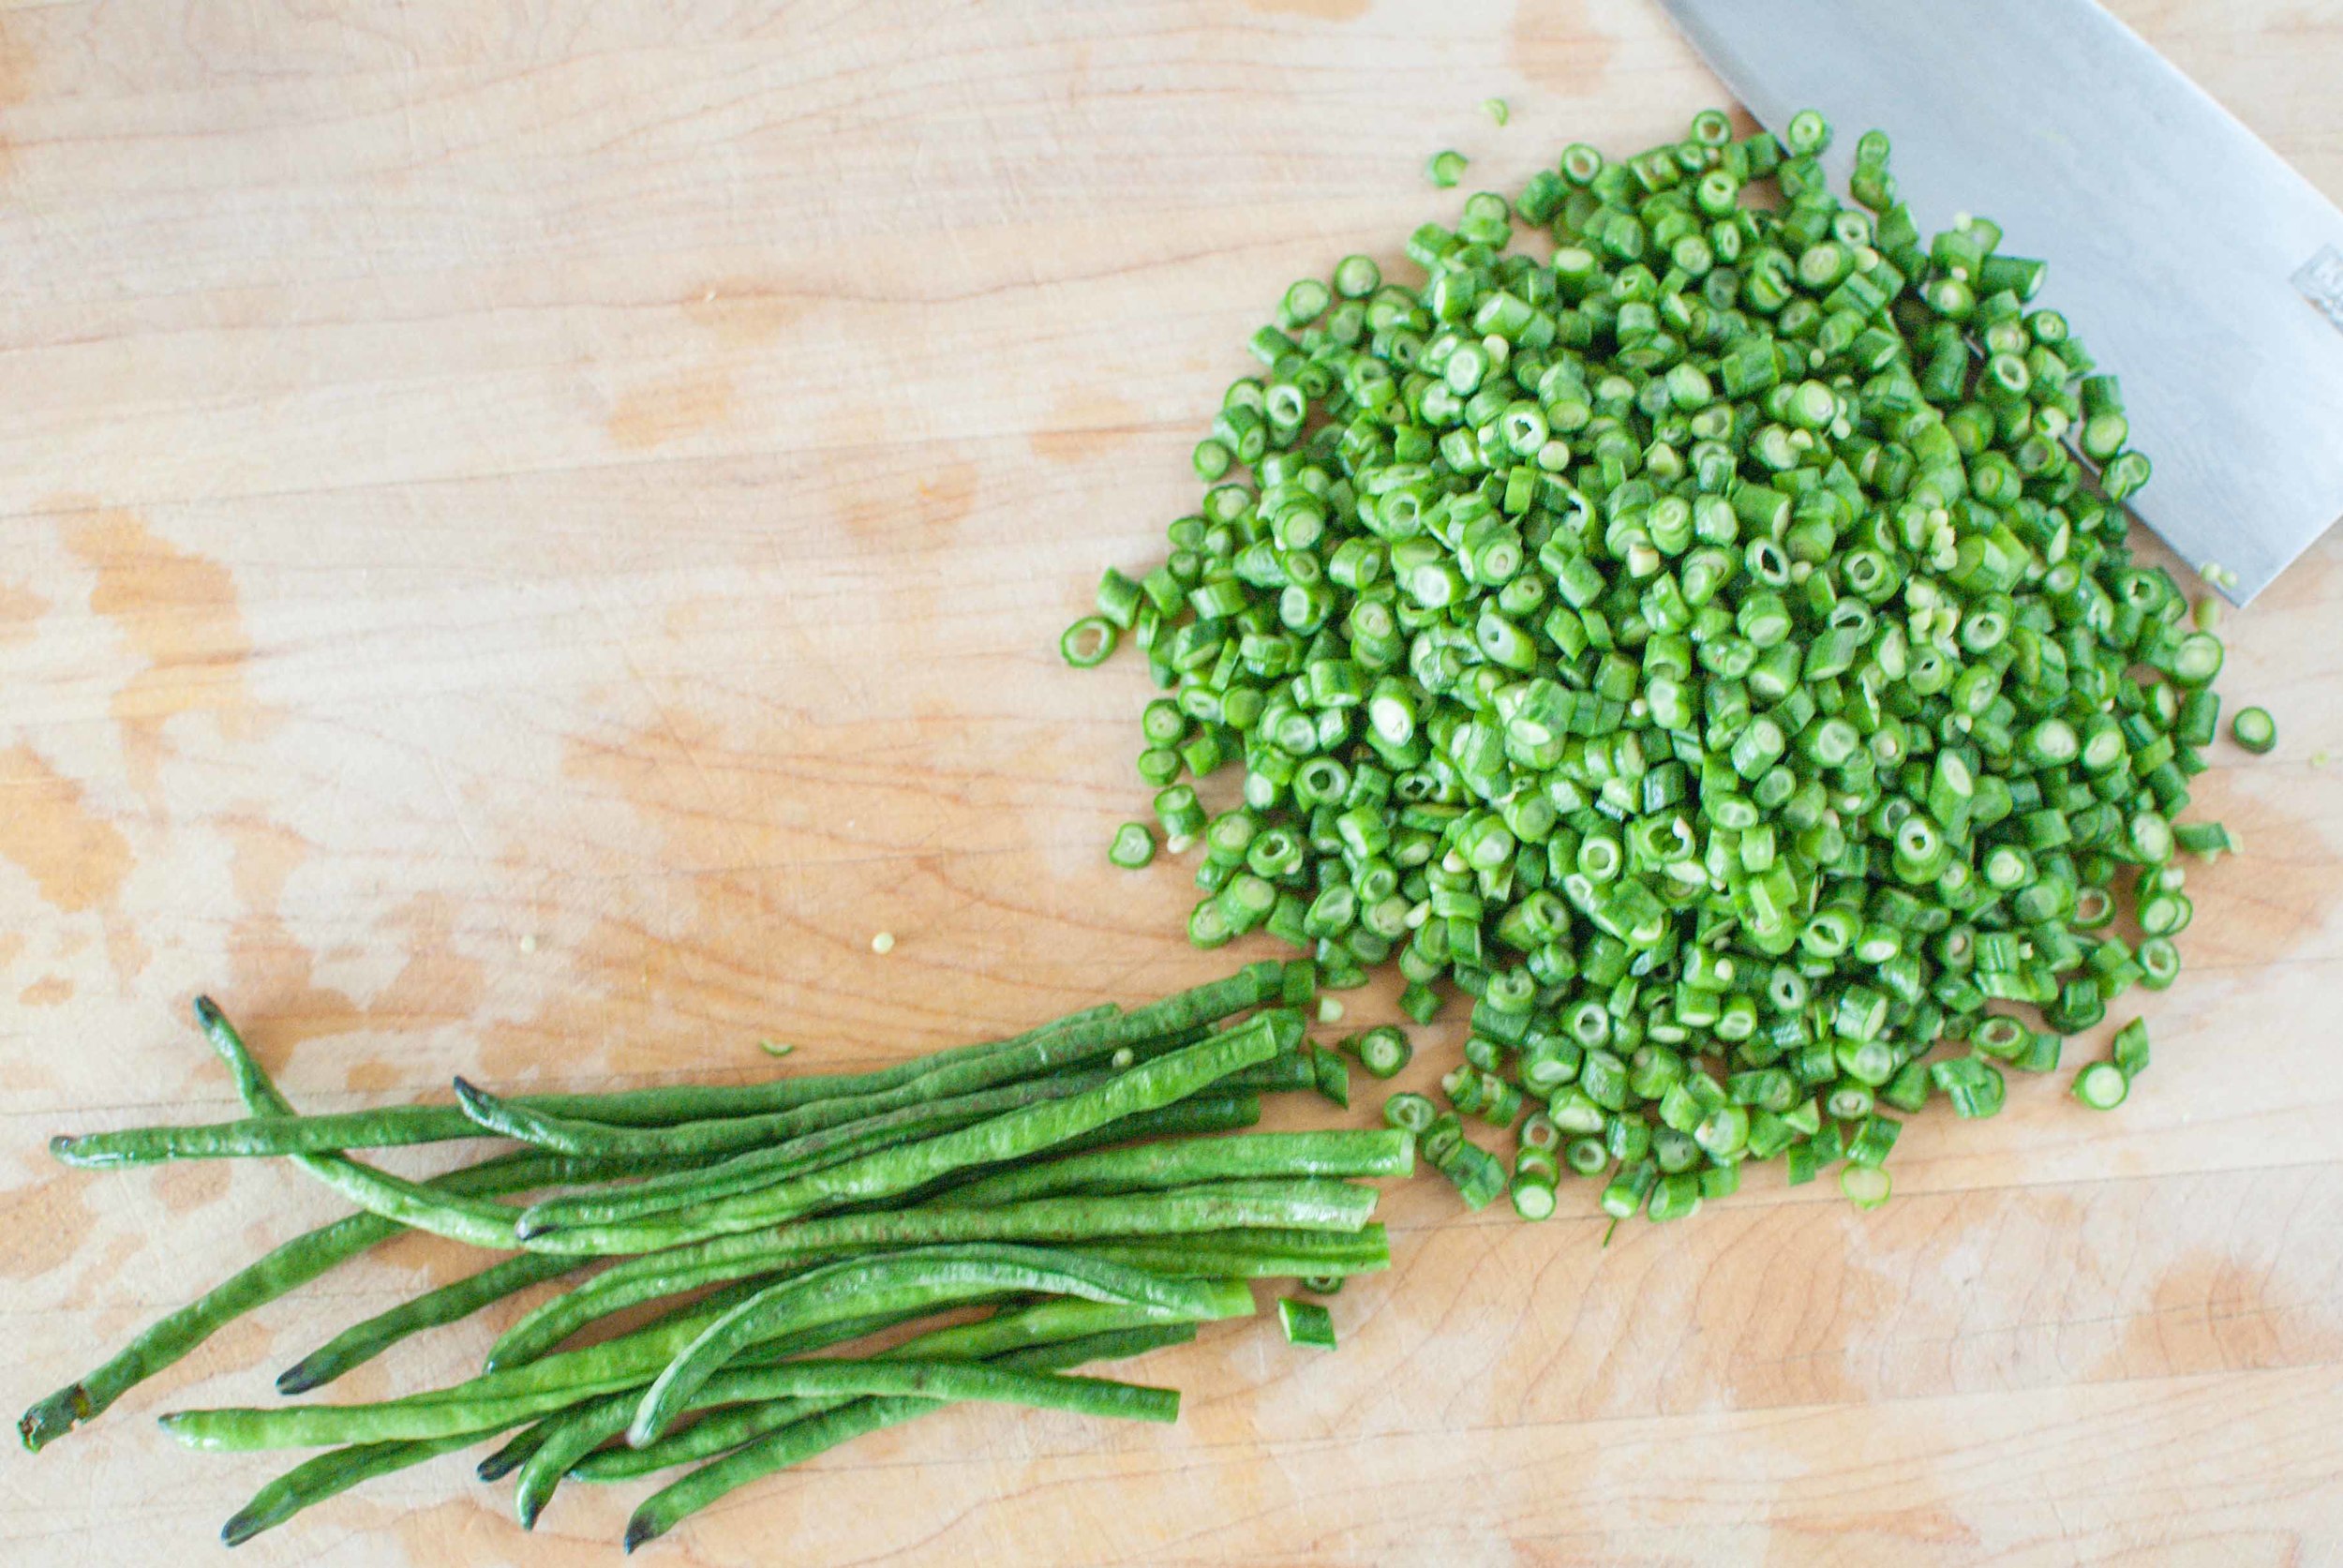
¾ cup long beans, chopped into small pieces
3 tablespoons makrut lime leaves, thinly sliced
1-2 tablespoons red curry paste, to taste
2 teaspoons brown sugar
1 egg lightly beaten
2 teaspoons fish sauce or more to taste
Oil for frying
Cucumber Relish (see recipe below)

Make cucumber relish (see recipe below) and set aside while making the fish cakes

Combine all ingredients in a large bowl. Stir well until ingredients are evenly distributed.

Heat oil over medium-high heat. You will need about 3 inches of oil for frying. Drop a small amount of fish mixture into the hot oil and fry until brown to do a taste test. Different brands of curry paste and fish sauce can vary in saltiness and intensity. Adjust the seasoning to your liking - more curry paste to make it spicier and more fish sauce to make it saltier.

Set cooling rack over a paper-towel lined baking sheet, and set aside. Set a small bowl of water and fish mixture near the stove. Use the water to wet hands. Spoon about 2 tablespoons of the fish mixture into your hands (roughly the size of a golf ball), and flatten into a patty (⅓-½ inch thick). Carefully drop patty into the oil, and repeat, being careful not to overcrowd the pot. Fry the patties until they are puffy and brown. Remove from oil and drain on the prepared rack.

Devour Tod Mun while still hot, topped with Cucumber Relish.

Cucumber Relish

½ lb seedless cucumber (such as English or Persian), peeled, small dice, including watery center
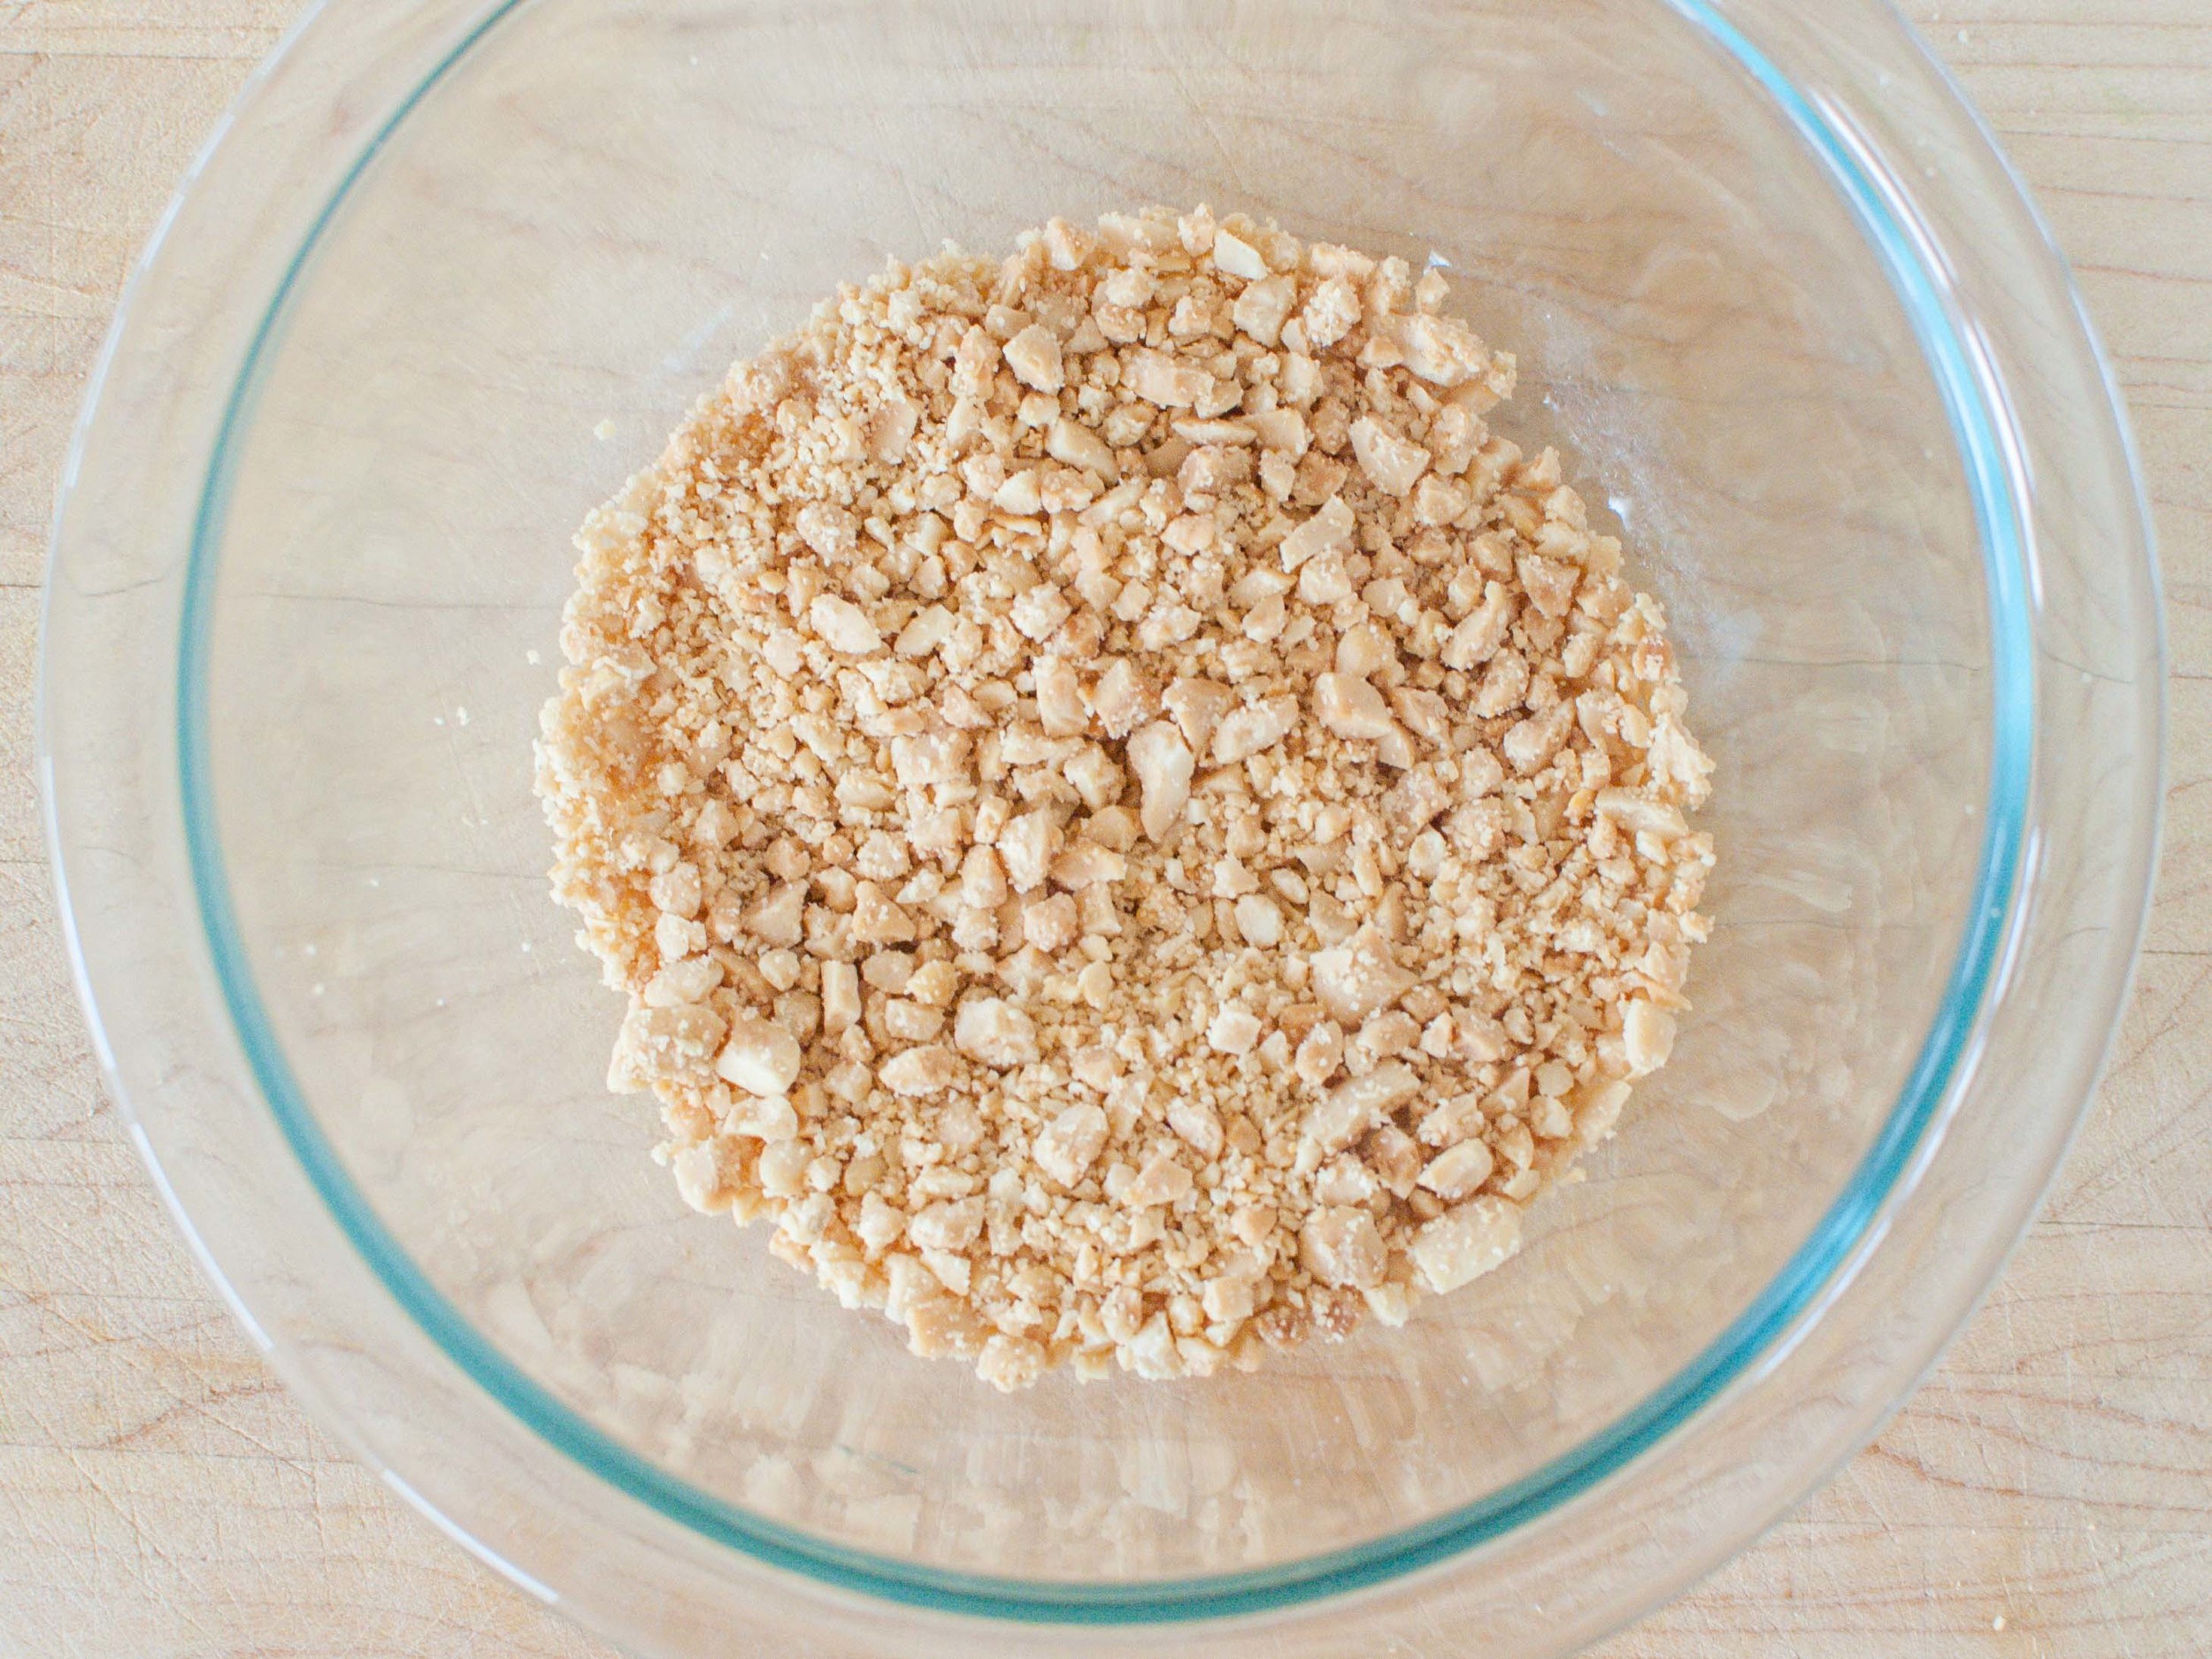
½ cup peanuts, crushed with a rolling pin or finely chopped
2 cloves garlic, minced
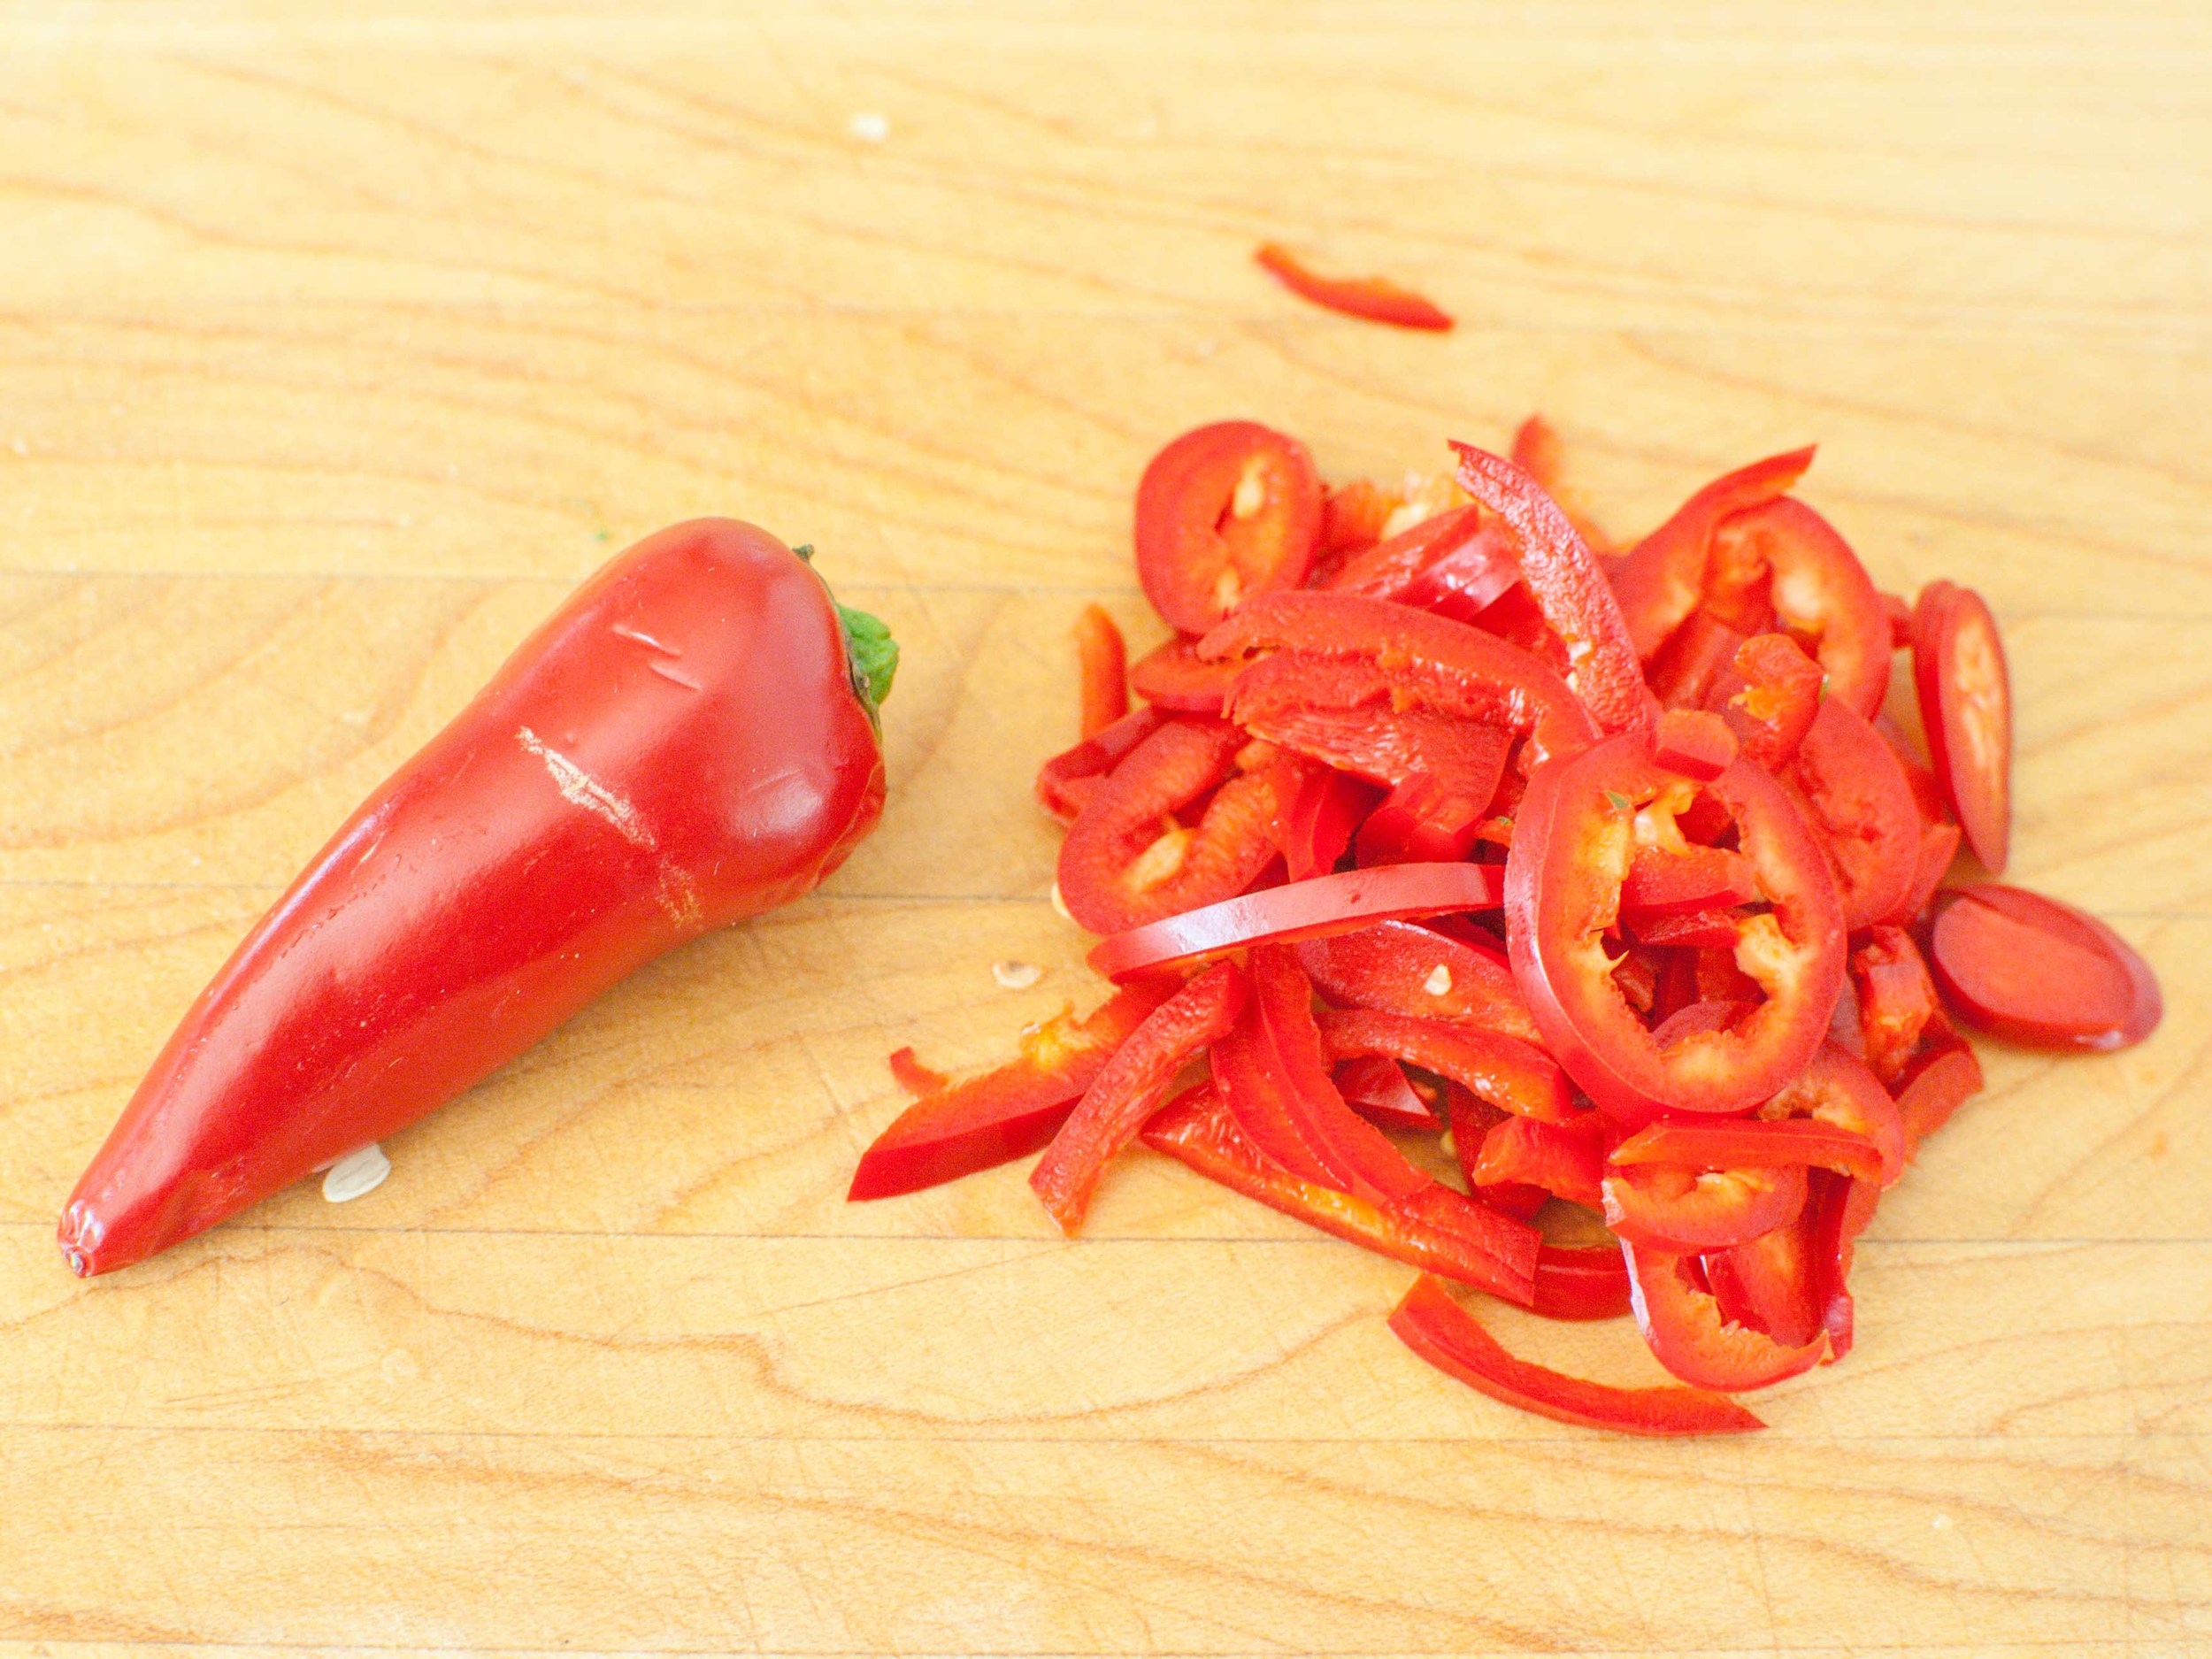
¼ cup red jalapeno, seeded, thinly sliced or 1-2 Thai bird chilies, thinly sliced (jalapeno is much less spicy)
3 tablespoons rice vinegar
2 tablespoons sugar
1 teaspoon kosher salt
¼ cup thinly sliced shallot (about ½ of a large shallot)

Combine all ingredients in a bowl and stir well. Taste and adjust seasonings. Cucumbers will release a lot of liquid, which creates a sauce for the Tod Mun. Let sit for at least 10 minutes before serving. 

Broccoli Cooked Forever by Amy Cantu

Print Friendly and PDF

I cannot rave more about this broccoli . . . confit? Sauce? Butter? Stuff that I could eat straight from the pot with a spoon? Whatever you want to call it, Roy FInamore's Broccoli Cooked Forever is truly magical. Normally broccoli cooked for longer than a few quick minutes conjures up words like soggy, mushy, stinky, and other rather unpleasant thoughts. I assure you, that this broccoli is none of that. Cooked slowly in a bath of rich olive oil, slivers of garlic, piquant peppers, and umami-rich anchovies, the broccoli transforms into this ethereal substance that tastes almost sinful when spread over slices of toasted rustic bread, smeared onto a pizza such as in Pizza Two Ways, tossed into a pasta, or spooned over softly scrambled eggs. It even makes a fantastic sandwich spread or topping for fish or chicken with a squeeze of lemon. You get the idea.

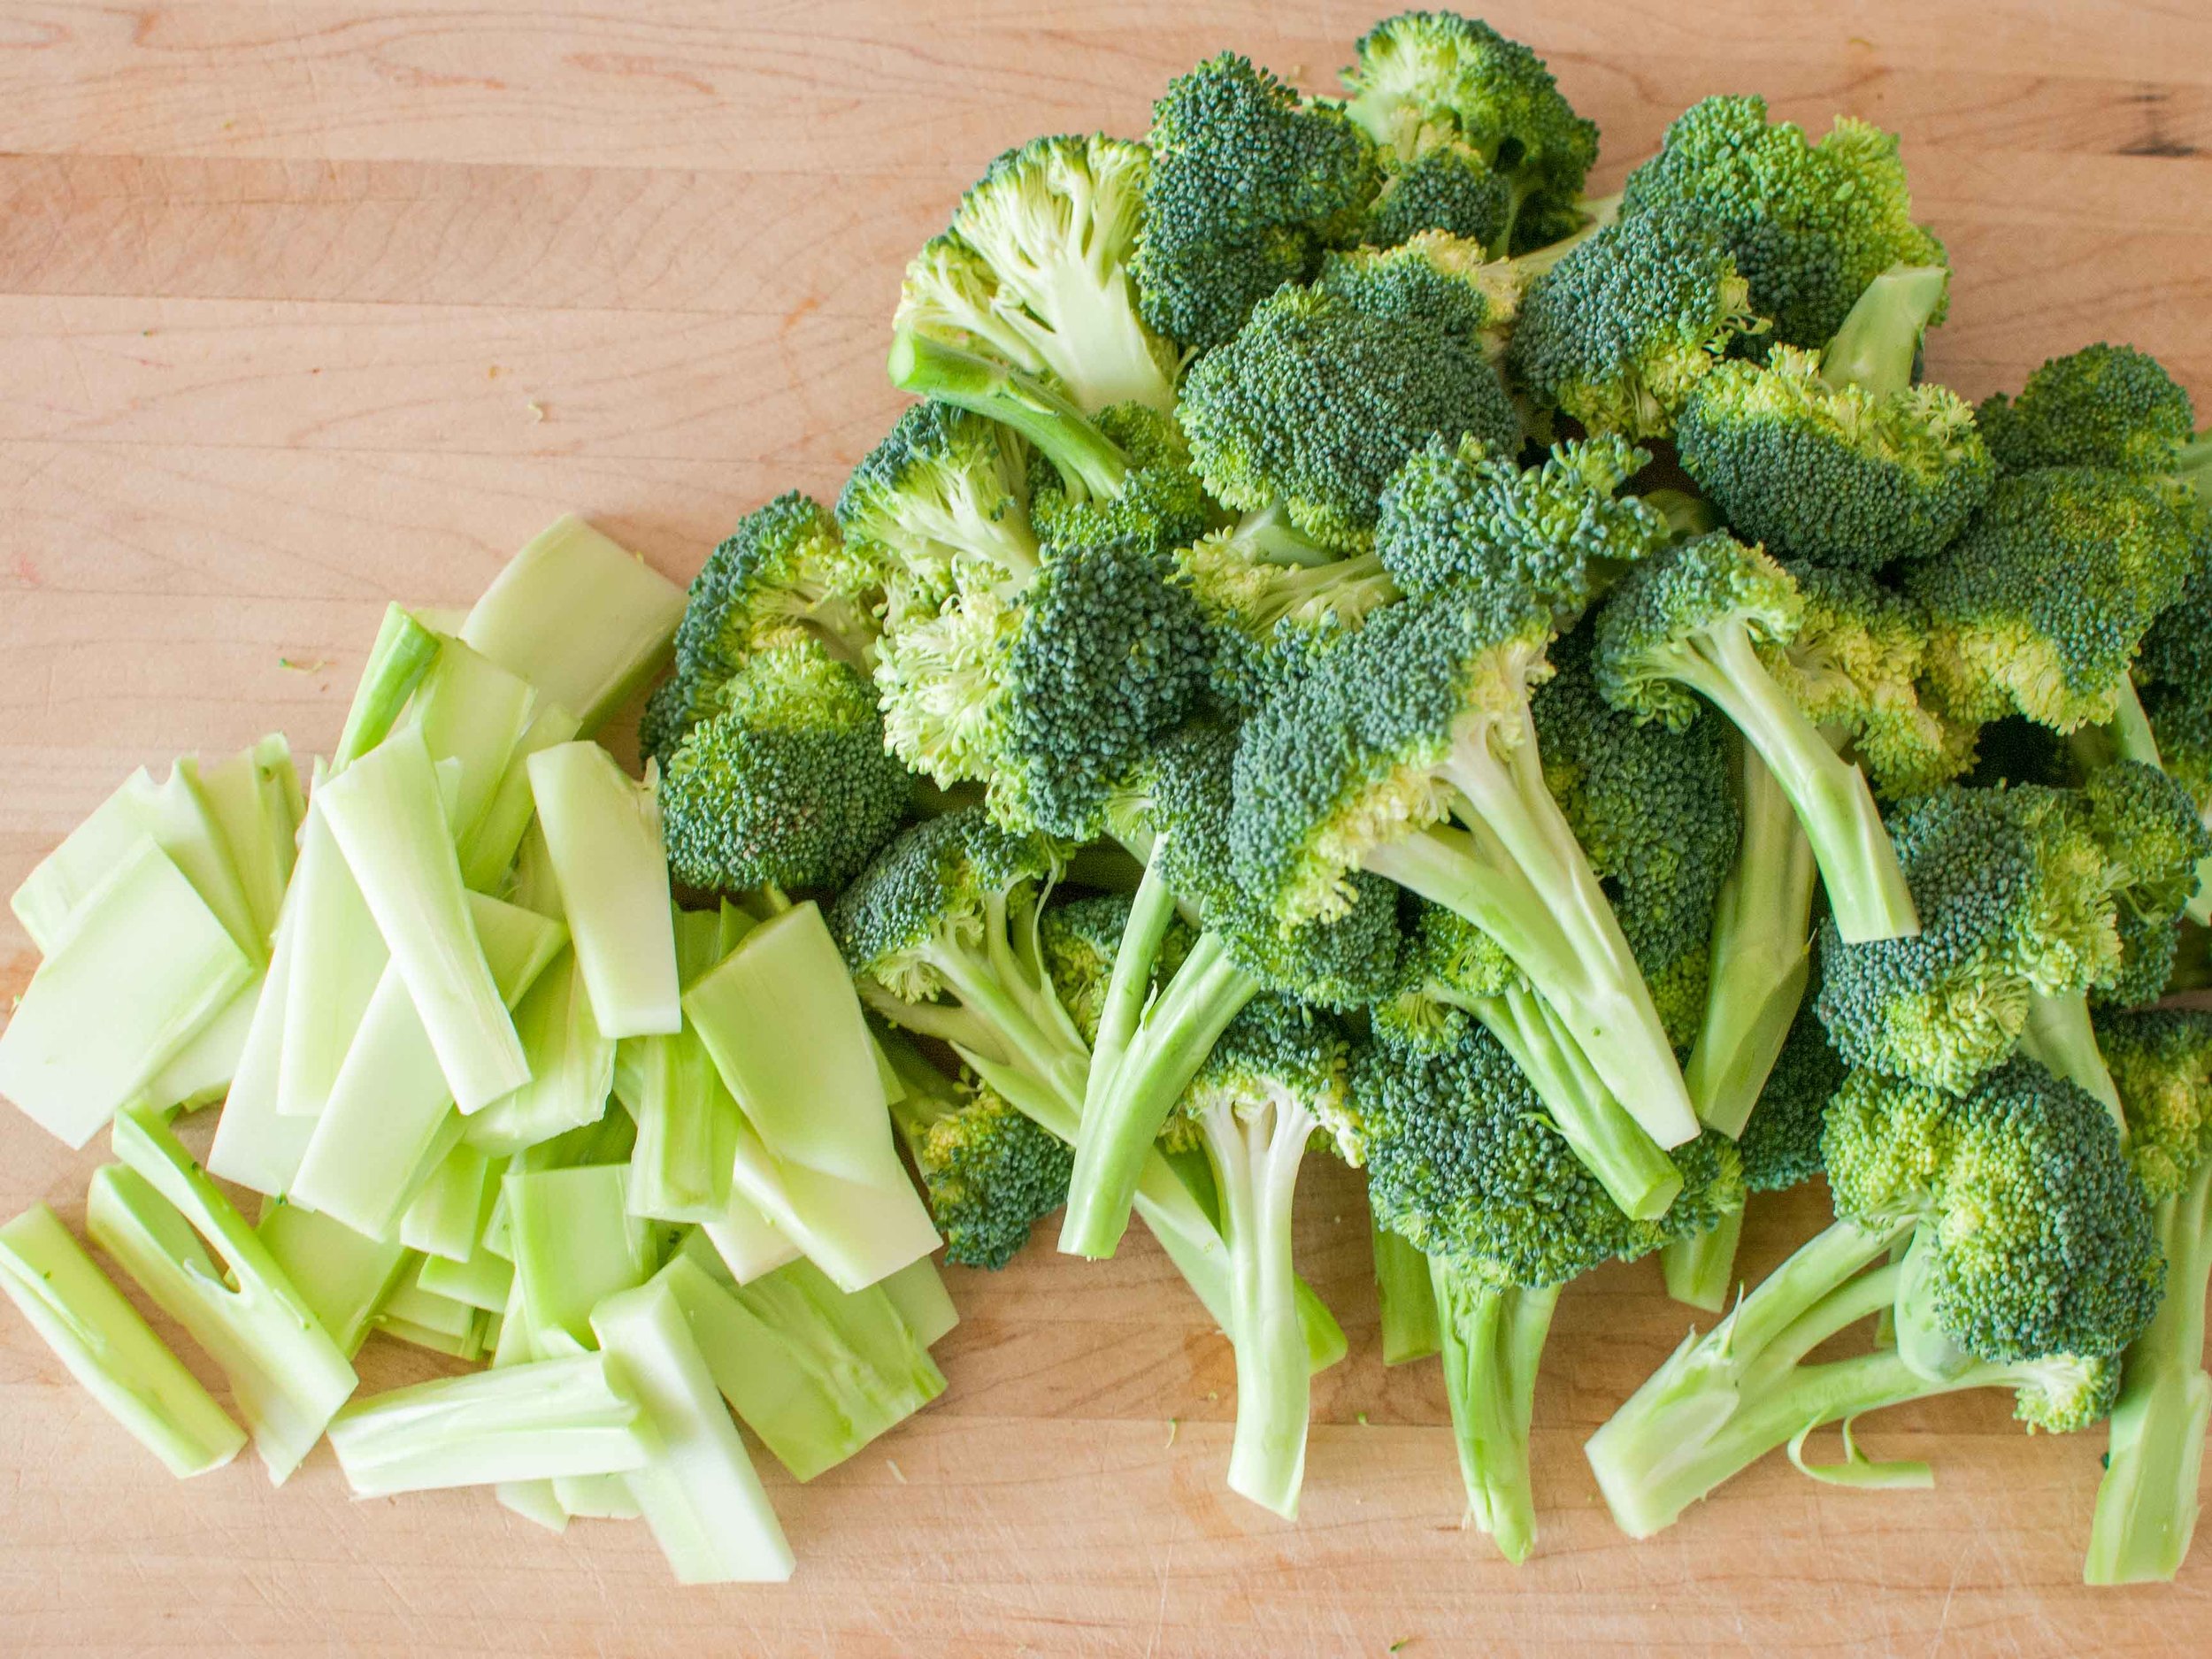
Notes: I did not change one thing about this recipe, but here are a few thoughts and tips.  I used the option for red pepper flakes, since that's what I had on hand. One cup of oil sounds like a lot, but honestly, that's also what makes it so delicious. You could certainly get away with using less oil, but then it won't quite produce the same richness. Please use a large pan for this recipe (not a stock pot or dutch oven) and don't buy pre-cut broccoli florettes. I once made this in a dutch oven with an extra pound of broccoli, using pre-cut florettes, and less olive oil. It was not the same. It was, dare I say it, tasteless mush. The broccoli needs to be cut into very large pieces (see the photos below) in order to keep just enough texture in the final product, so that it isn't pasty. It also needs the extra surface area from a large pan for the flavors to concentrate properly and not just steam. Also, even if you think you don't like anchovies, I swear that you will not taste anything remotely fishy. The anchovies add a deep, savory flavor that the broccoli wouldn't achieve on it's own. Don't leave it out! OK, if you really, really want to leave it out, you can. But maybe substitute some chopped capers for something a little different. I'm also considering giving cauliflower or butternut squash the same cooking treatment, and I imagine only great things!


Recipe from Roy Finamore's cookbook, Tasty: Get Great Food on the Table Every Day, and can also be found here.

Time: 20 minutes (2 hours inactive time)
Servings: 4 to 6

2 bunches (2-2 1/4 pounds) broccoli
1 cup olive oil
3 garlic cloves, sliced thin
2 small hot peppers, halved lengthwise (Finamore likes small red peppers, but you can substitute green Thai chiles, various dried ones, even a big pinch of red chile flakes)
4 anchovy fillets, chopped
Coarse salt and freshly ground black pepper

Bring a large pot of water to a boil.

While the water is heating, cut the florets off the broccoli, leaving them in large pieces. Peel the stems and cut them into rather thick slices, about 1/3 inch.

When the water comes to a boil, add the broccoli and cover the pot to bring it back to a boil quickly. Blanch the broccoli for five minutes. Drain.

Put olive oil and garlic in a large skillet over medium heat. When the garlic starts to sizzle, add the hot peppers and anchovies. Cook, giving a stir or two, until the anchovies melt. Add the broccoli, season with salt and pepper, and stir well. Cover the skillet, turn the heat to very low, and cook for two hours. Use a spatula to turn the broccoli over in the skillet a few times, but try not to break it up. It will be very tender when done.

Use a slotted spoon to transfer the broccoli to a serving dish. It is delicious hot or at room temperature.
 

Pancetta Caesar Salad by Amy Cantu

Print Friendly and PDF

Nothing really tops a Caesar Salad when it comes to a creamy dressing and cool, crunchy lettuce. I don't even like creamy salad dressings, but I make a rare exception for this one! The dressing is at once creamy and refreshing, with it's lemony, garlicky zing. This Caesar Salad gets a salty-sweet twist and added textural interest from the crispy bits of pancetta and sweet bites of grape tomatoes.

Notes: The original recipe from Ina Garten roasts the tomatoes and calls for large chunks of pancetta, but this streamlined version saves time and keeps it fresh by serving the grape tomatoes raw. Reducing the amount of pancetta and using smaller bits, adds big flavor but still allows the salad to accompany meatier or heavier main entrees, such as in Pizza Two Ways.


Time: 30 minutes
Serves: 6-8

3 oz pancetta, very small dice
1 pint grape tomatoes
2 large heads romaine lettuce
1 cup freshly grated Parmesan

1 extra-large egg yolk at room temperature*
2 teaspoons Dijon mustard
2 large cloves garlic, chopped
8 to 10 anchovy fillets
1/2 cup freshly squeezed lemon juice (3 lemons)
2 teaspoons kosher salt
1/2 teaspoon freshly ground black pepper
1 1/2 cups mild olive oil
1/2 cup freshly grated Parmesan cheese

In a medium frying pan, cook the pancetta over medium heat until the fat is rendered and the pancetta is a deep golden brown. Drain over paper towels in a small bowl, and set aside.

Cut romaine lettuce cross-wise into 1 1/2 inch strips, then rinse and dry well. (A salad spinner is helpful for this.)

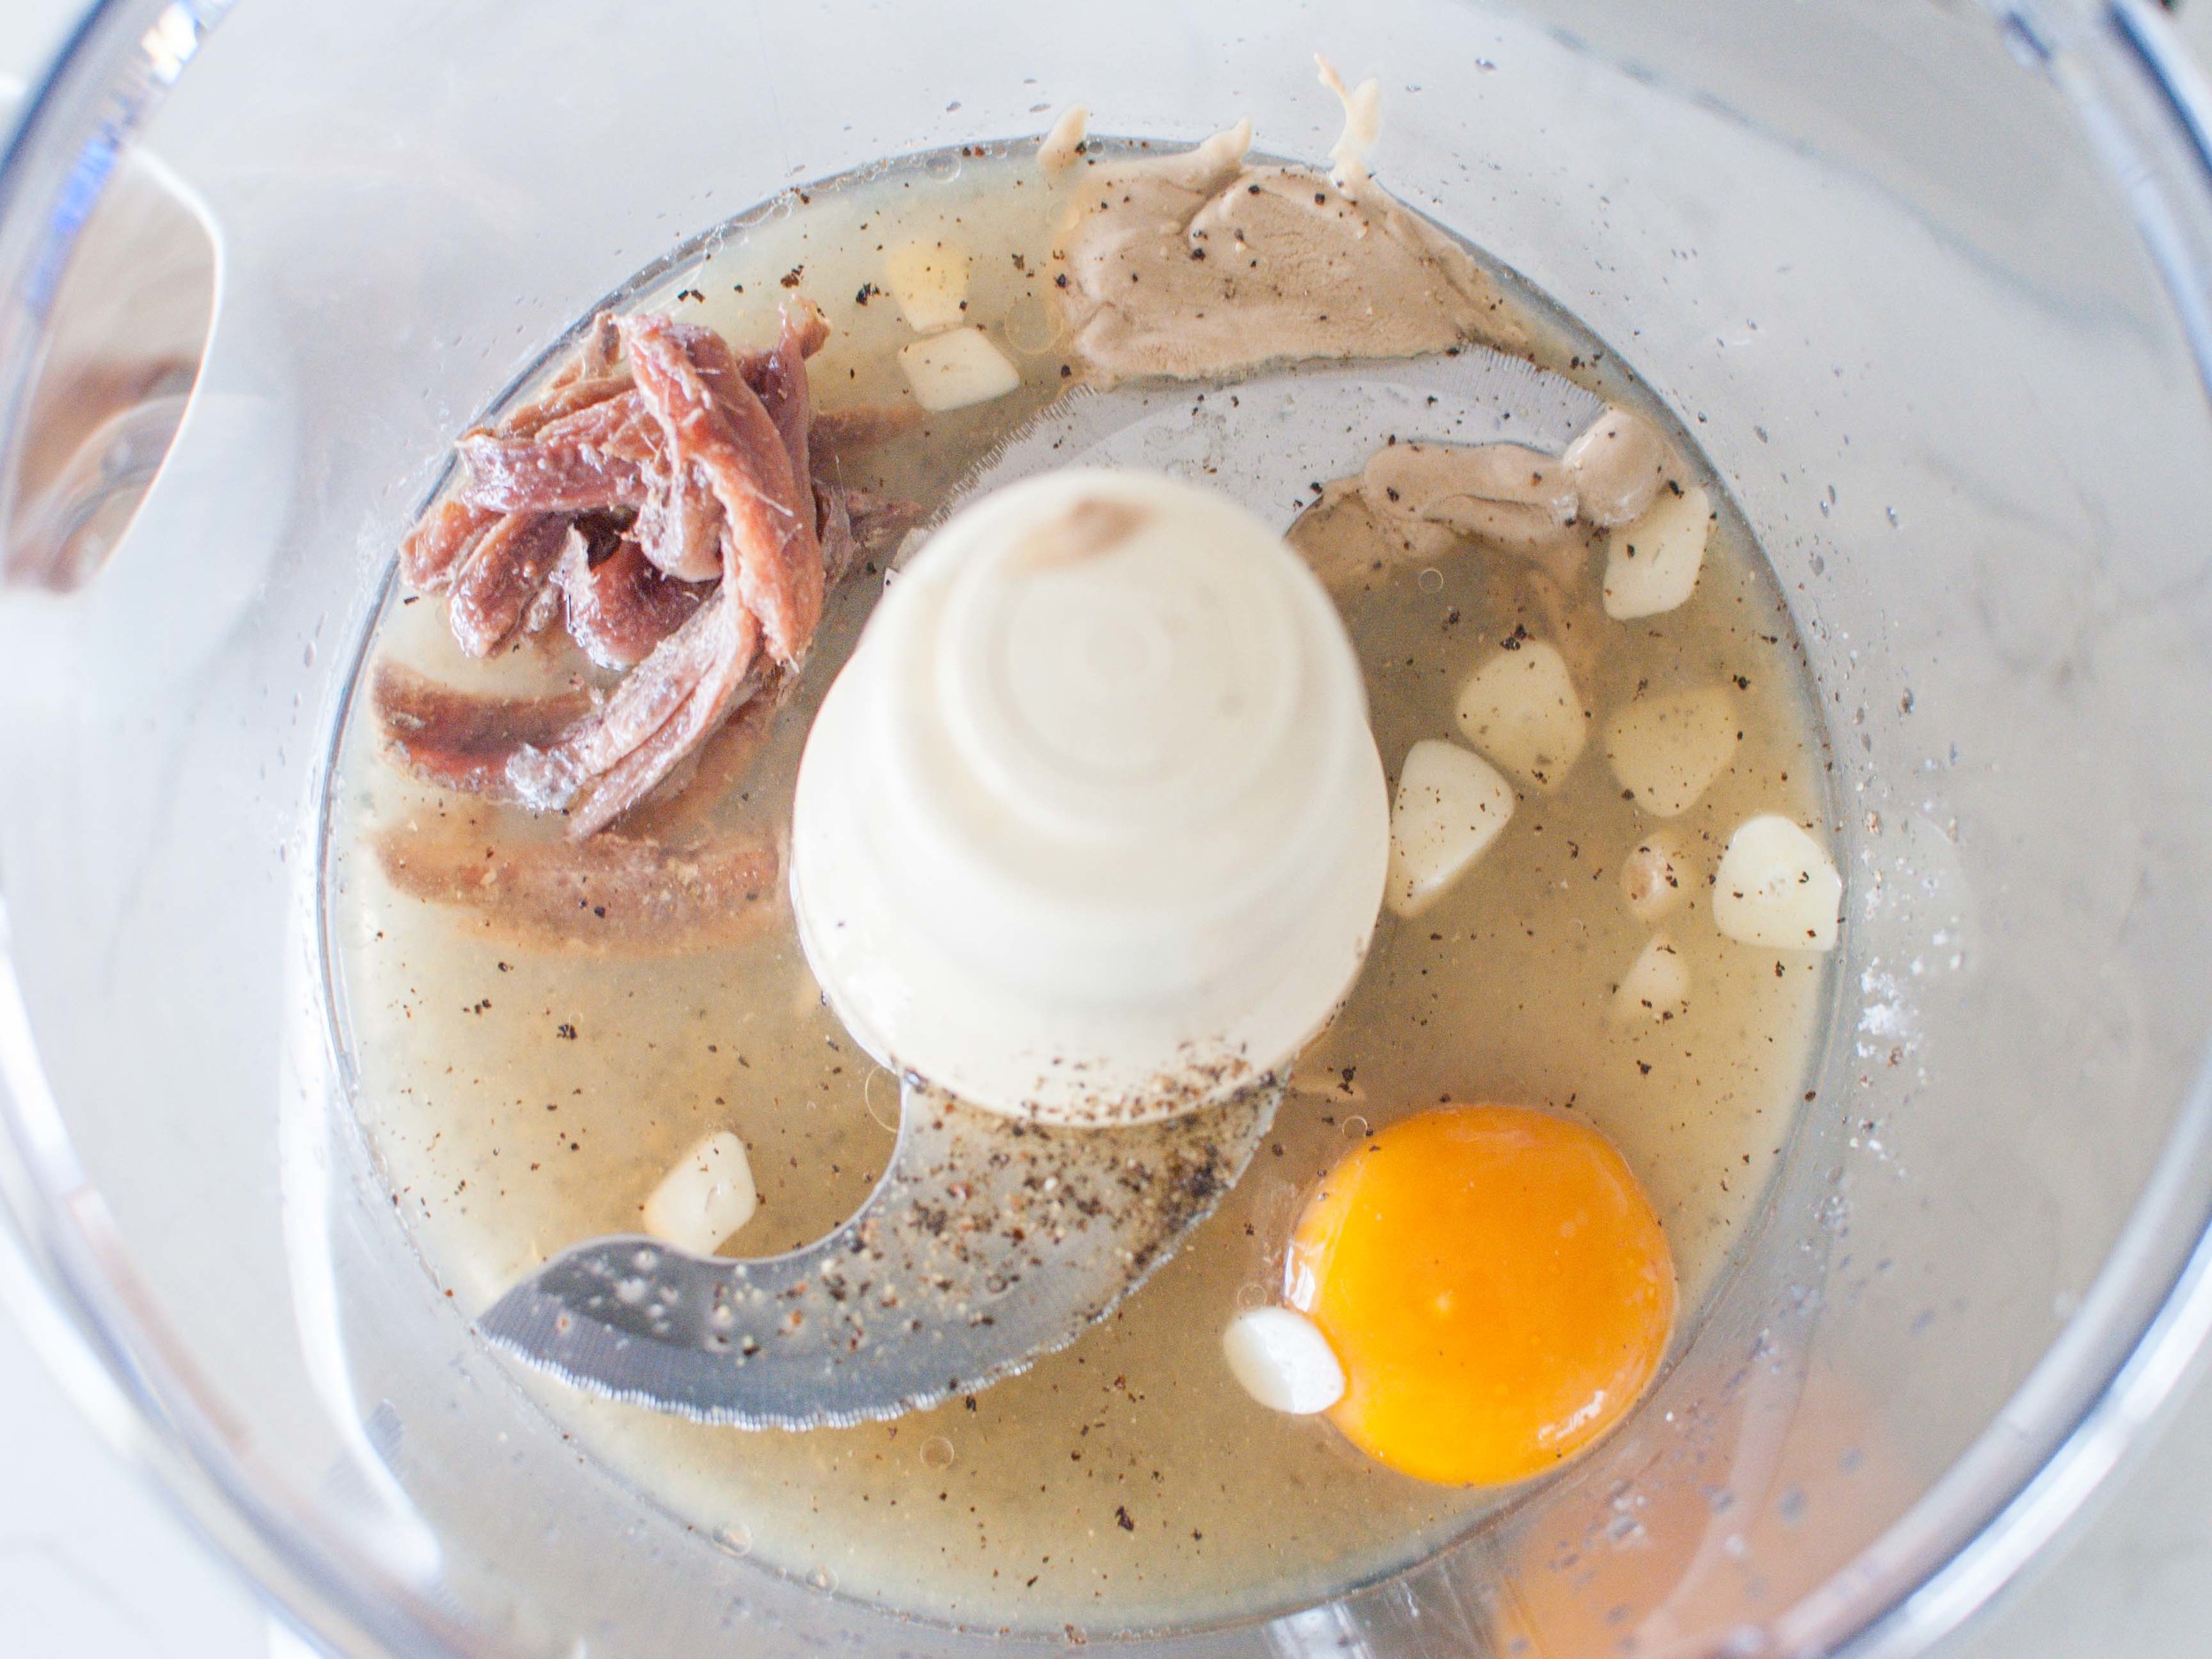
Make the dressing: Combine egg yolk, mustard, garlic, anchovy, lemon juice, salt, and pepper in the bowl of a food processor. Process until smooth. With the food processor running, slowly pour in the olive oil in a thin, steady stream. Continue to process until the dressing thickens. Add 1/2 cup grated parmesan and pulse until combined (about 3 pulses). There will be more than enough dressing for this recipe. Store extra dressing covered in the refrigerator for up to 3 days.
Toss together lettuce and enough dressing to moisten the leaves. Toss with 1 cup parmesan and half of the tomatoes. Divide the salad onto salad plates and top with remaining tomatoes and pancetta, and serve.

*Contains raw egg: Please be aware that consuming raw and lightly cooked eggs exposes a slight risk of salmonella or other food-borne illness. To reduce this risk, use fresh, properly refrigerated, clean grade A or AA eggs with intact shells, and avoid contact between the yolks or whites and the shell.

Pico de Gallo by Amy Cantu

Print Friendly and PDF

Fresh Pico de Gallo is simple to make, and so much better than prepackaged stuff! It's the perfect accompaniment to Steak Fajitas or just a bowl of tortilla chips. 

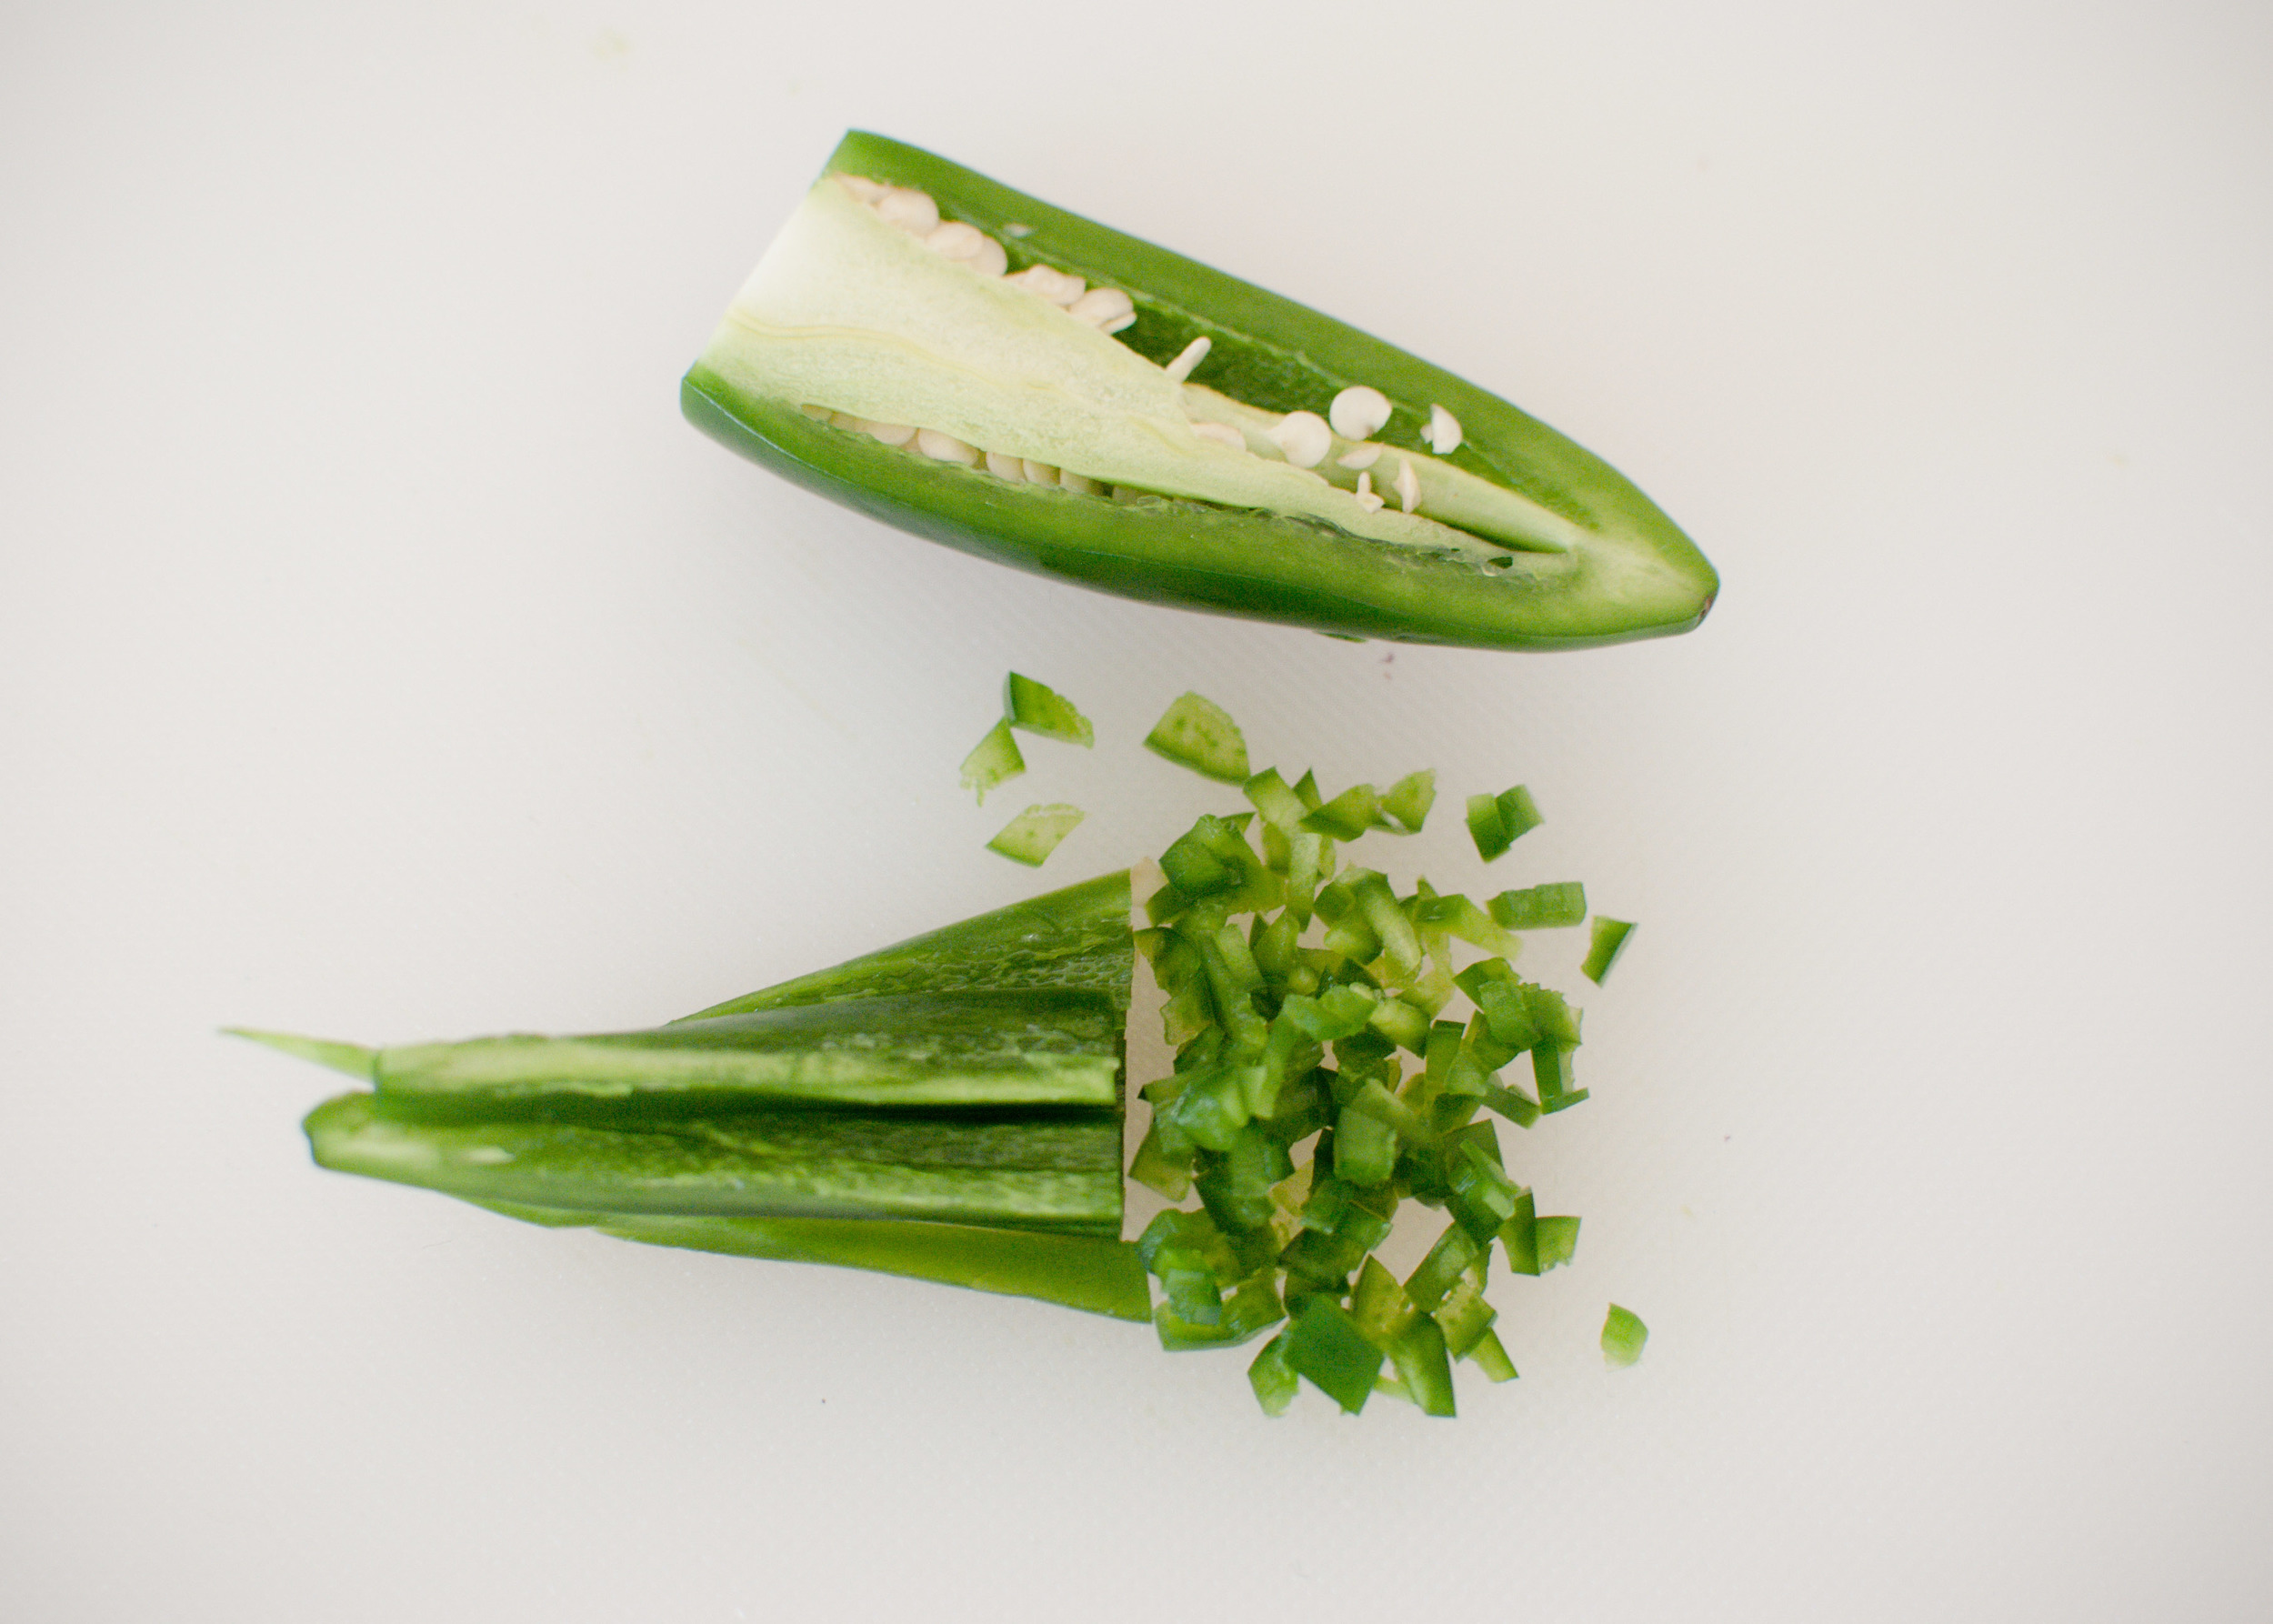
Notes: When tomatoes aren't in season, use grape or cherry tomatoes to get a sweeter, more concentrated tomato flavor. Adjust the amount of jalapeño to your tastebuds - leaving the seeds and ribs in will make the salsa spicer, removing them will make it less spicy. Taking the time to dice the tomatoes, onions, cilantro, and jalapeño into very small pieces will give you the best flavor. You can also use a food processor to lessen the work, but be careful to only pulse a few times, or you'll end up with a watery mess. Liquid will accumulate as the salsa sits, so feel free to drain off any excess. Lastly, salt makes a big difference in a simple recipe such as this - make sure to taste it just before serving and add additional salt, if needed.


Time: 20 minutes
Yield: 4 cups

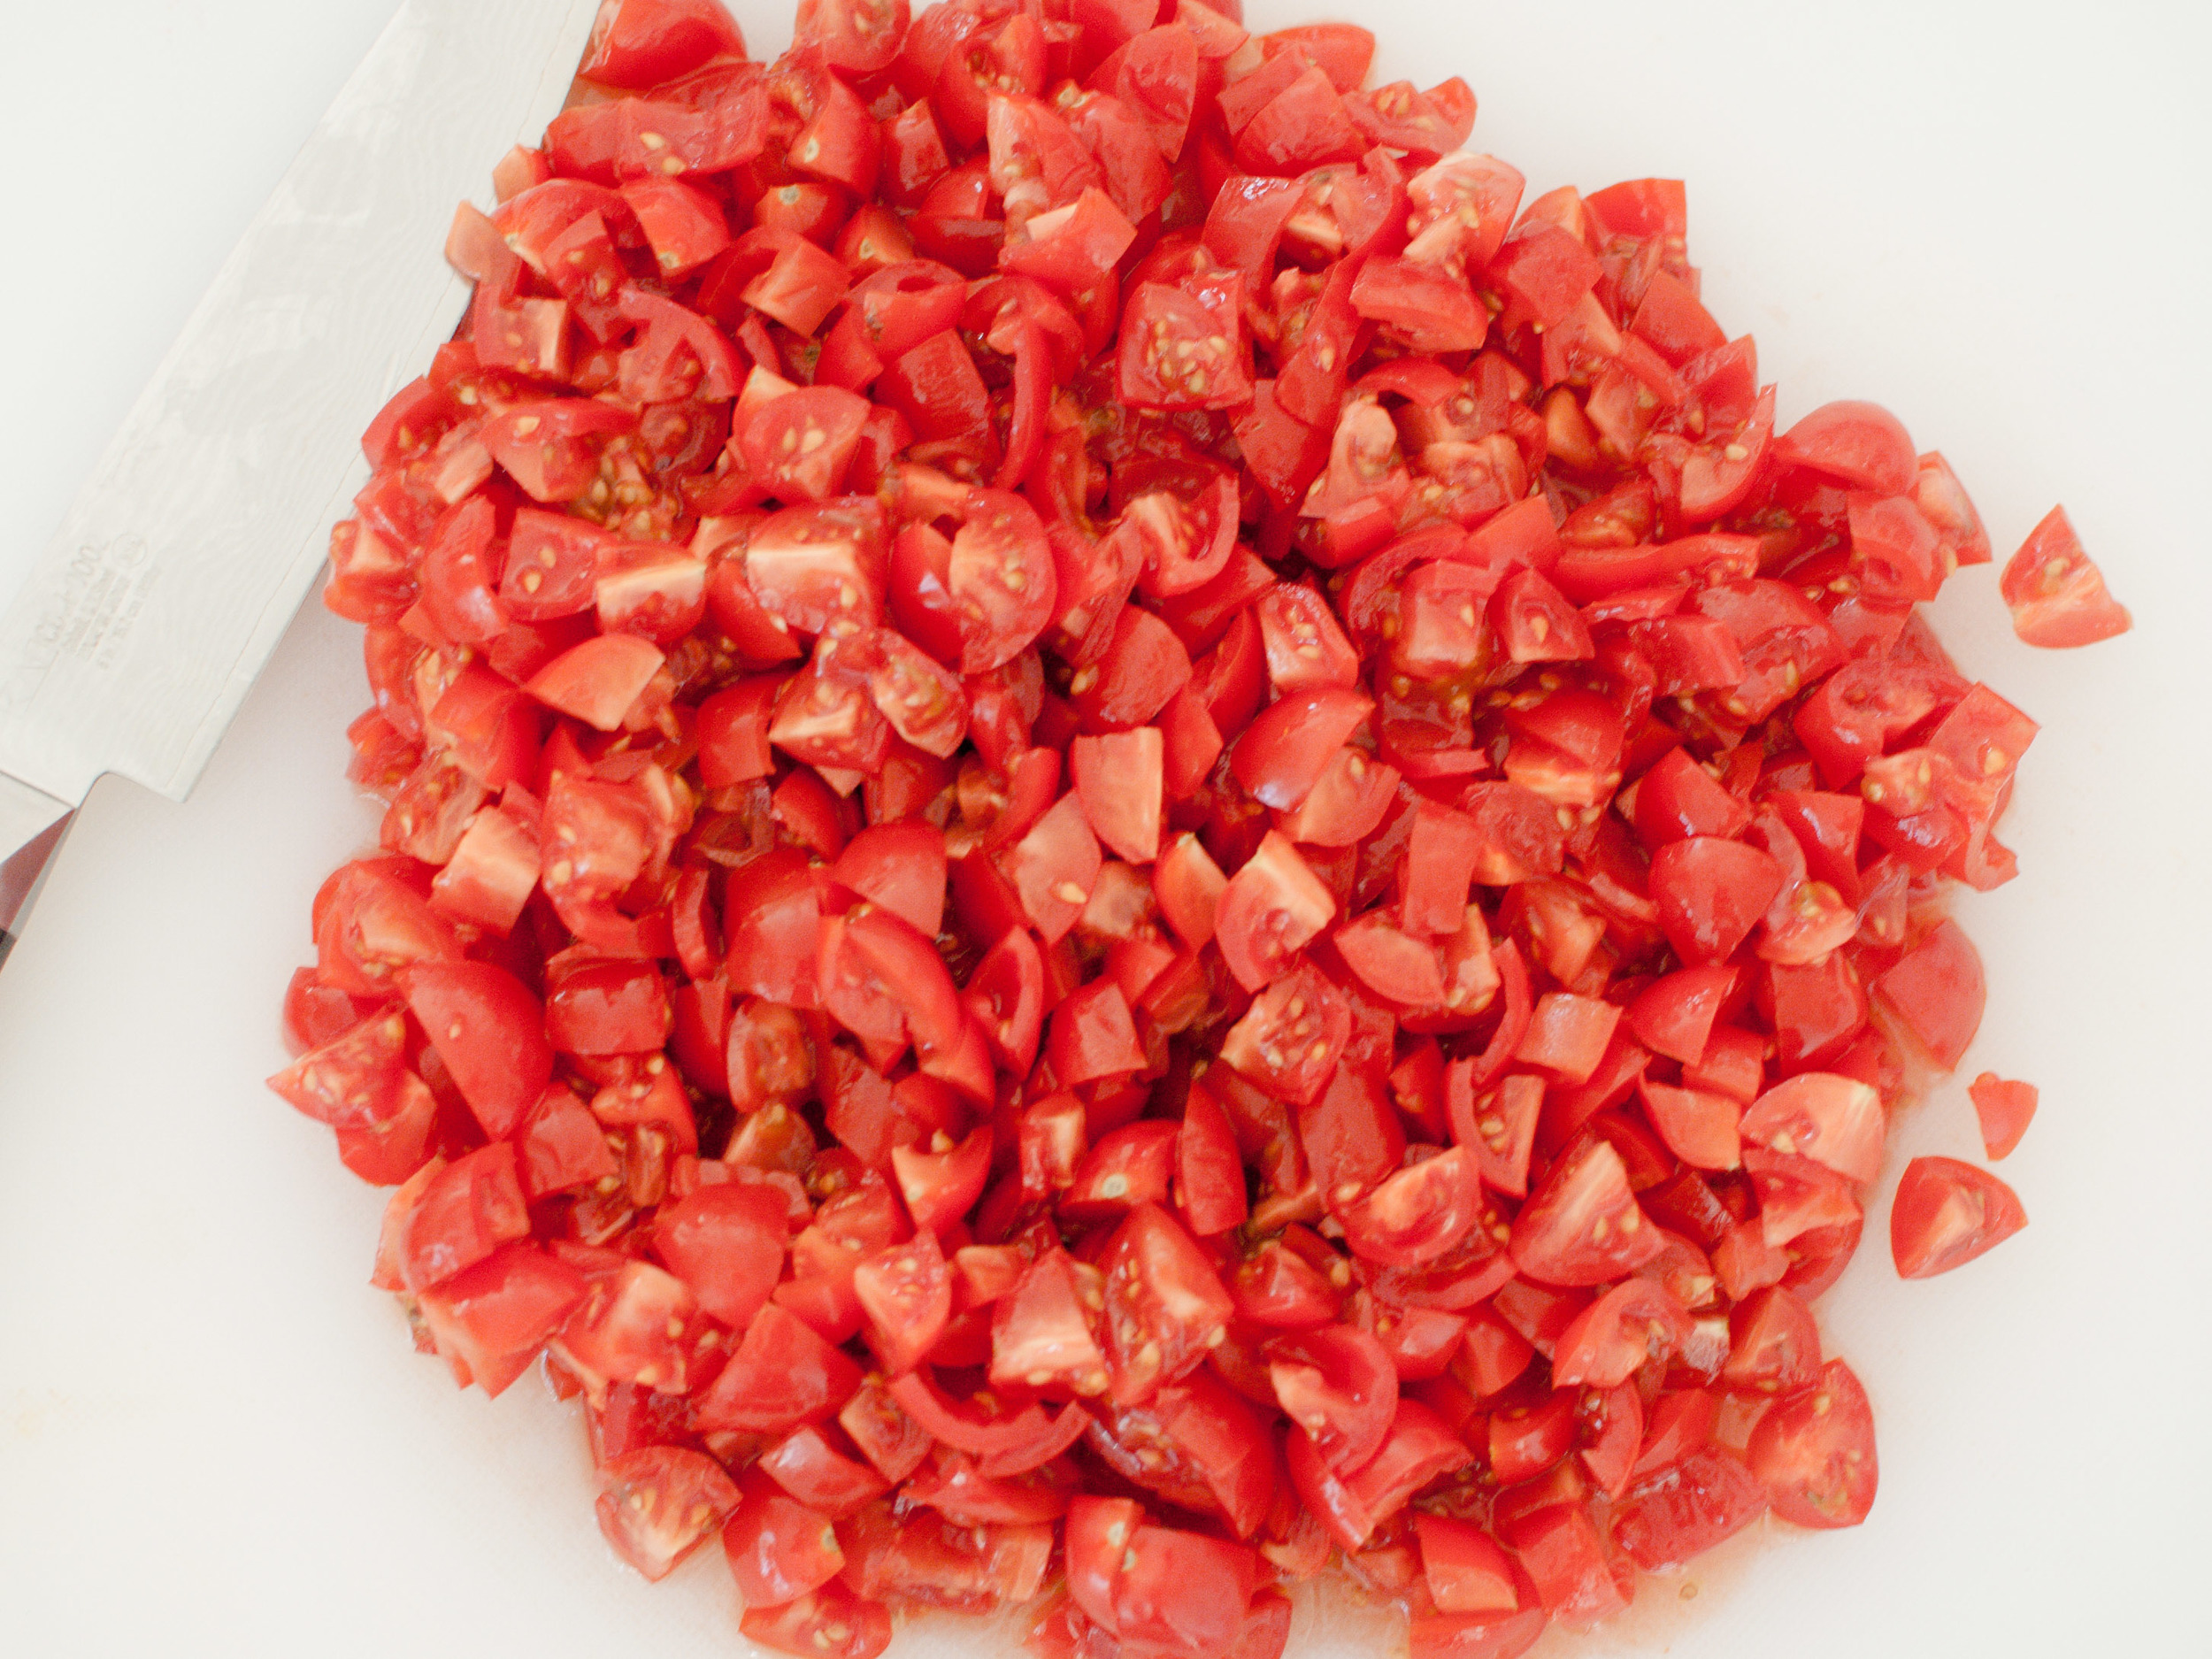
1 1/2 pounds tomatoes (use grape or cherry tomatoes during the off-season), seeded and finely diced (3 cups)
3/4 cup finely chopped cilantro
1/2 cup finely chopped onion (white onion is traditional; red, yellow, or green onions also work well)
1-2 small fresh jalapeño or serrano chiles, (seeds removed to make it mild) and finely chopped, or more to taste
2 garlic cloves, finely minced
3 tablespoons freshly squeezed lime juice, or more to taste
2 teaspoons kosher salt (or 1 teaspoon table salt)
1 teaspoon freshly ground black pepper (optional)

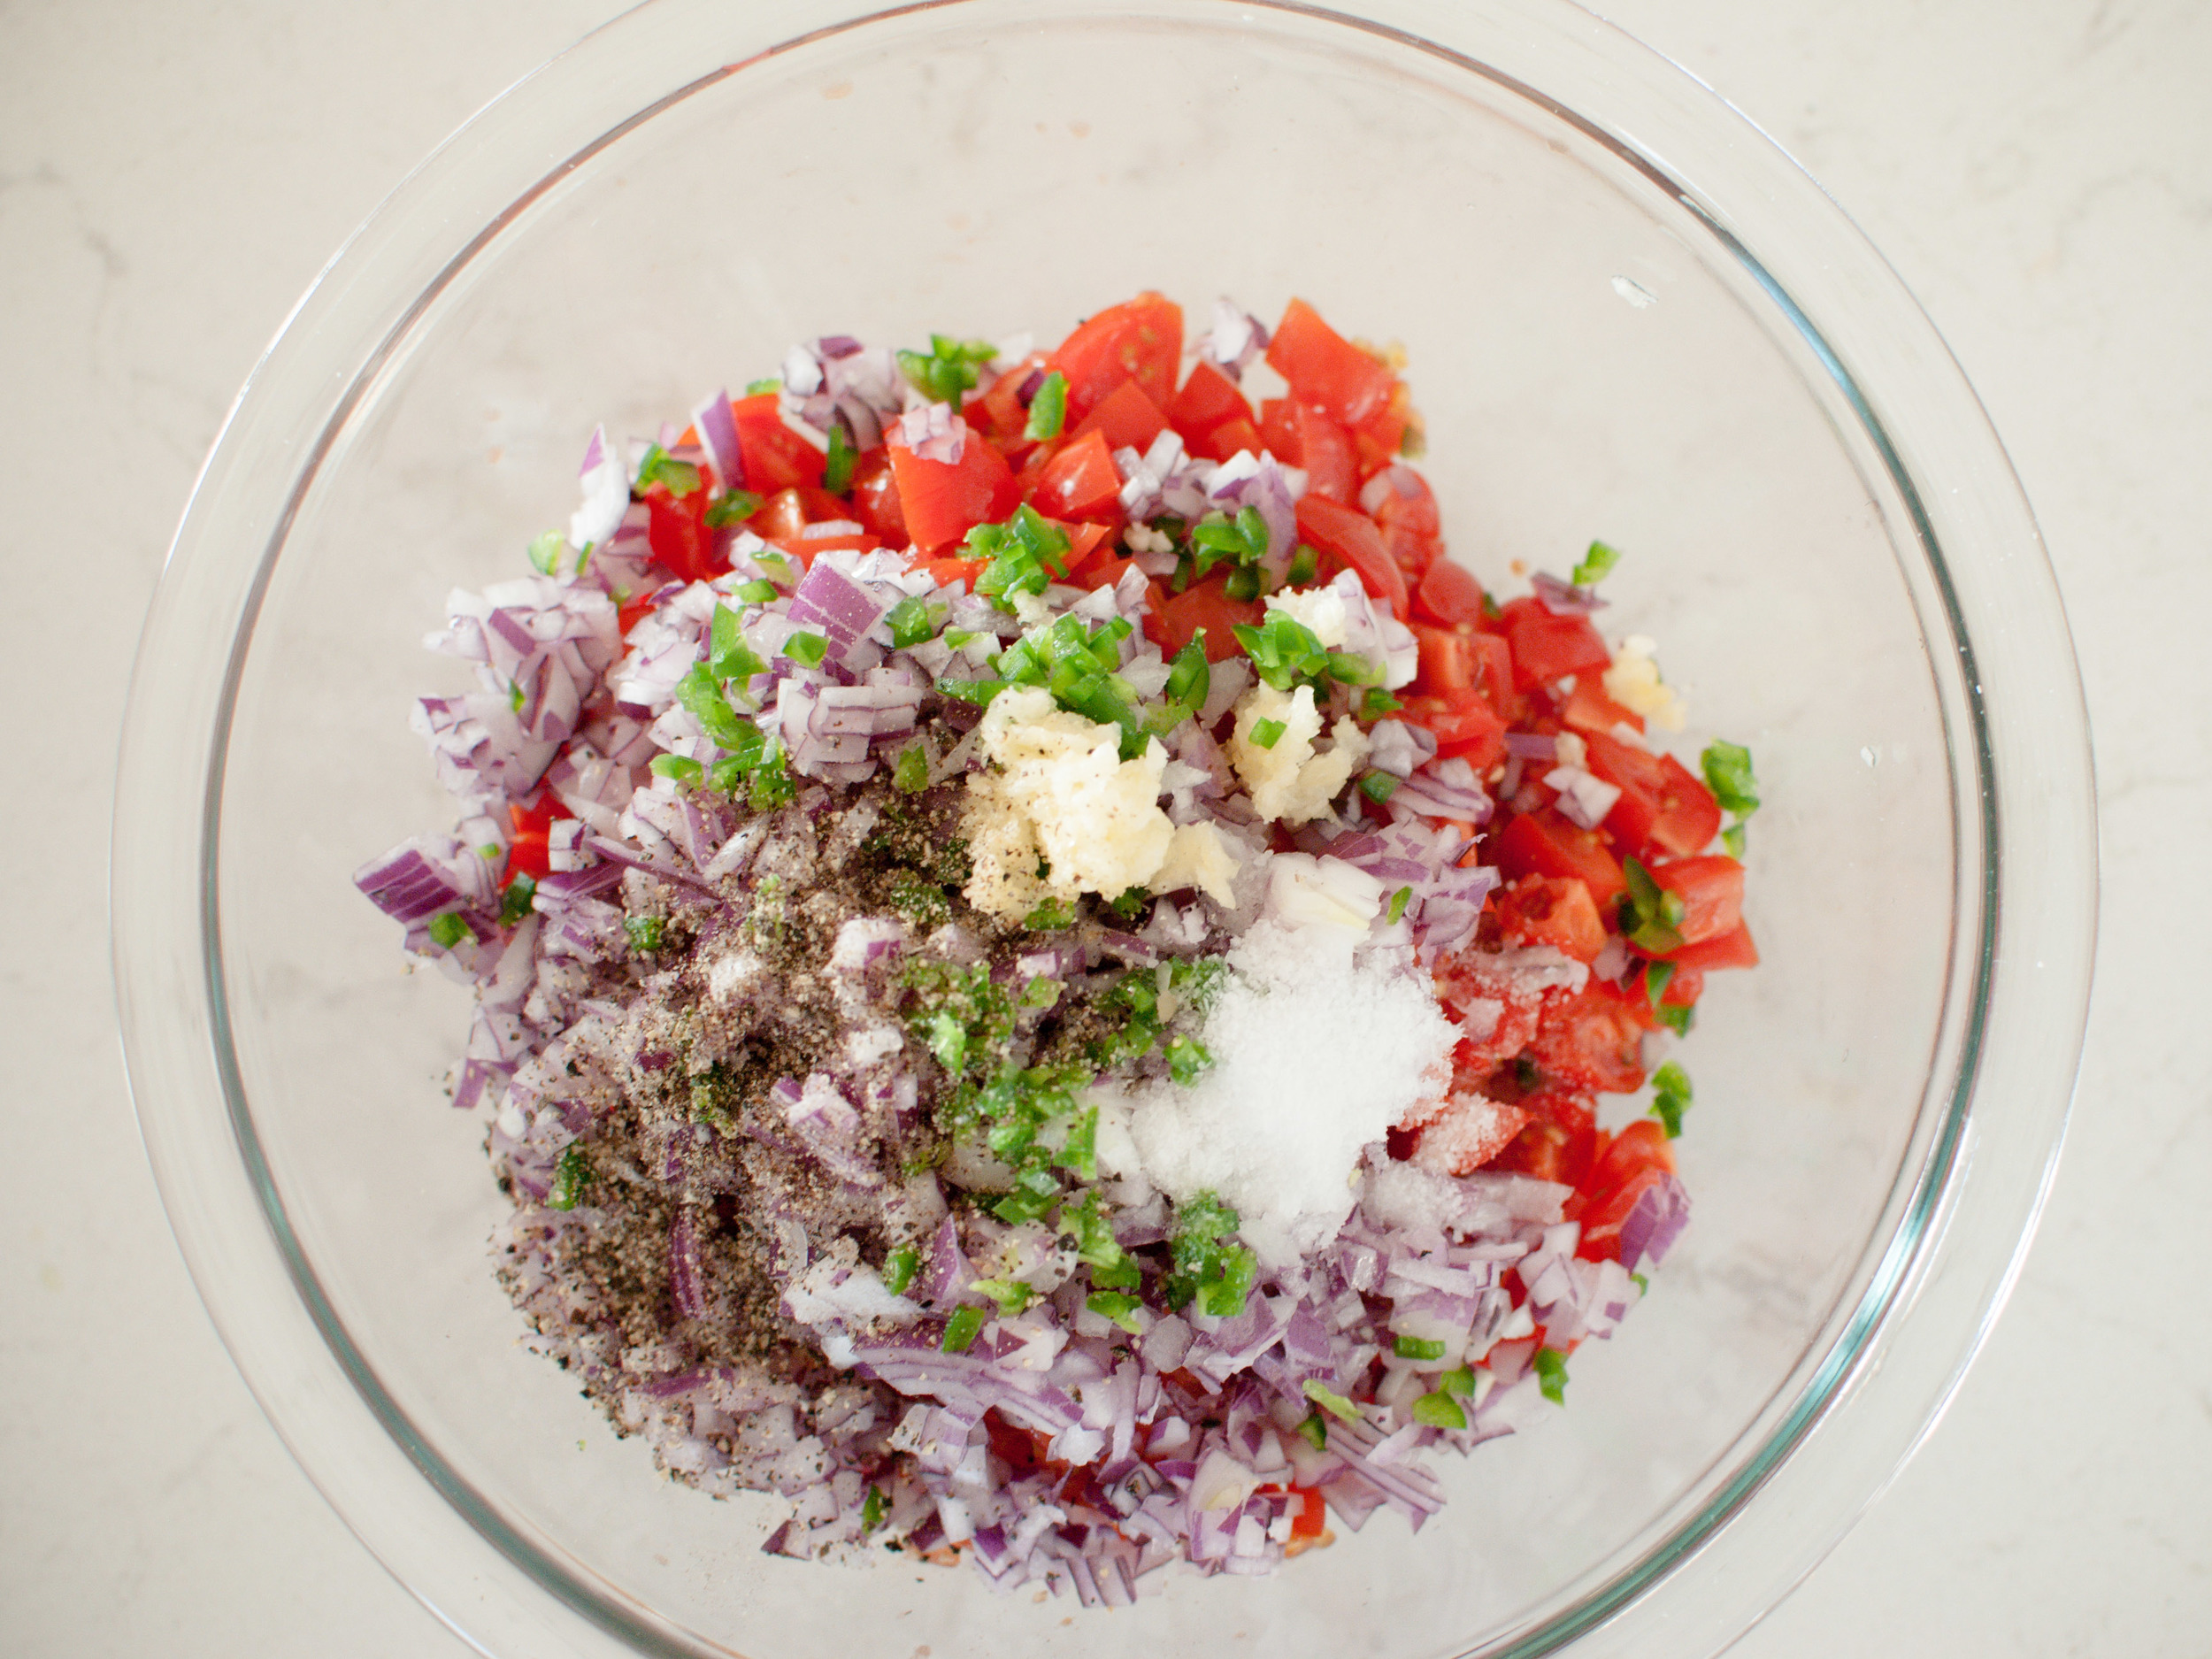
Combine all ingredients into a bowl and stir together. Season to taste with additional chile, lime juice, and salt. 

It will keep in the refrigerator for up to one day. Stir well and drain any excess liquid that has accumulated in the bowl before serving.

Hasselback Potato Gratin by Amy Cantu

Print Friendly and PDF

Notes: This is essentially the same as the recipe from J. Kenji Alt-Lopez's The Food Lab, except that I used half and half instead of heavy cream. The results are similar, albeit a bit lighter on the gut. Given how heavy holiday foods tend to be, this seemed like a good compromise to me!

Per Alt-Lopez's recipe notes: Because of variation in the shape of potatoes, the amount of potato that will fit into a single casserole dish varies. Longer, thinner potatoes will fill a dish more than shorter, rounder potatoes. When purchasing potatoes, buy a few extra in order to fill the dish if necessary. Depending on exact shape and size of potatoes and casserole dish, you may not need all of the cream mixture.


Time: 15 minutes (active), 1 hour 45 minutes (inactive)
Servings: 6

3 ounces finely grated Gruyère or comté cheese
2 ounces finely grated Parmigiano-reggiano
2 cups half and half or heavy cream
2 medium cloves garlic, minced
1 tablespoon fresh thyme leaves, roughly chopped
2 teaspoons kosher salt (or to taste)
1 teaspoon freshly ground pepper (or to taste)
3 to 3 1/2 pounds russet potatoes, peeled and sliced 1/8th-inch thick on a mandoline slicer or food processor slicer (5 to 6 medium, see note above)
2 tablespoons unsalted butter

Adjust oven rack to middle position and preheat oven to 400°F. Combine cheeses in a large bowl. Transfer 1/3 of cheese mixture to a separate bowl and set aside. Add cream, garlic, and thyme to cheese mixture. Season generously with salt and pepper. Add potato slices and toss with hands until every slice is coated with cream mixture, making sure to separate any slices that are sticking together to get the cream mixture in between them.

Grease a 2-quart casserole dish with butter. Pick up a handful of potatoes, organizing them into a neat stack, and lay them in the casserole dish with their edges aligned vertically. Continue placing potatoes in casserole, working around the perimeter and into the center until all potatoes have been added. Potatoes should be very tightly packed. If necessary, slice additional potato, coat with cream mixture, and add to casserole (see note above). Pour excess cream/cheese mixture evenly over potatoes until the mixture comes half way up the sides of the casserole. You may not need all excess liquid (see note above).

Cover tightly with foil and transfer to oven. Bake for 30 minutes. Remove foil and continue baking until top is pale golden brown, about 30 minutes longer. Carefully remove from oven, sprinkle with remaining cheese, and return to oven. Bake until deep golden brown and crisp on top, about 30 minutes longer. Remove from oven, let rest for a few minutes, and serve.

Audy's Pineapple Fried Rice by Amy Cantu

Print Friendly and PDF

My dad’s fried rice is a potluck legend - it arrives onto the table and not five minutes later, it disappears. It doesn’t matter how much he makes, the Pineapple Fried Rice never makes it back home for leftovers. So, count yourself lucky that he’s finally sharing his recipe here!

Notes: Using a non-stick pan or well-seasoned wok will prevent the rice from sticking to the pan. Otherwise, expect a bit of a crust to form on the bottom of your pan, and be OK with a little soaking and elbow grease. If you don’t have a pan roomy enough for a full batch of fried rice (without worrying about rice and pineapple being flung out) fry the rice in two batches. If you overcrowd the pan, the rice will steam and will not cook properly. Not to mention, you’ll have a big mess around the stove!

My dad likes to serve his Pineapple Fried Rice in a hollowed out pineapple. Slice a whole pineapple in half lengthwise, leaving the leafy top attached to one half. Carefully use a knife to carve out slices of the pineapple to hollow out the pineapple half. You now have a festive bowl for your Pineapple Fried Rice! You will have more pineapple than is needed for the recipe - reserve the extra, chill, and serve as a refreshing dessert or snack for later.

For the rice: Day-old rice is ideal, so that it is a little dry and won’t get mushy during the frying process. About 2 cups of uncooked rice should yield 4 cups of cooked rice. If you don’t have day-old rice, spread freshly cooked rice onto a sheet pan or tray and let cool for 5 minutes before proceeding with the recipe. Don’t try to use rice that’s been cooled to room temperature in a covered bowl (there’s too much moisture), but not been refrigerated for at least 12 hours - you’ll end up with weird, goopy rice. Serious Eats recently had a good article about this. Jasmine rice is the preferred rice for Thai fried rice - it’s a fragrant, medium grain rice that will give this dish an authentic flair. You could also substitute medium grain Chinese rice or Japanese rice, but it won’t be quite the same.


Time: 30 minutes
Servings: 4-5

3 tablespoons vegetable oil
½ onion, diced fine
1 shallot, diced fine
1-2 Thai bird’s eye chilies or serrano chilies, diced fine (optional)
2 plum tomatoes, diced with juices reserved
4 cups cooked Jasmine rice (see note above)
1 lb medium shrimp, peeled and deveined
½ cup red bell pepper, finely diced
1 ½ cups fresh pineapple, small dice
1 teaspoon kosher salt or to taste
1 tablespoon Thai fish sauce
2 eggs
¼ cup green onions, sliced
¼ cup cilantro, including stems
⅓ cup cashews, roasted
Sliced cucumber, tomatoes, and limes for garnish (optional)

Heat vegetable oil in a large saute pan or wok over high heat. (If you do not have a large saute pan or wok, divide ingredients in half and make two batches.)

Add shallot and onion to the hot pan and saute for 1 minute. Stir in the chilies and tomato with juices, until saucy and well combined. Add red bell pepper and toss to combine. Add rice and continue to stir and toss for 2 minutes. Add shrimp, continuing to stir for 1 minute.

Make a well into the center of the rice mixture, crack two eggs into the well and scramble lightly. Stir scrambled eggs into rice. Add pineapple, season with fish sauce and salt to taste. Add green onions, cilantro and cashews. Transfer to a serving platter and garnish with fresh slices of cucumber and tomatoes on the side. Serve immediately.

Chopped Herb Salad with Farro by Cynthia Raub

Print Friendly and PDF

California's El Niño dreams have been realized this winter. The rains that have drenched our drought stricken area have been numerous and plentiful. But in true California fashion, in between the blustery storm systems, we also had gorgeous clear days in the 70s! My husband has been telling me for years that he has SAD (Seasonal Affective Disorder). Like the amazing wife that I am, I laughed and teased him because I thought he was being dramatic. But this winter has brought out the SAD in me. As soon as a week of gray skies and heavy showers passed, the sun shone and warmed everything - including my cold, cold heart. This sunny and bright herb-heavy side dish was a welcome relief from the chilly cold days. My husband aptly described it as, "preposterously herbaceous" and he is right (again??). Martha Rose Shulman of the venerable NYT Cooking Magazine, a.k.a. my spirit animal, named it a Chopped Herb Salad with Farro for a reason- the farro adds a savory chew but it's by far not the star of the dish. It was such a light and satisfying accompaniment to Amy's succulent Roasted Chicken Legs with Smoked Paprika, Blood Orange and Honey.
Notes: I followed this recipe to the T and made no changes to the ingredients or preparation. If you are not convinced that the strong and fragrant herbs make an incredible salad base, I wouldn't judge you for adding more grains to suit your preferences. 


Time: 30 minutes
Servings: 6

2 cups chopped fresh flat-leaf parsley (from 2 large bunches)
¼ cup chopped fresh mint
1 cup chopped arugula or a mix of arugula and other herbs
¾ pound (2 large) ripe tomatoes, very finely chopped
1 bunch scallions, finely chopped
1 cup cooked farro or spelt
1 teaspoon ground sumac
 Juice of 1 to 2 large lemons, to taste
 Salt to taste
¼ cup extra-virgin olive oil

In a large bowl, combine parsley, mint, arugula and/or other herbs, tomatoes, scallions, farro, sumac, lemon juice and salt to taste. Refrigerate for 2 to 3 hours so the farro marinates in the lemon juice.
Add olive oil, toss together, taste and adjust seasonings. The salad should taste lemony. Add more lemon juice if it doesn’t. 

Recipe from: NYT Cooking Magazine

Chickpea Carrot Salad by Cynthia Raub

Print Friendly and PDF
chickpea and carrot salad

When considering what to bring as a side in addition to the Harissa Grilled Pork Chops, I wanted to make something that was packed with the protein of a sturdy bean and included a hearty, kid-friendly vegetable. This Chickpea Carrot Salad is all of that, and it's also delicious cold, at room temperature, and warmed. (When you have a new baby, you can't be too picky with the temperature of food because you'll be lucky to eat at all!) This salad is filling but not heavy, and so delicious despite the humble and simple ingredients.

Notes: I wish I had tripled or quadrupled this recipe, too! It kept so well that it made an easy lunch the next day with a fried egg on top. If you have a food processor or large box grater to shred the carrots, this recipe is easy and not labor intensive. If you have neither a food processor or large box grater, this is a great way to work on your knife skills and practice your julienne!


Time: 15 minutes
Serves: 4-6

2 cans of chickpeas
2 tablespoons extra virgin olive oil
2 bay leaves
2 garlic cloves, smashed
2 thyme sprigs
2 cups carrots, finely julienned (or shredded)
2 teaspoons lemon juice, freshly squeezed
2 teaspoons sherry vinegar
2 teaspoons kosher salt
1/2 teaspoon freshly cracked black pepper
1 tablespoon mint, chiffonade
1 tablespoon parsley, minced
1 tablespoon chives, chopped

Drain chickpeas and rinse with water - set aside.

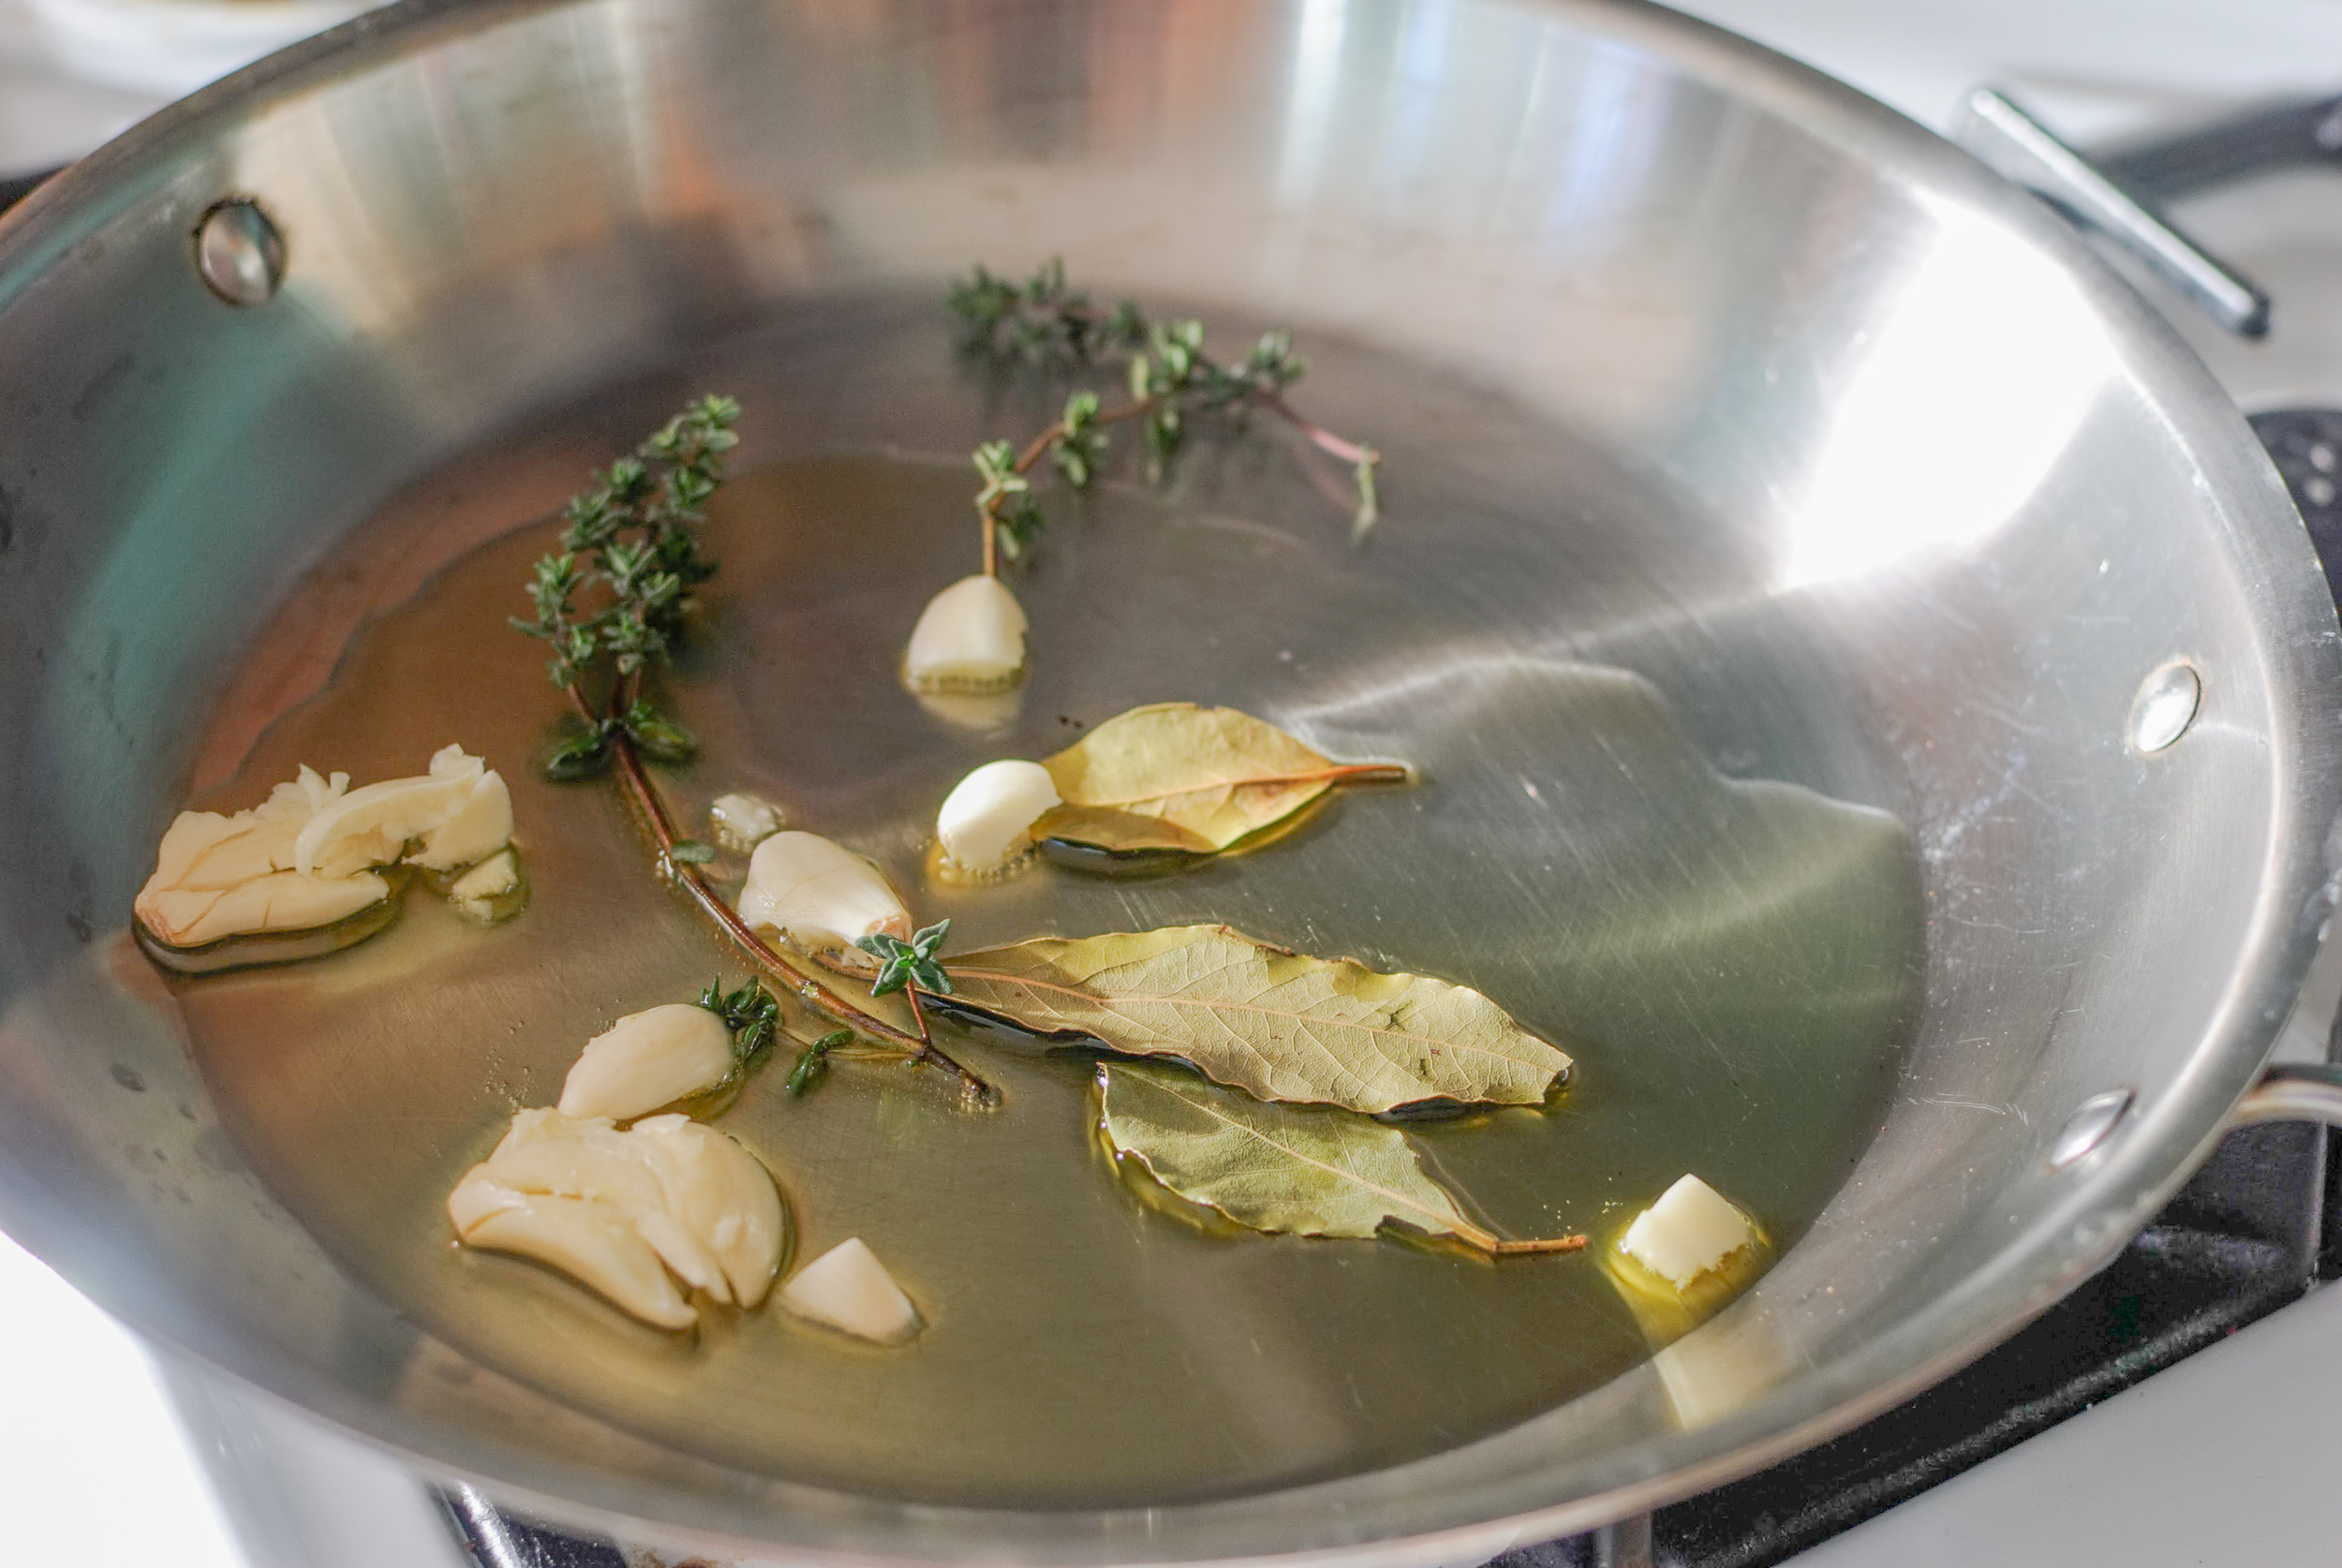
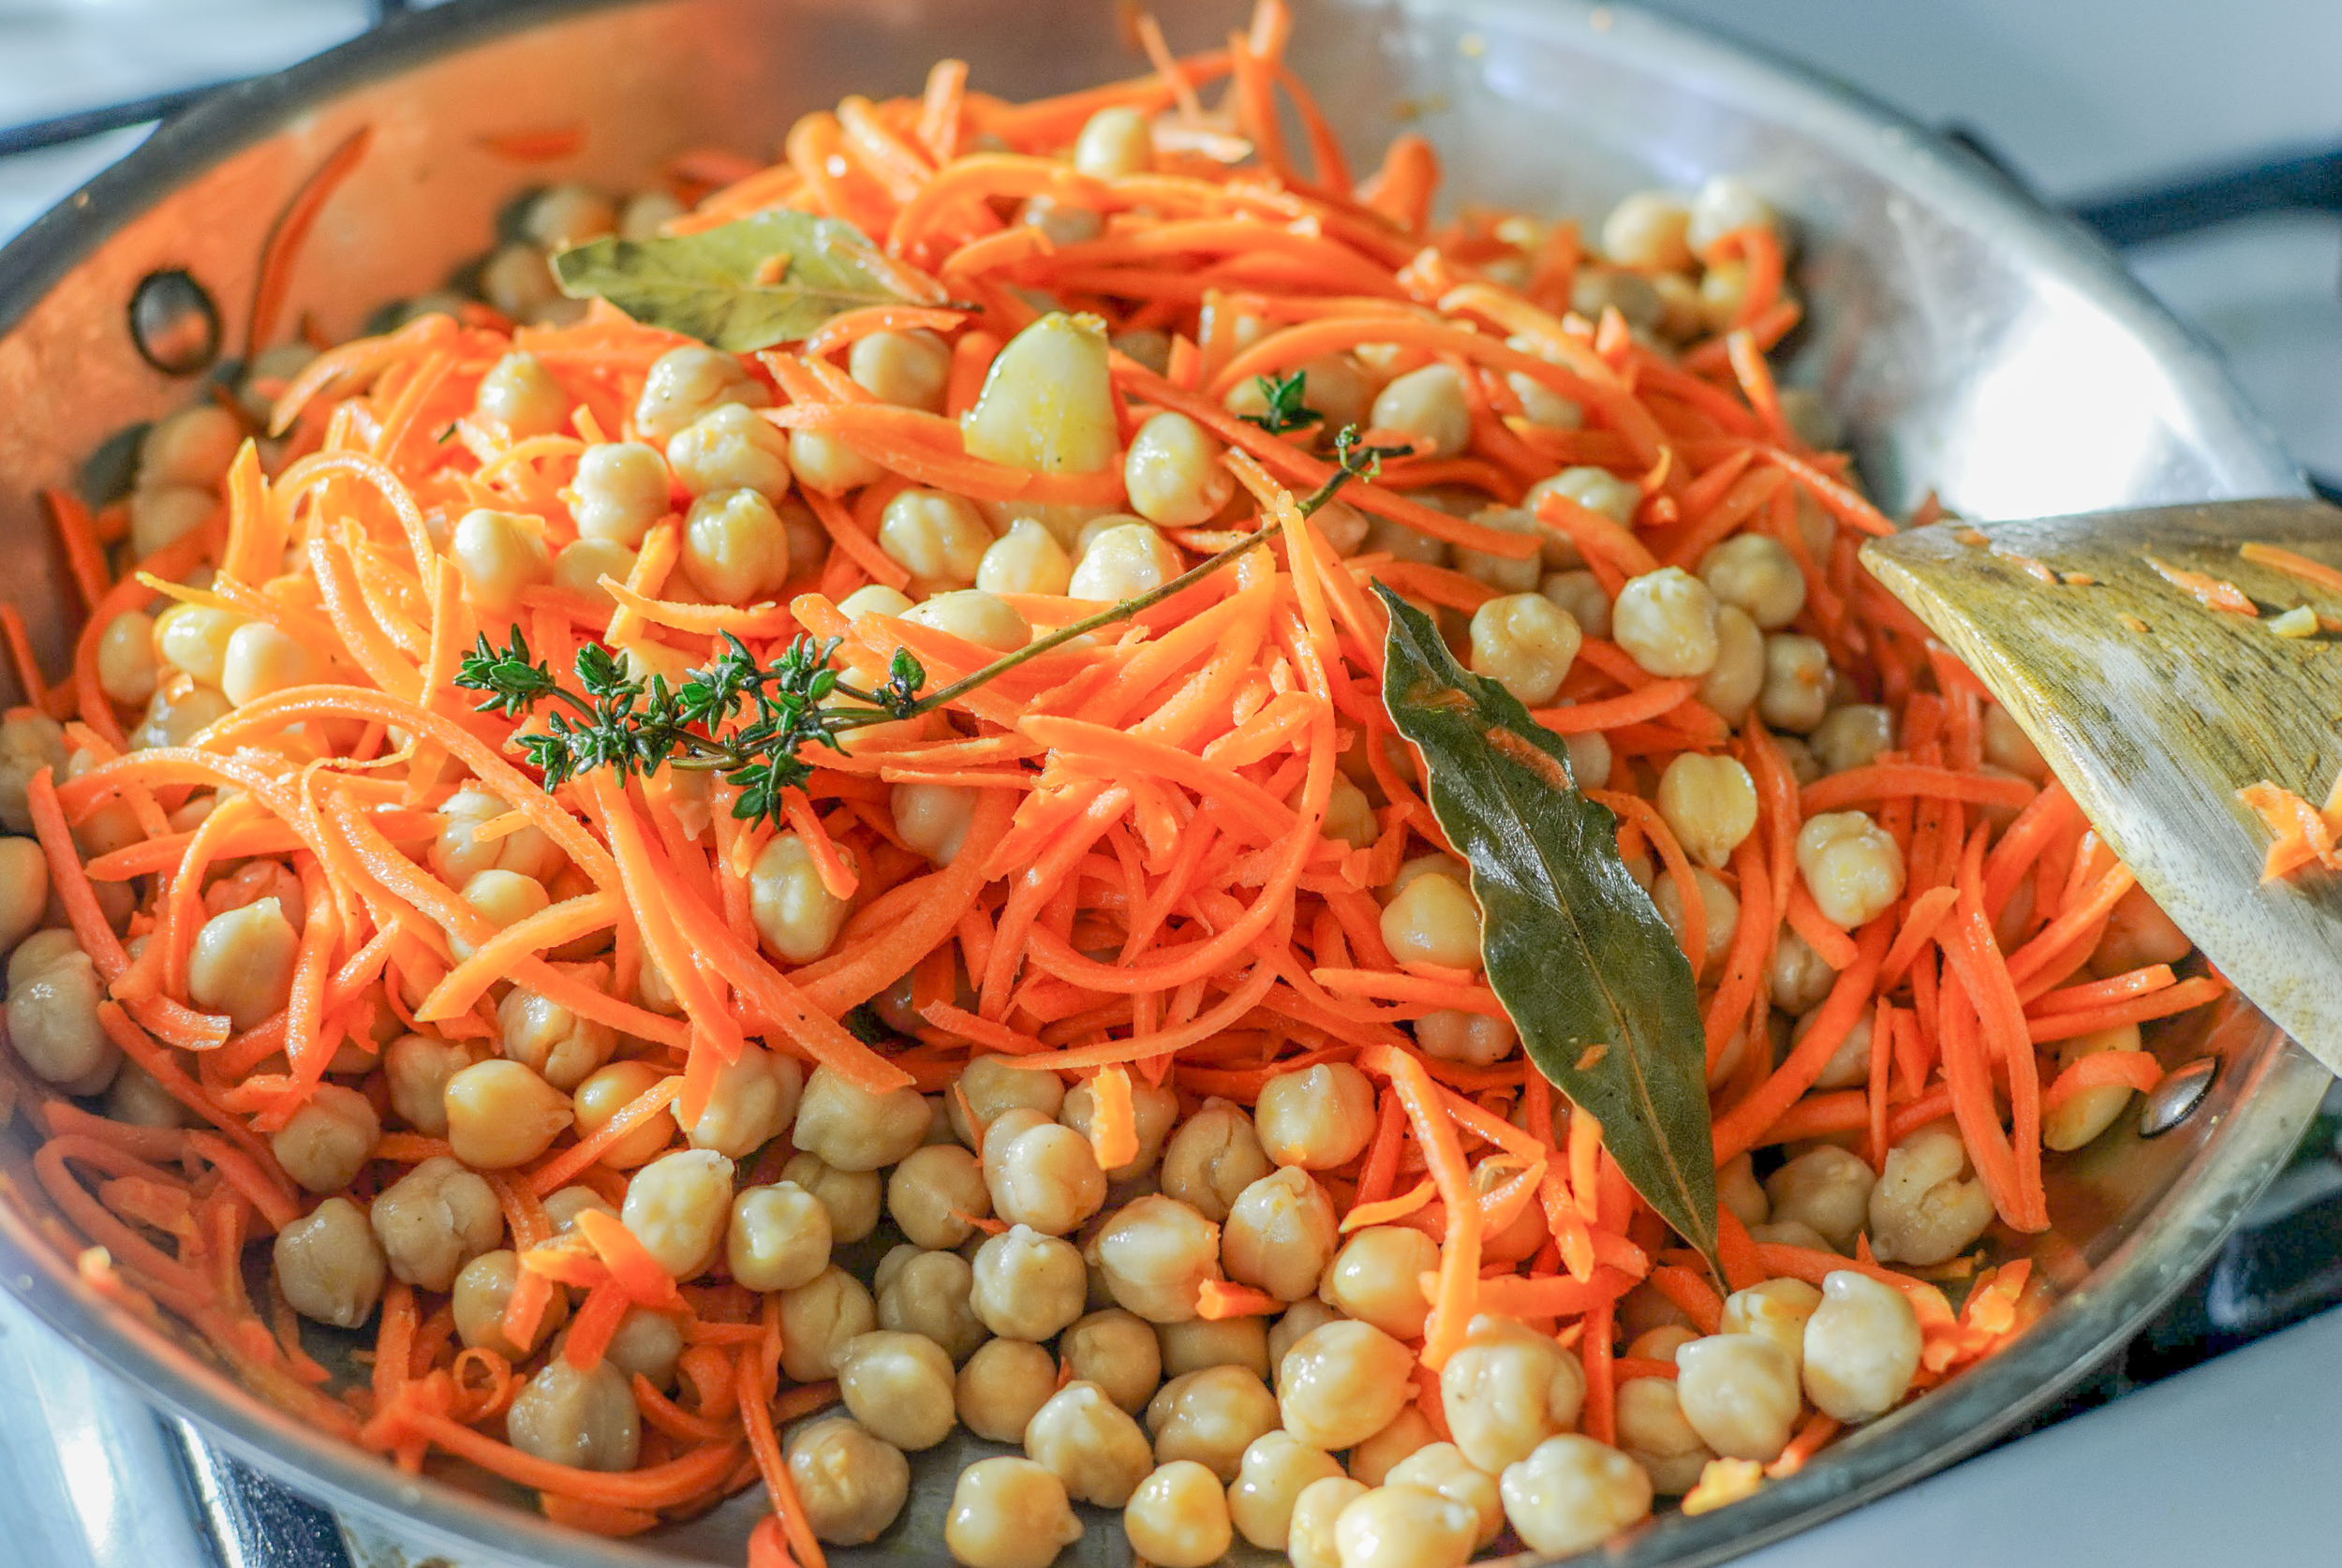
Add 2 tablespoons olive oil, 2 bay leaves, 2 smashed garlic cloves, and 2 thyme sprigs to a large skillet. Heat the oil and ingredients until garlic is sizzling. Once sizzling, add 2 cups of shredded carrots and toss to coat in oil and aromatics. Cook for 1 minute.

Add the chickpeas to the skillet and season with salt and freshly ground black pepper.  Toss the chickpeas for a couple minutes until warmed through.  Transfer to a dish to cool.

Before serving remove the bay leaves, garlic, and thyme.  Season with 2 teaspoons freshly squeezed lemon juice, 2 teaspoons of sherry vinegar, and adjust seasoning. Garnish with herbs just before serving.

Adapted from Bouchon cookbook by Thomas Keller

Soba Noodle Salad by Cynthia Raub

Print Friendly and PDF
sobanoodlesalad

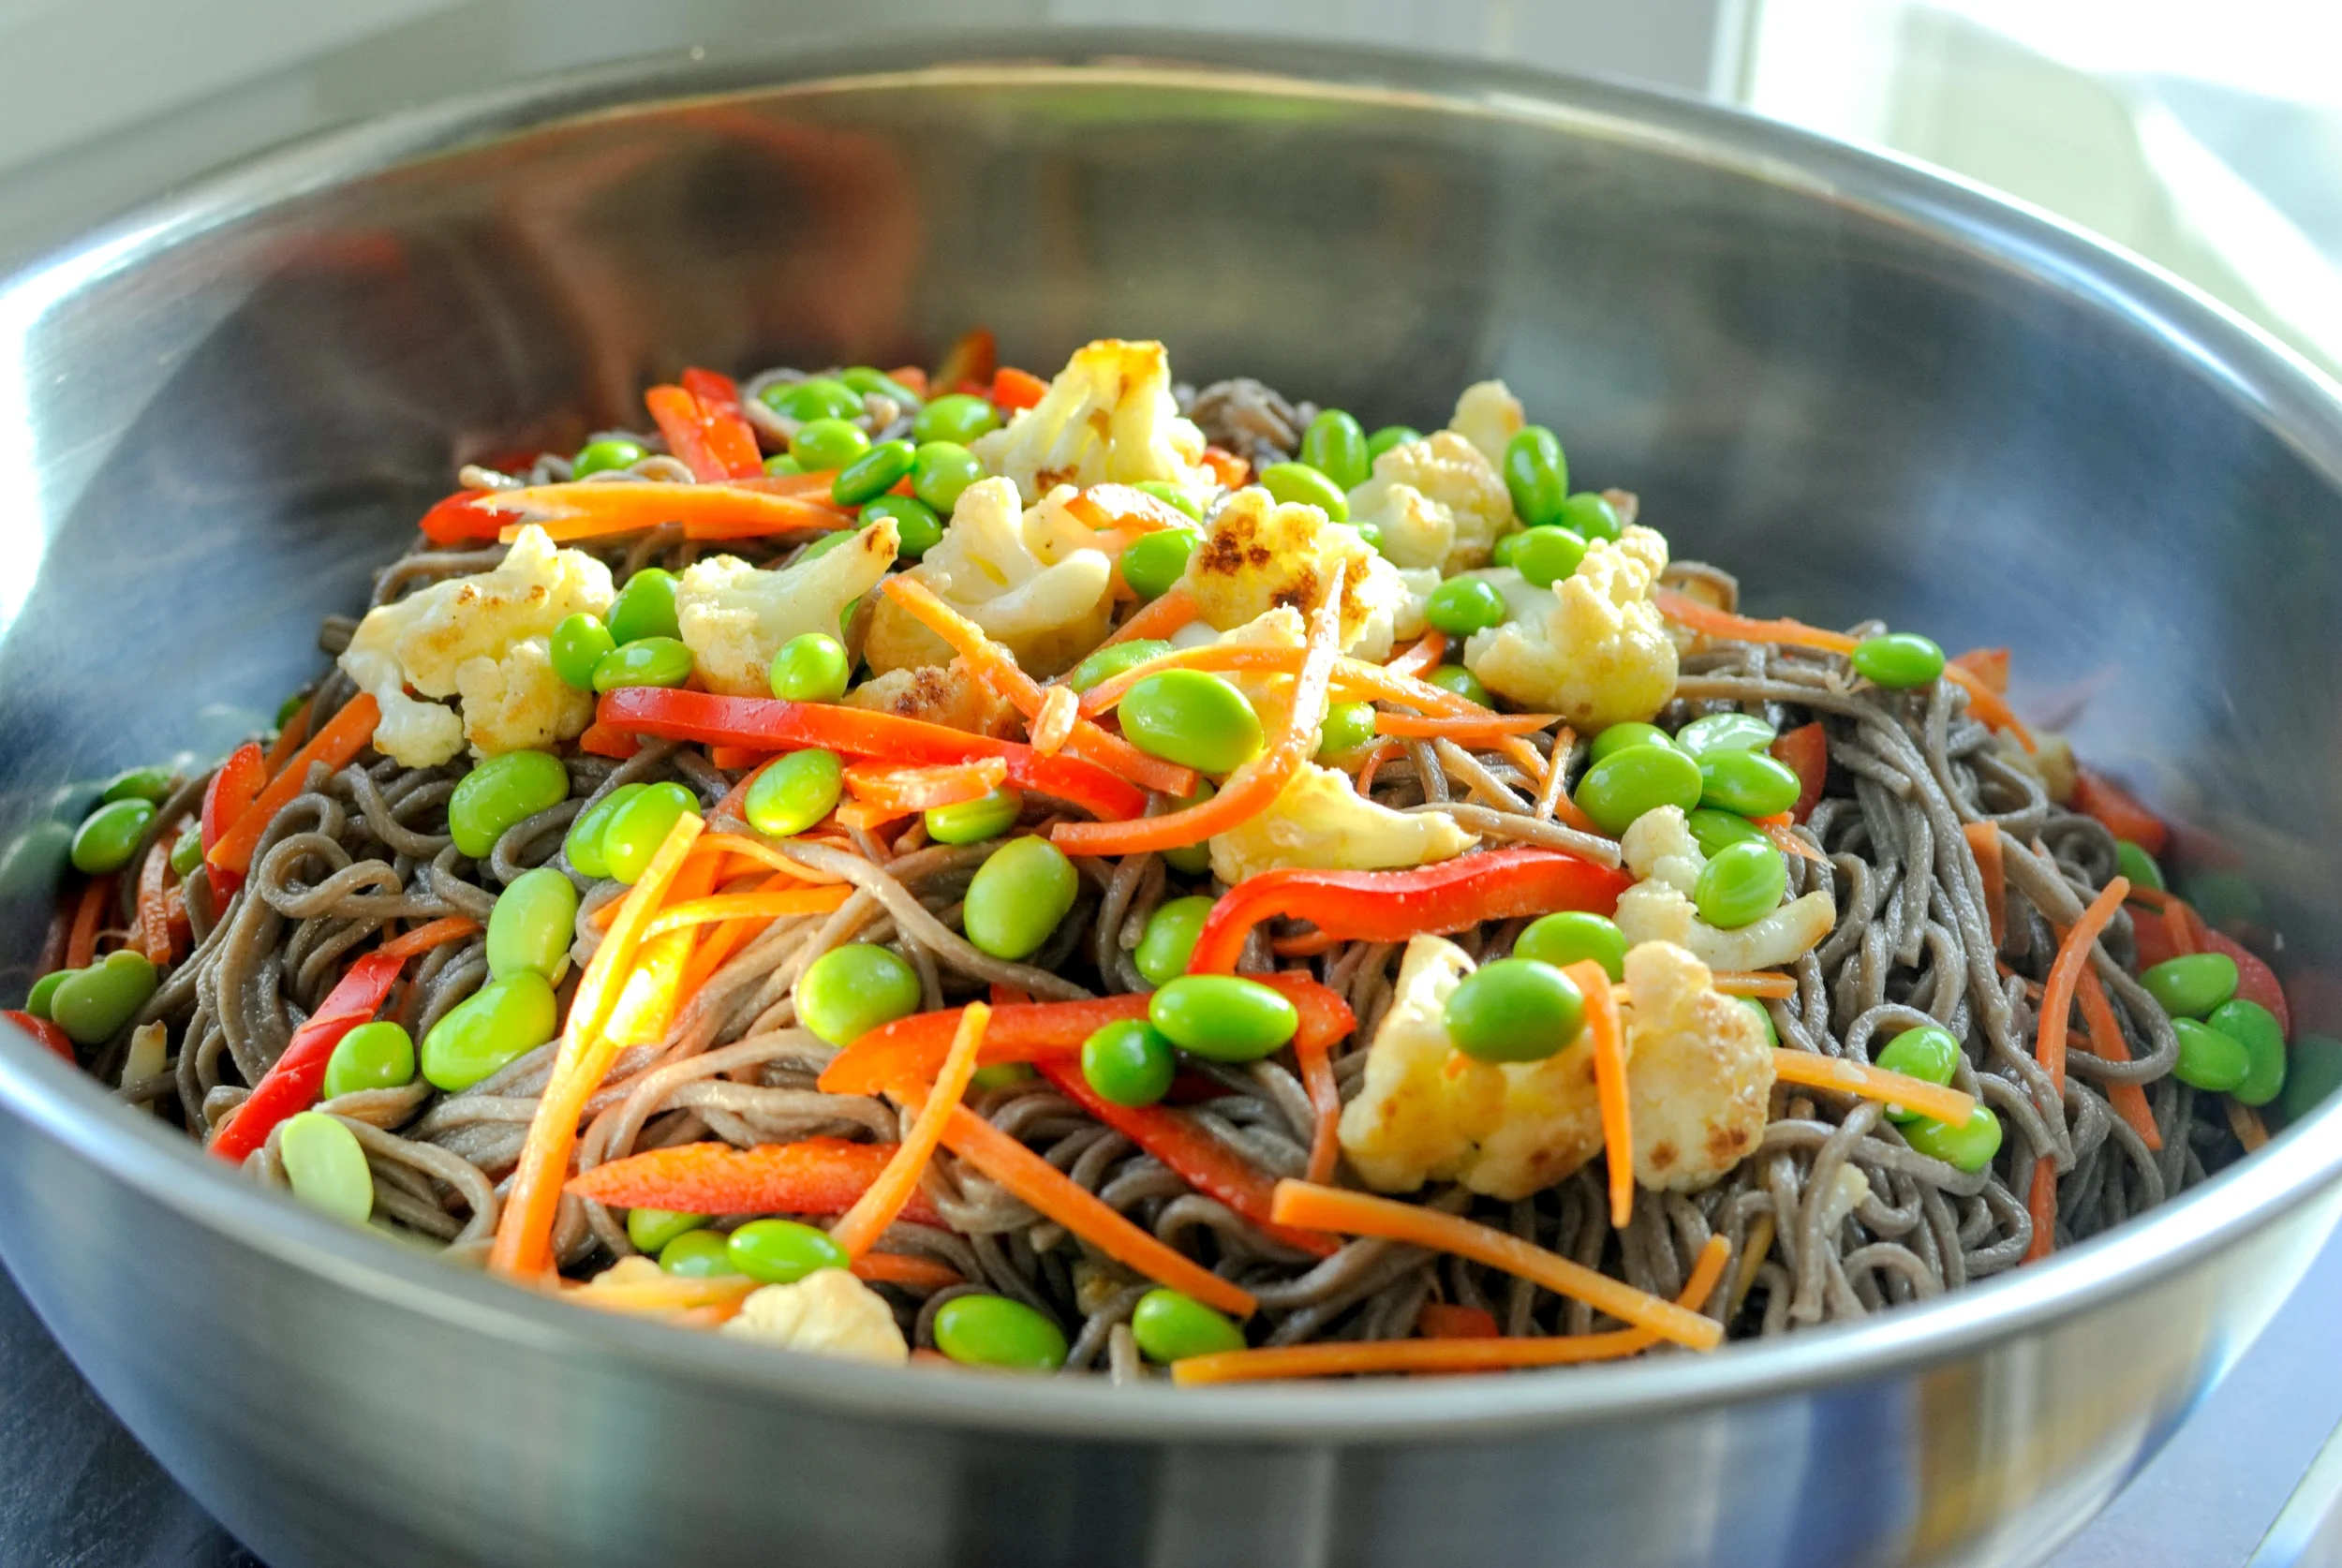
Noodles! There are thousands of different kinds, and I love them all. But I am particularly fond of soba - chewy, nutty, Japanese buckwheat noodles. When I feel health-conscious, I choose soba noodles because . . . I’m not sure! They are gluten-free, but that doesn’t matter to me. They are lower calorie than pasta made with wheat, but that doesn’t matter to me either! I think it’s because they can be dressed lightly and eaten cold that makes me *feel* they are a more healthful choice. I dressed the soba noodle salad with a Ginger Scallion Sauce, courtesy of one of my favorite chefs, David Chang. For the children, I set aside their portion and used the remaining sauce from the Crispy Chicken Wings to dress their noodles. 

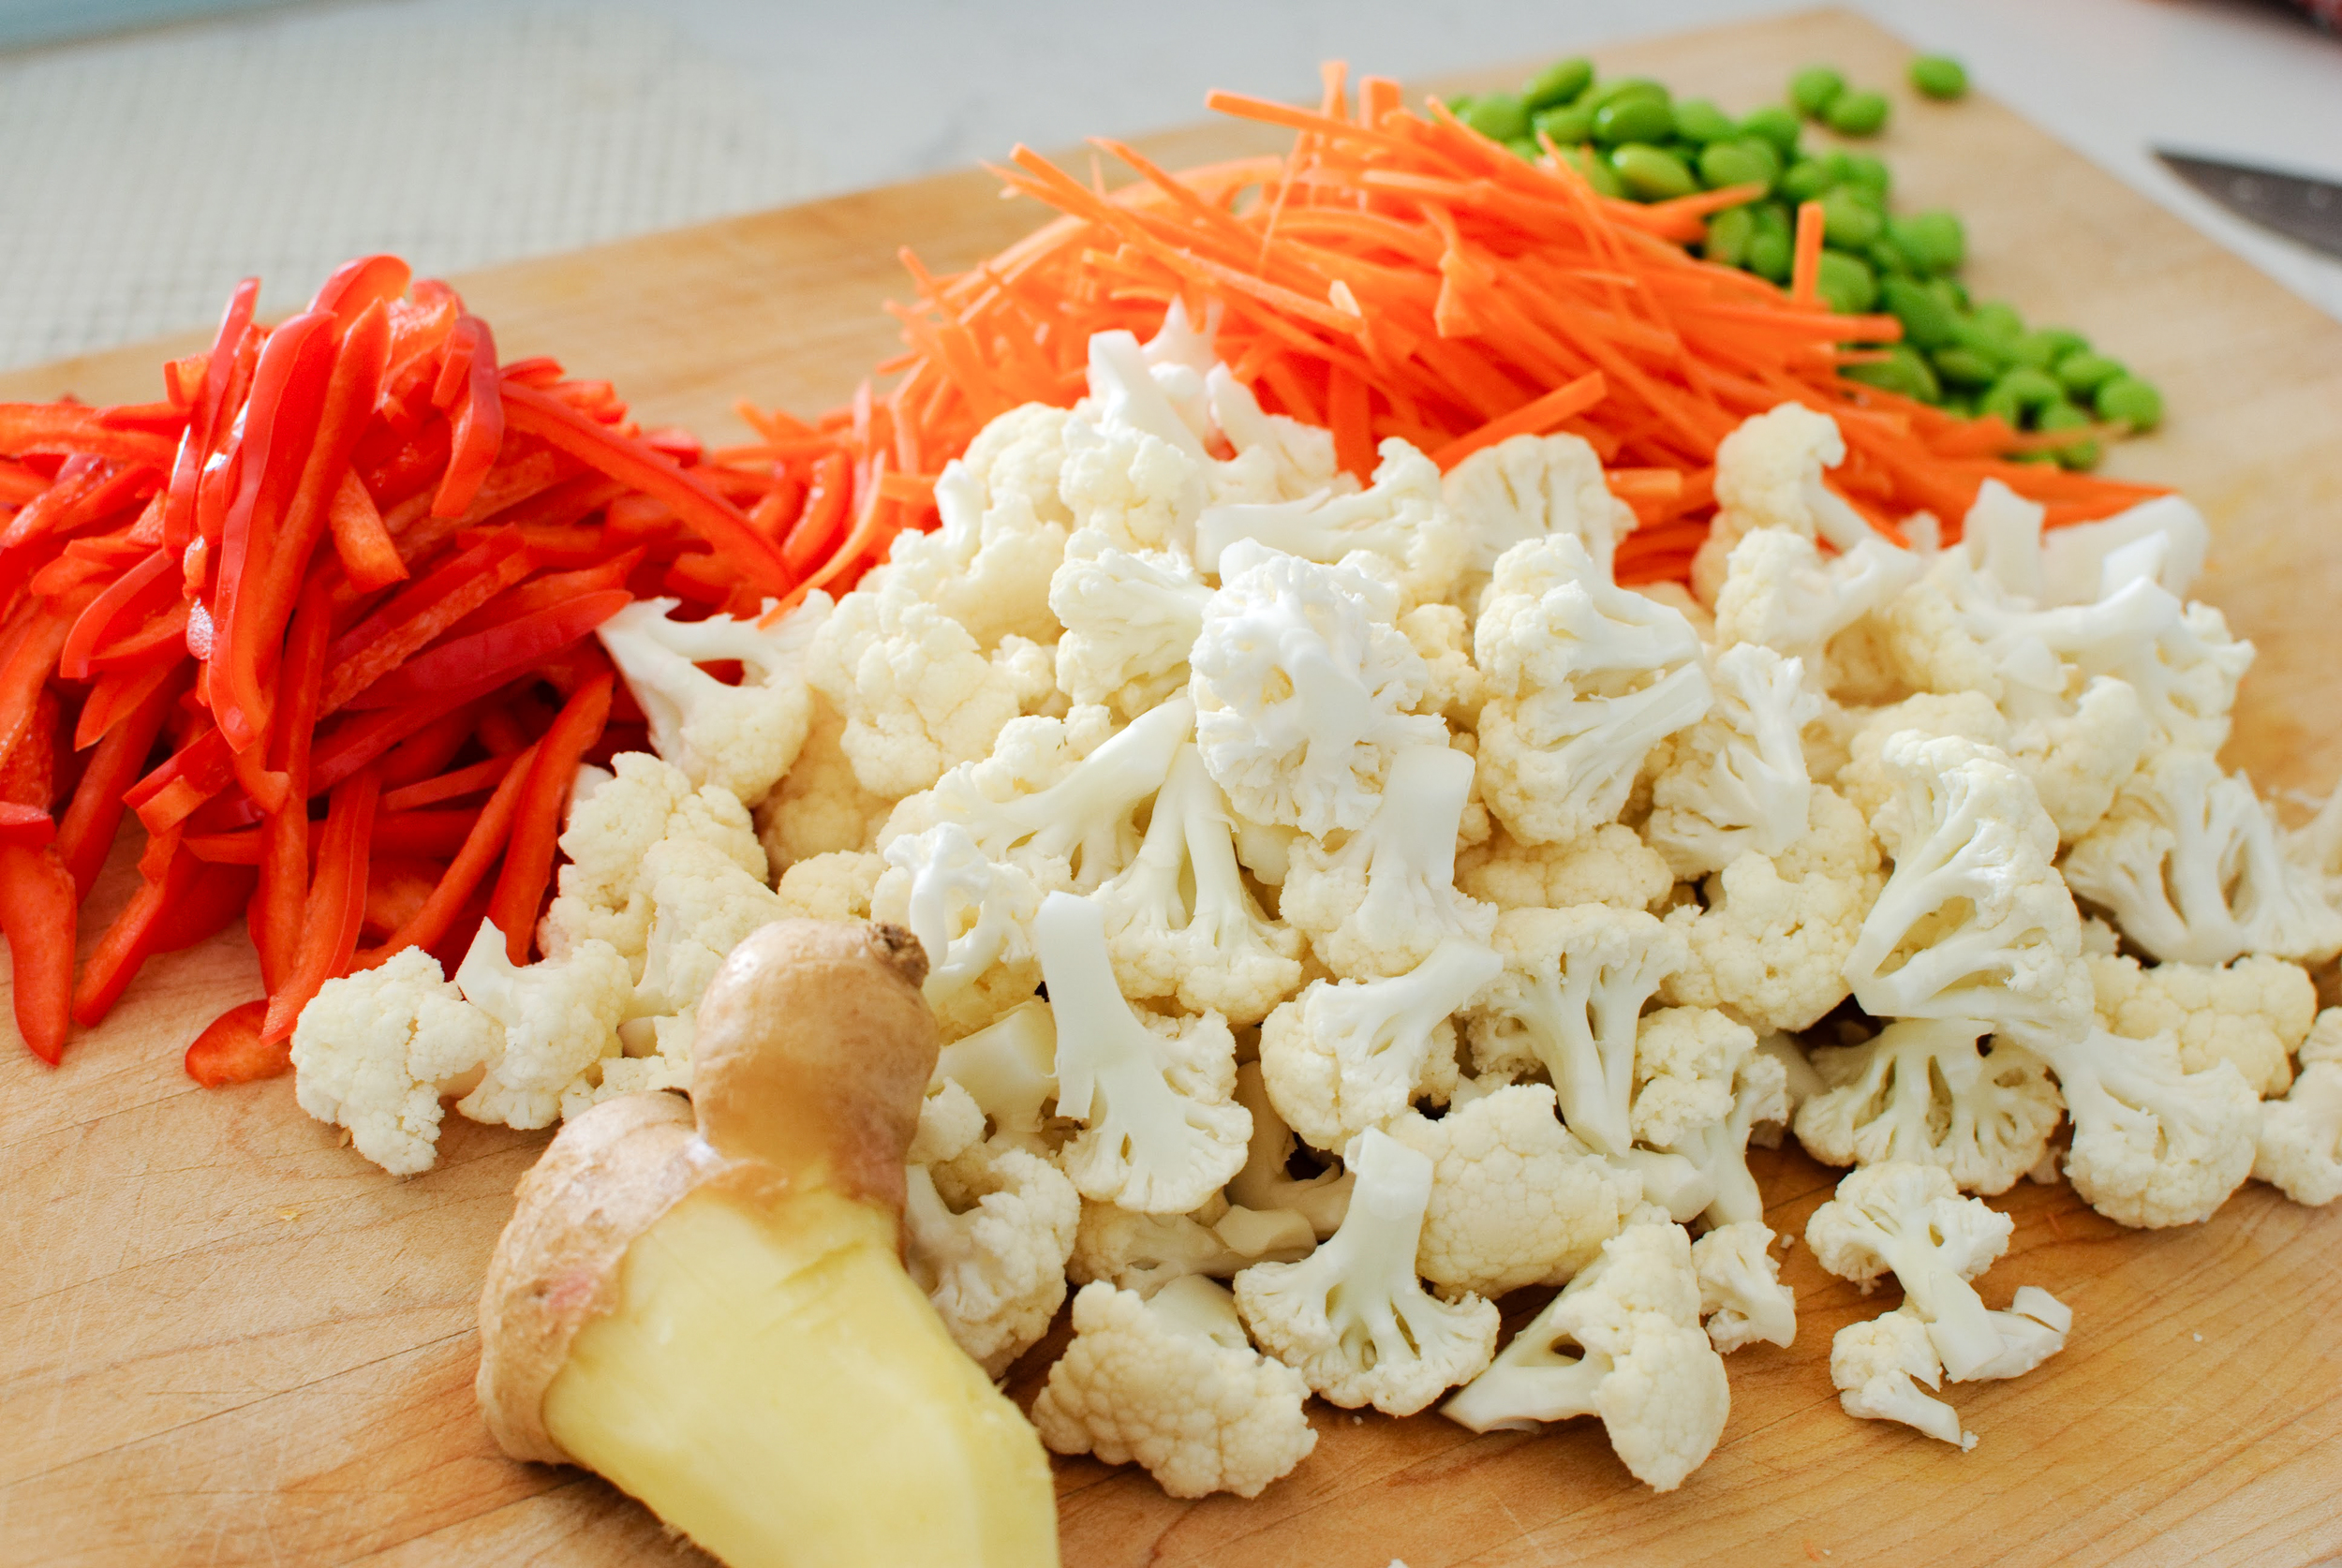
Notes: Cold noodle salads are flexible and easy to customize with different vegetables, proteins and sauces. In this recipe, I used shelled edamame, julienned carrots, roasted cauliflower, and red bell peppers; you could also use shredded cabbage, thinly sliced half-rounds of cucumber, julienne of zucchini, sautéed mushrooms, blanched baby spinach . . . really, anything! The same goes for sauces I’ll often make a rice wine vinaigrette, a carrot ginger salad dressing or a very light peanut sauce to dress soba.


Servings: 4-6
Time: 30 minutes

4 bundles (or 360 grams) soba noodles (prepared according to the package)
2 tablespoons sesame seed oil
1 cup Shelled edamame
1 cup Carrot, julienned
1 cup Cauliflower florets
1 cup Red bell pepper, julienned
1 tablespoon neutral oil (vegetable, canola, and grapeseed all work)

Cook soba noodles according to package directions. Rinse with cold water and dress lightly with sesame seed oil to prevent the noodles from sticking. Set aside.

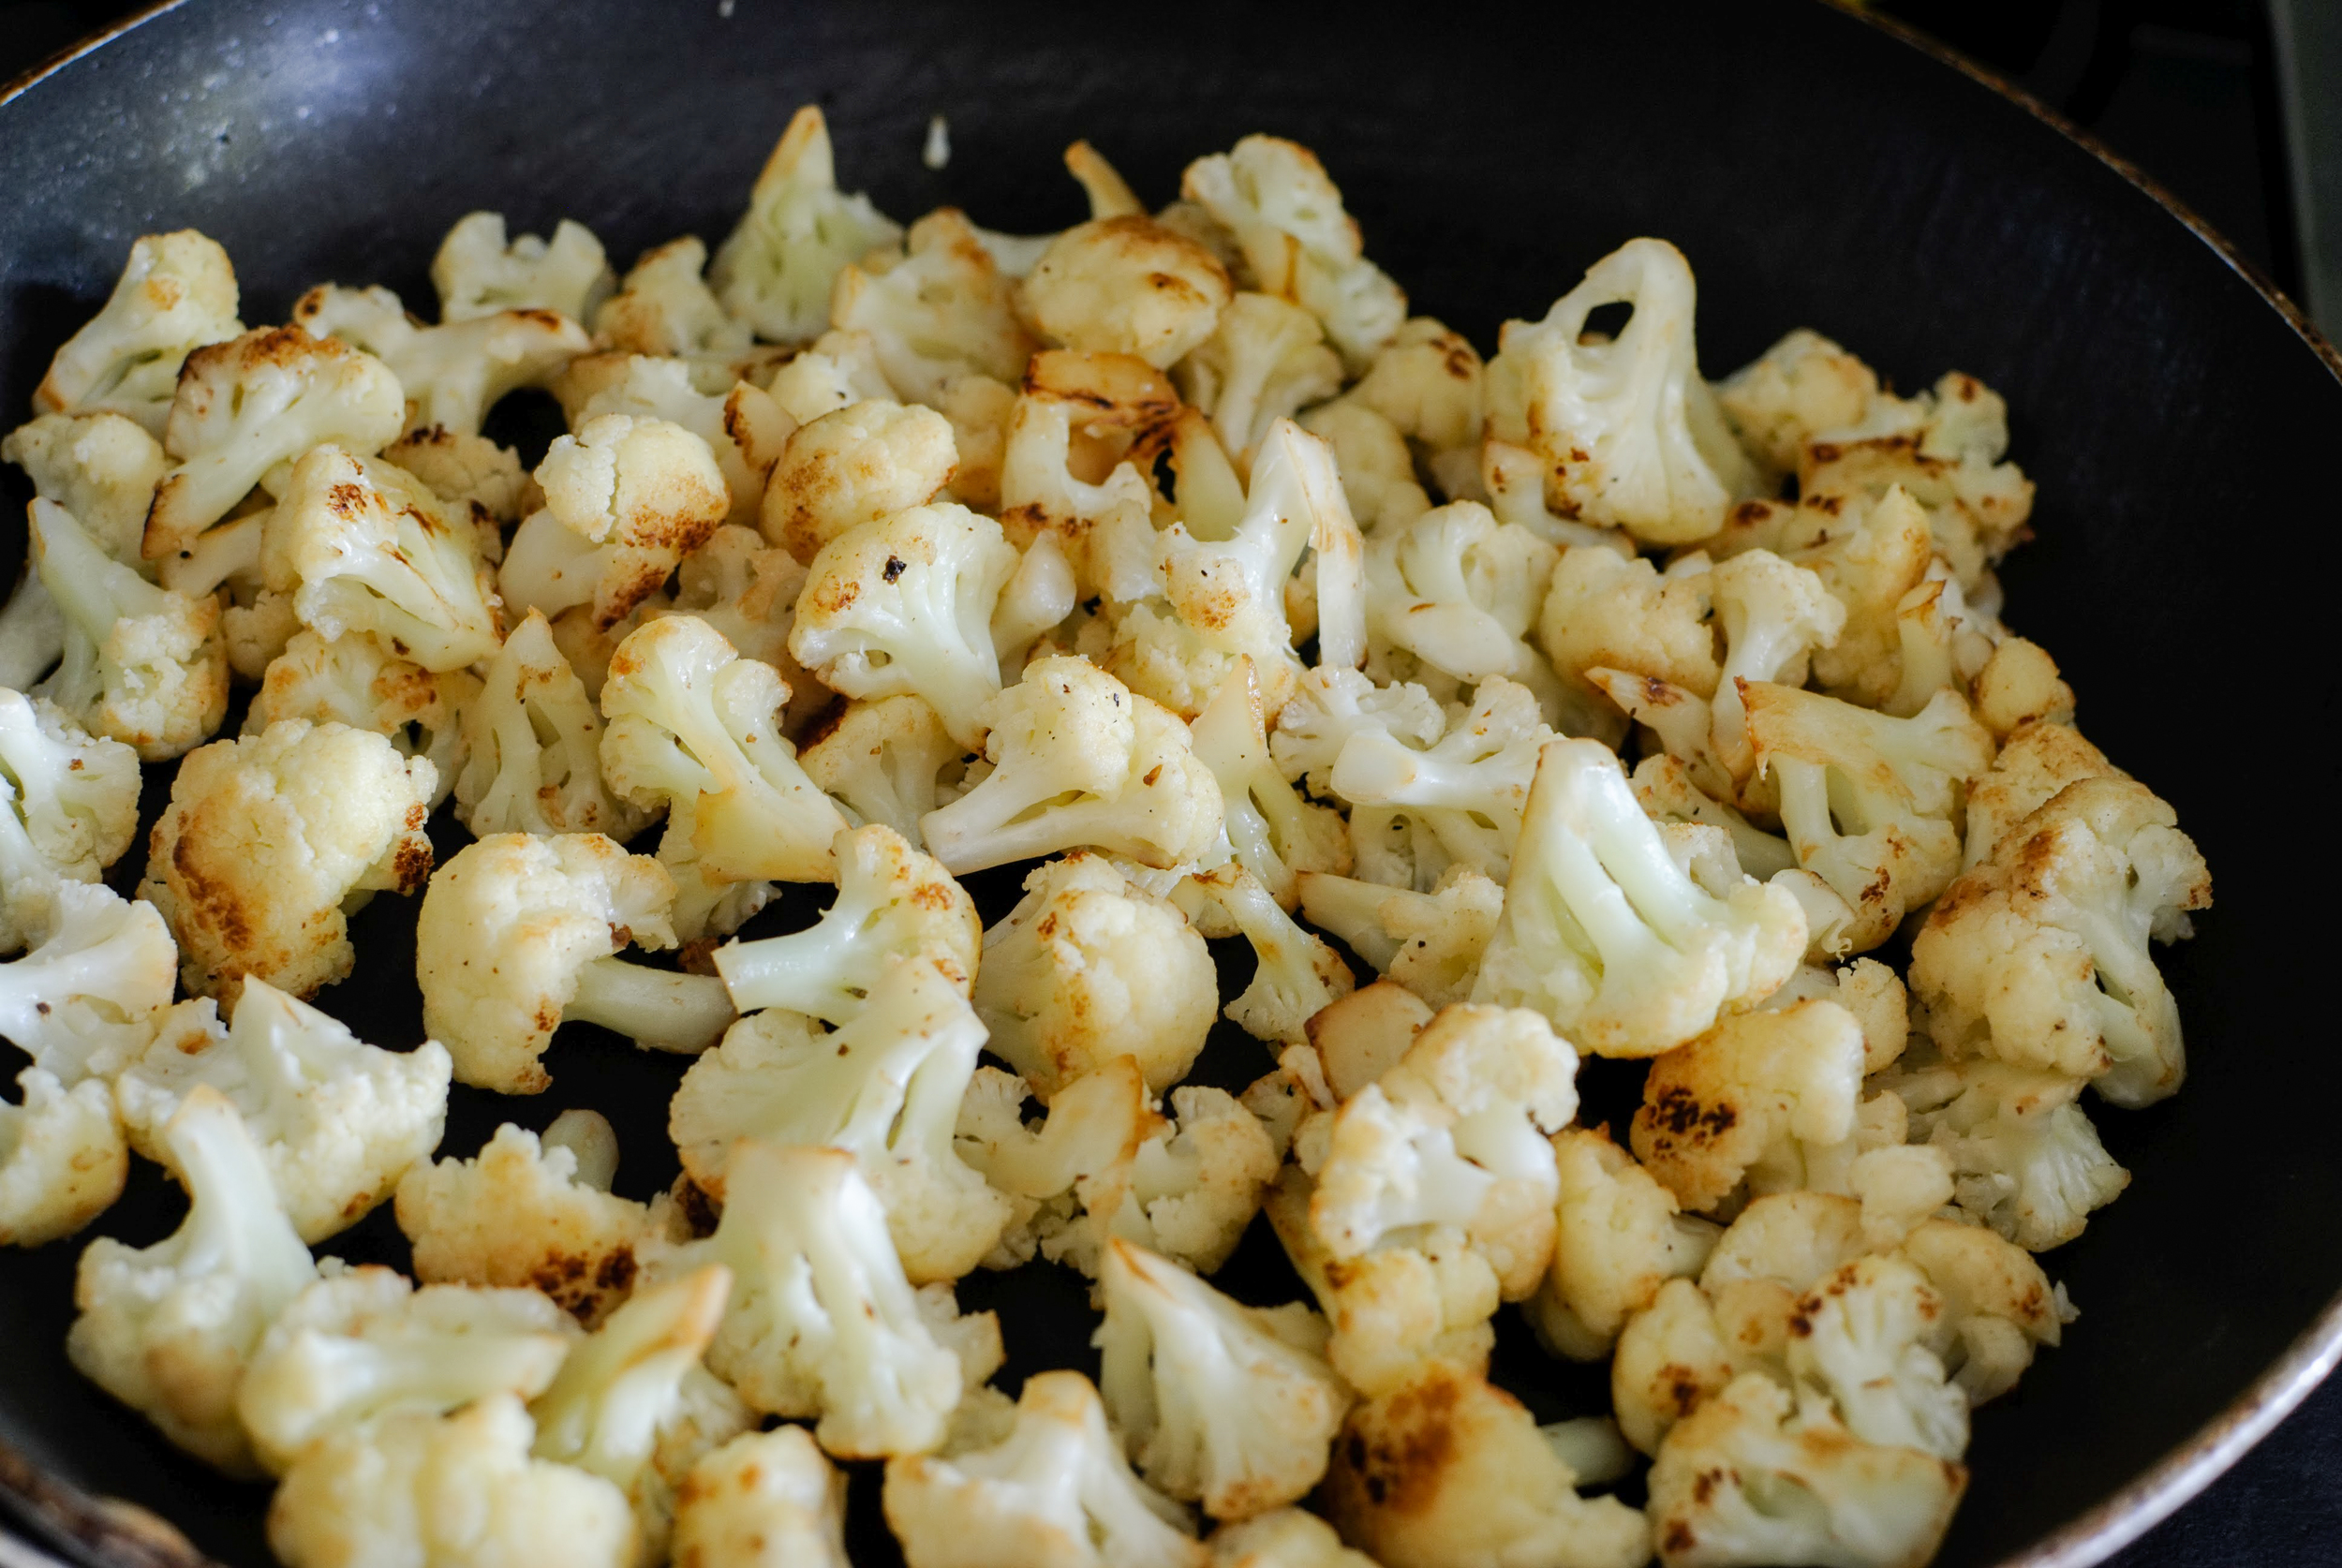
While the noodles are cooking, add 1 tablespoon oil to a medium pan, bring up to medium-high heat, until oil barely begins to smoke. Add cauliflower to the pan, and cook until the first side is brown - about 2-3 minutes. Shake pan vigorously and continue to cook until desired doneness. (I like fork-tender cruciferous vegetables, so I cooked mine for about 6 minutes). Set aside. Julienne carrots and red bell peppers, set aside with prepared edamame. Combine noodles and vegetables in a large bowl. 

Ginger Scallion Sauce
from Momofuku cookbook by David Chang

Servings: 1 cup of sauce
Time: 15 minutes

Ingredients:
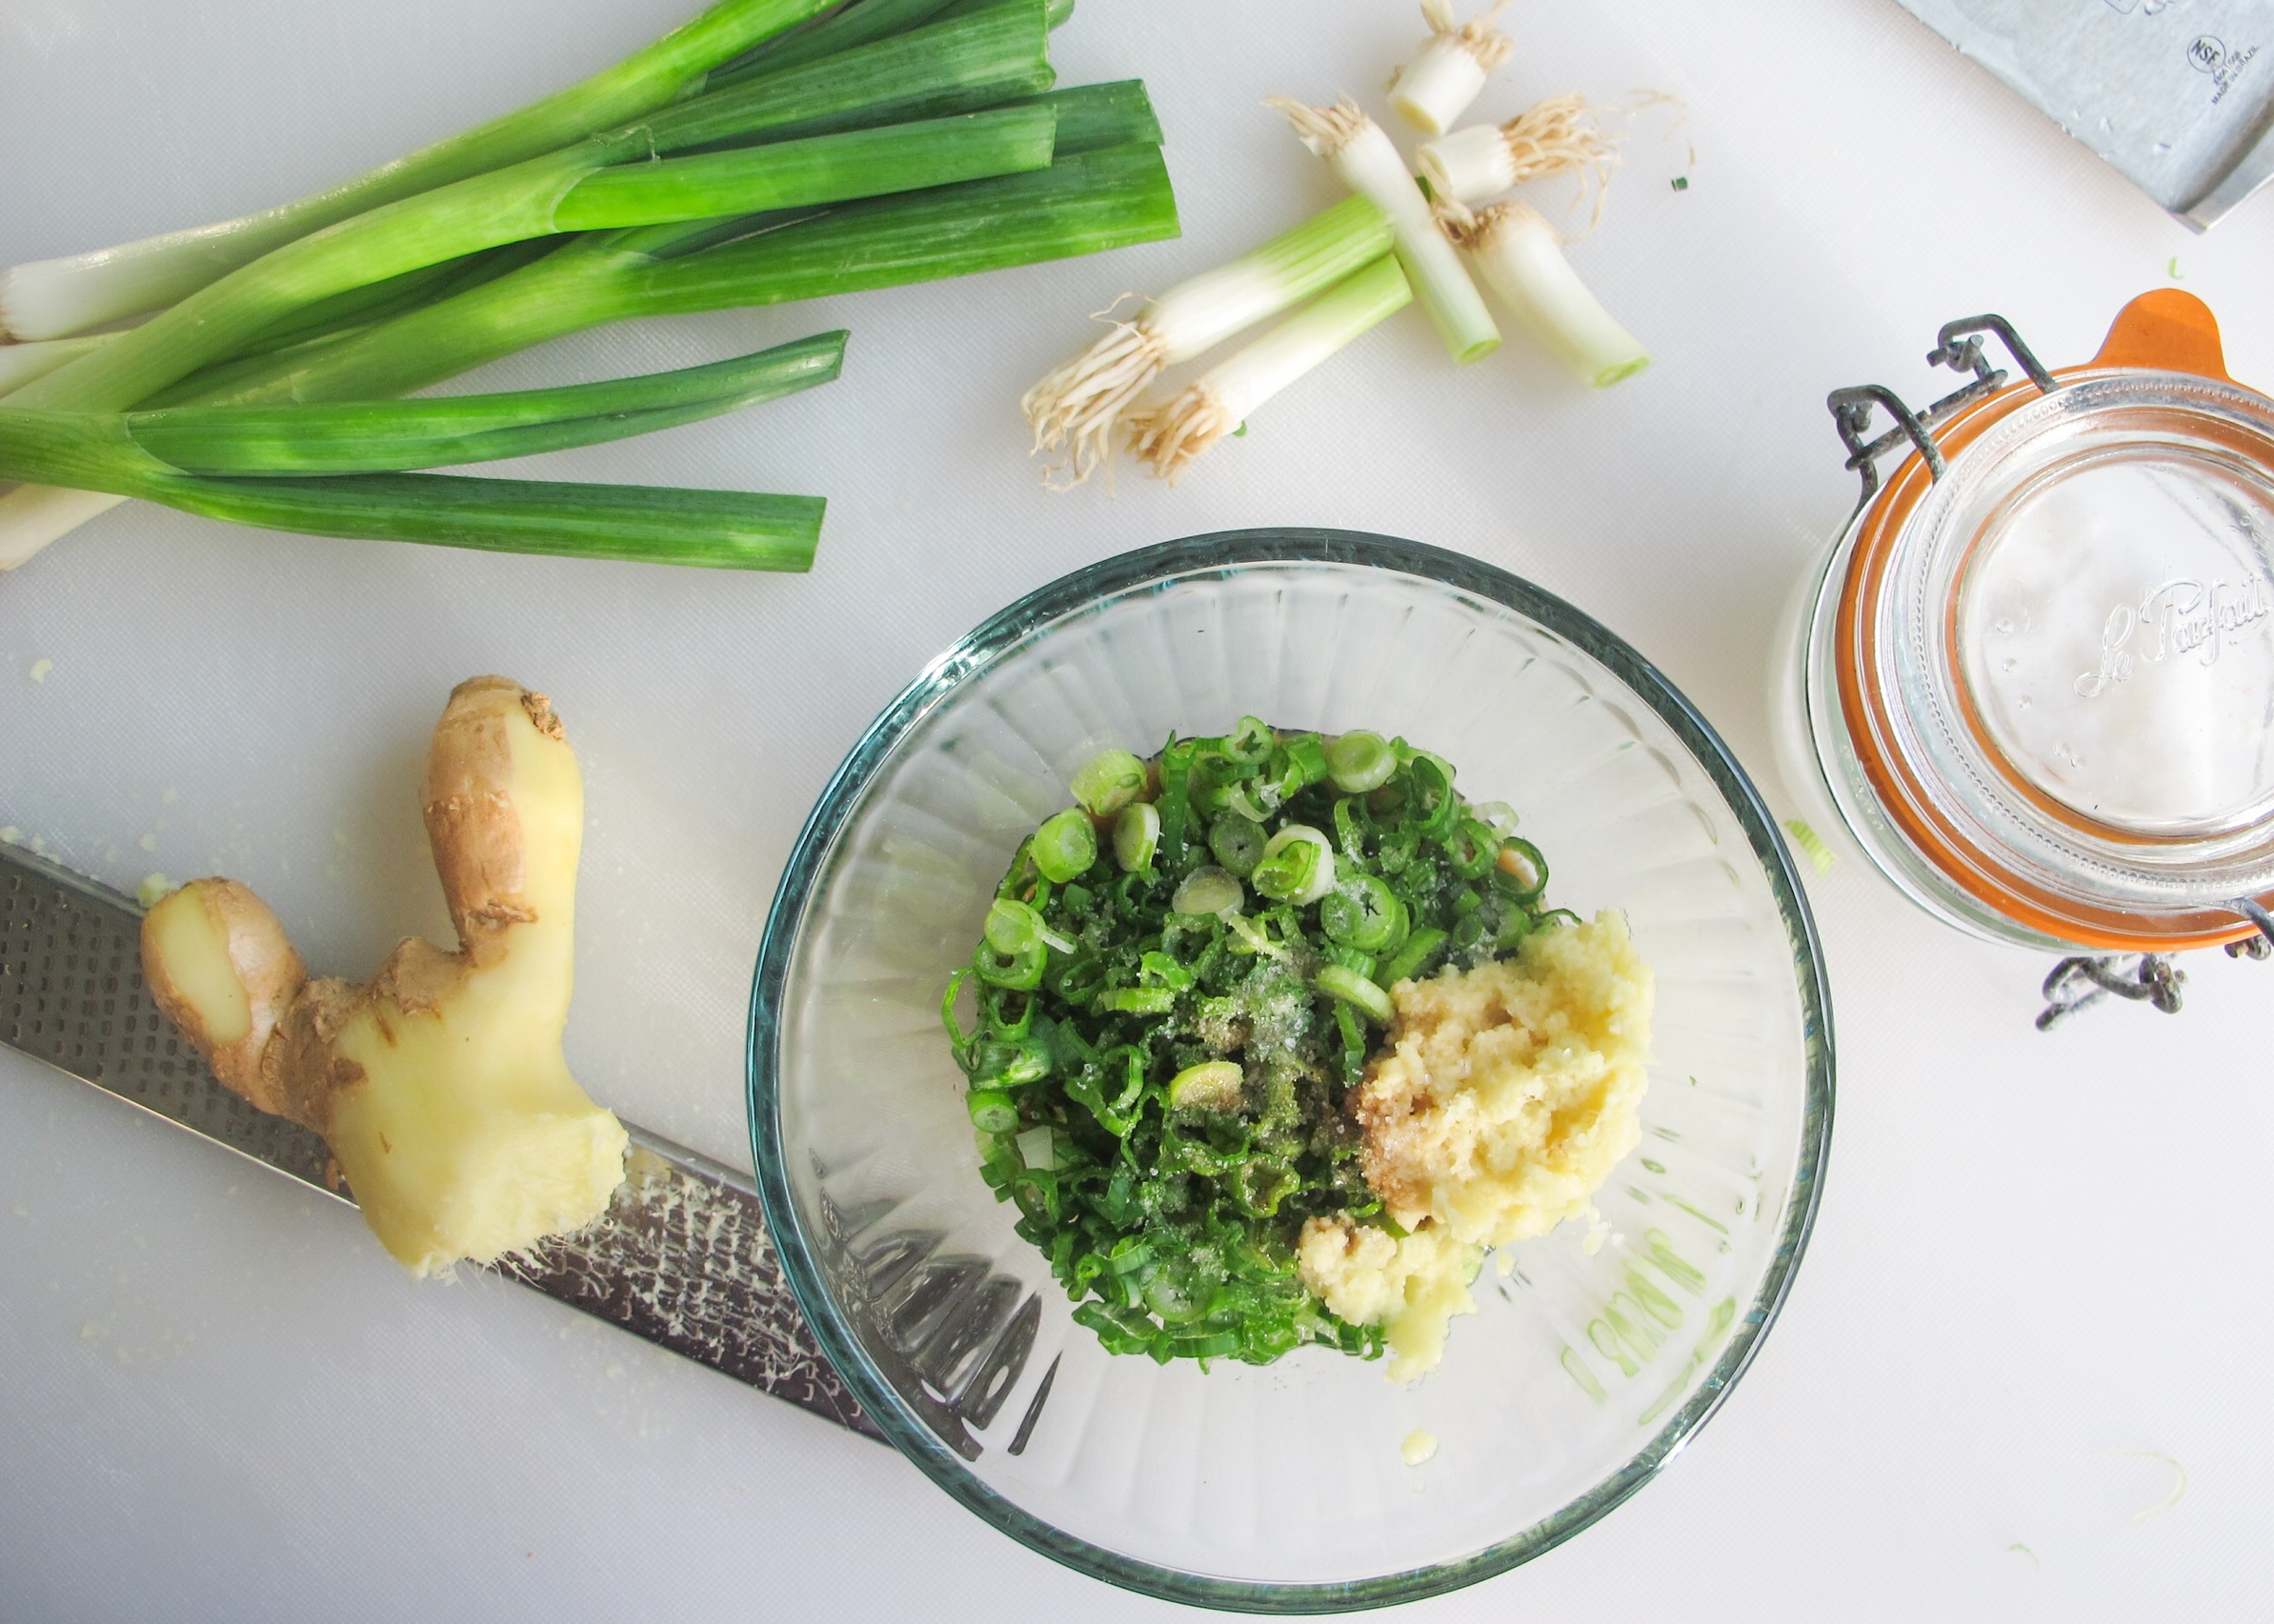
2½ cups thinly sliced scallions (green and whites, from 2-3 large bunches)
½ cup finely minced fresh ginger
¼ cup grapeseed or other neutral oil
1½ teaspoons usukuchi (light soy sauce)
¾ teaspoon sherry vinegar
¾ teaspoon kosher salt, more to taste

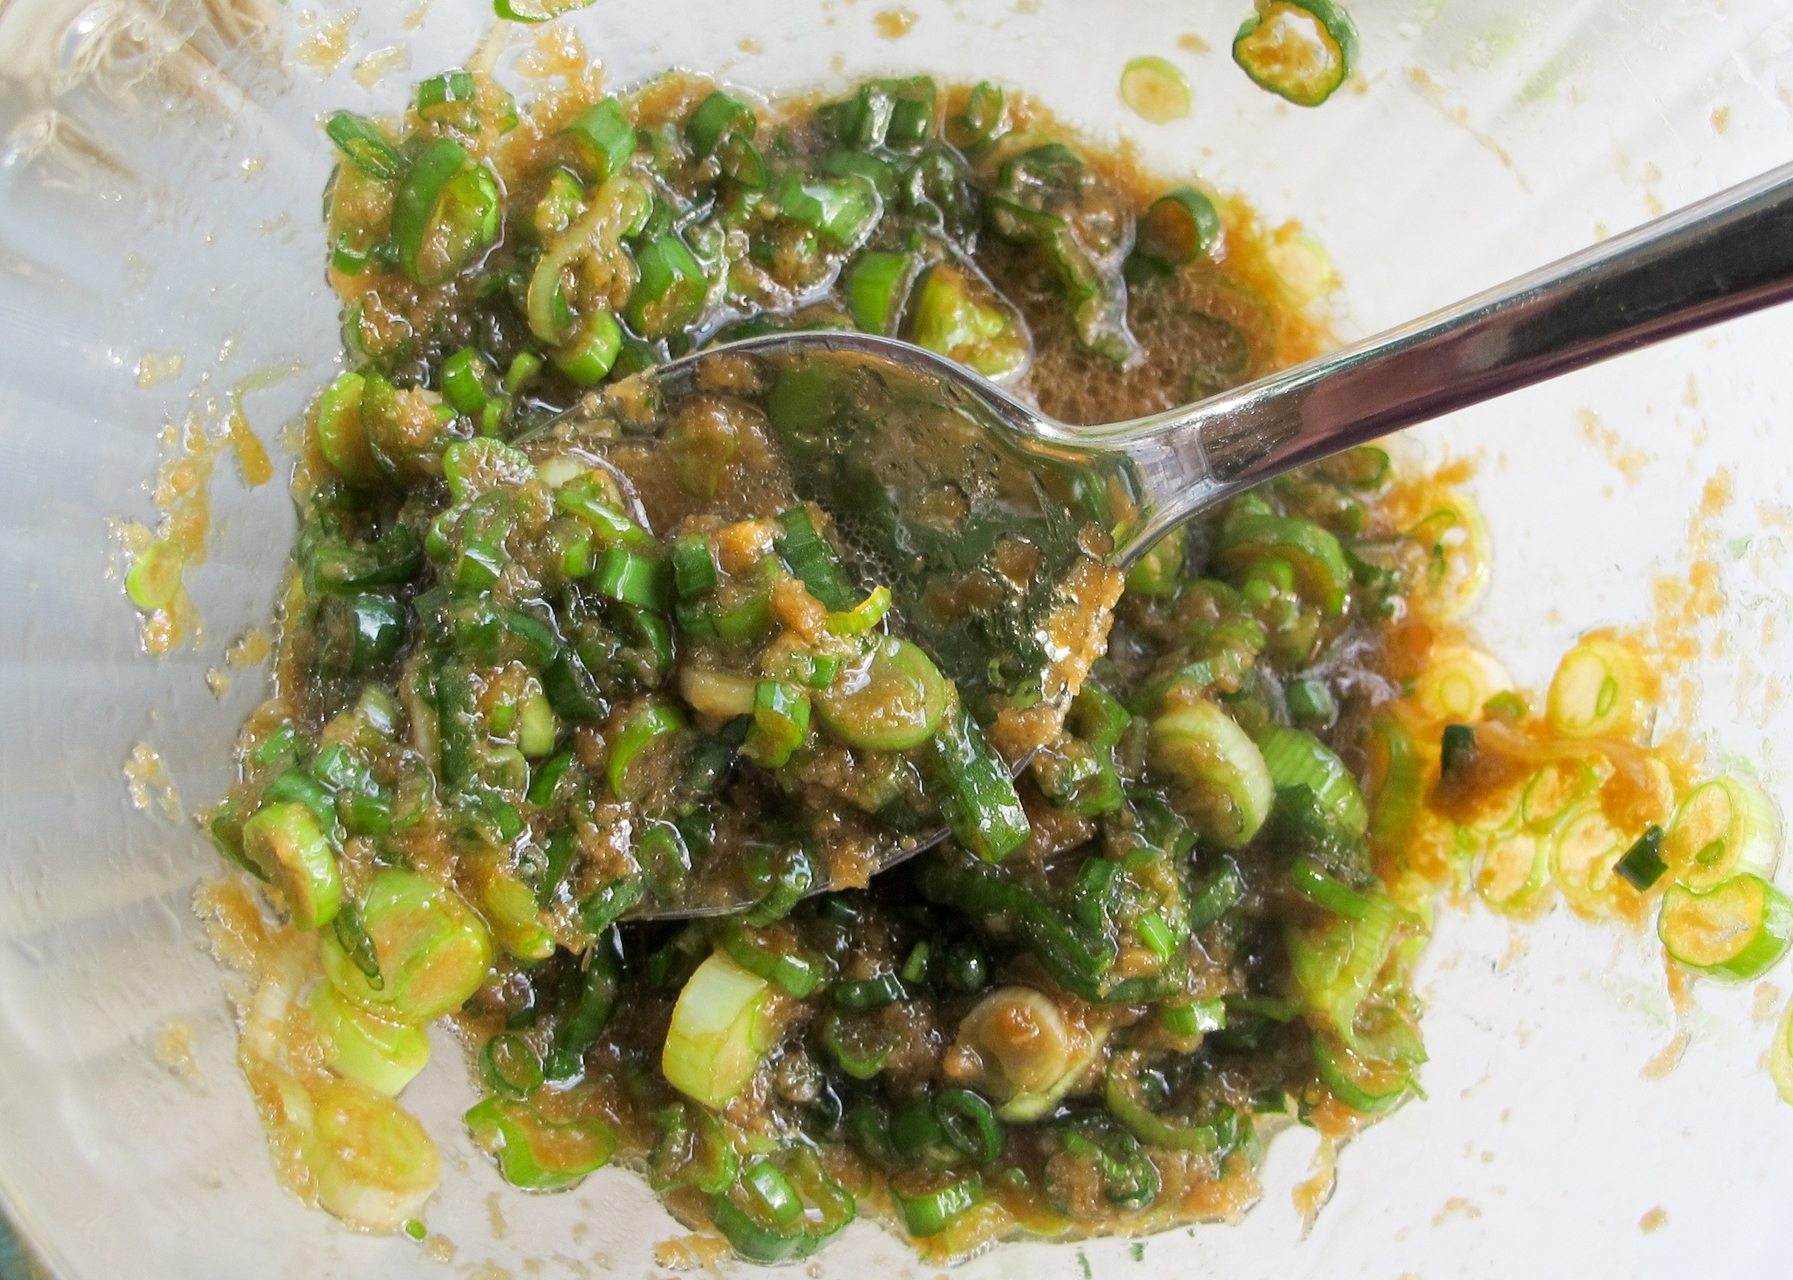
Mix together the scallions, ginger, oil, soy sauce, vinegar, and salt in a bowl. Taste and check for salt, adding more if needed. 

Cucumber and Beet Salad by Cynthia Raub

Print Friendly and PDF
beet and cucumber salad

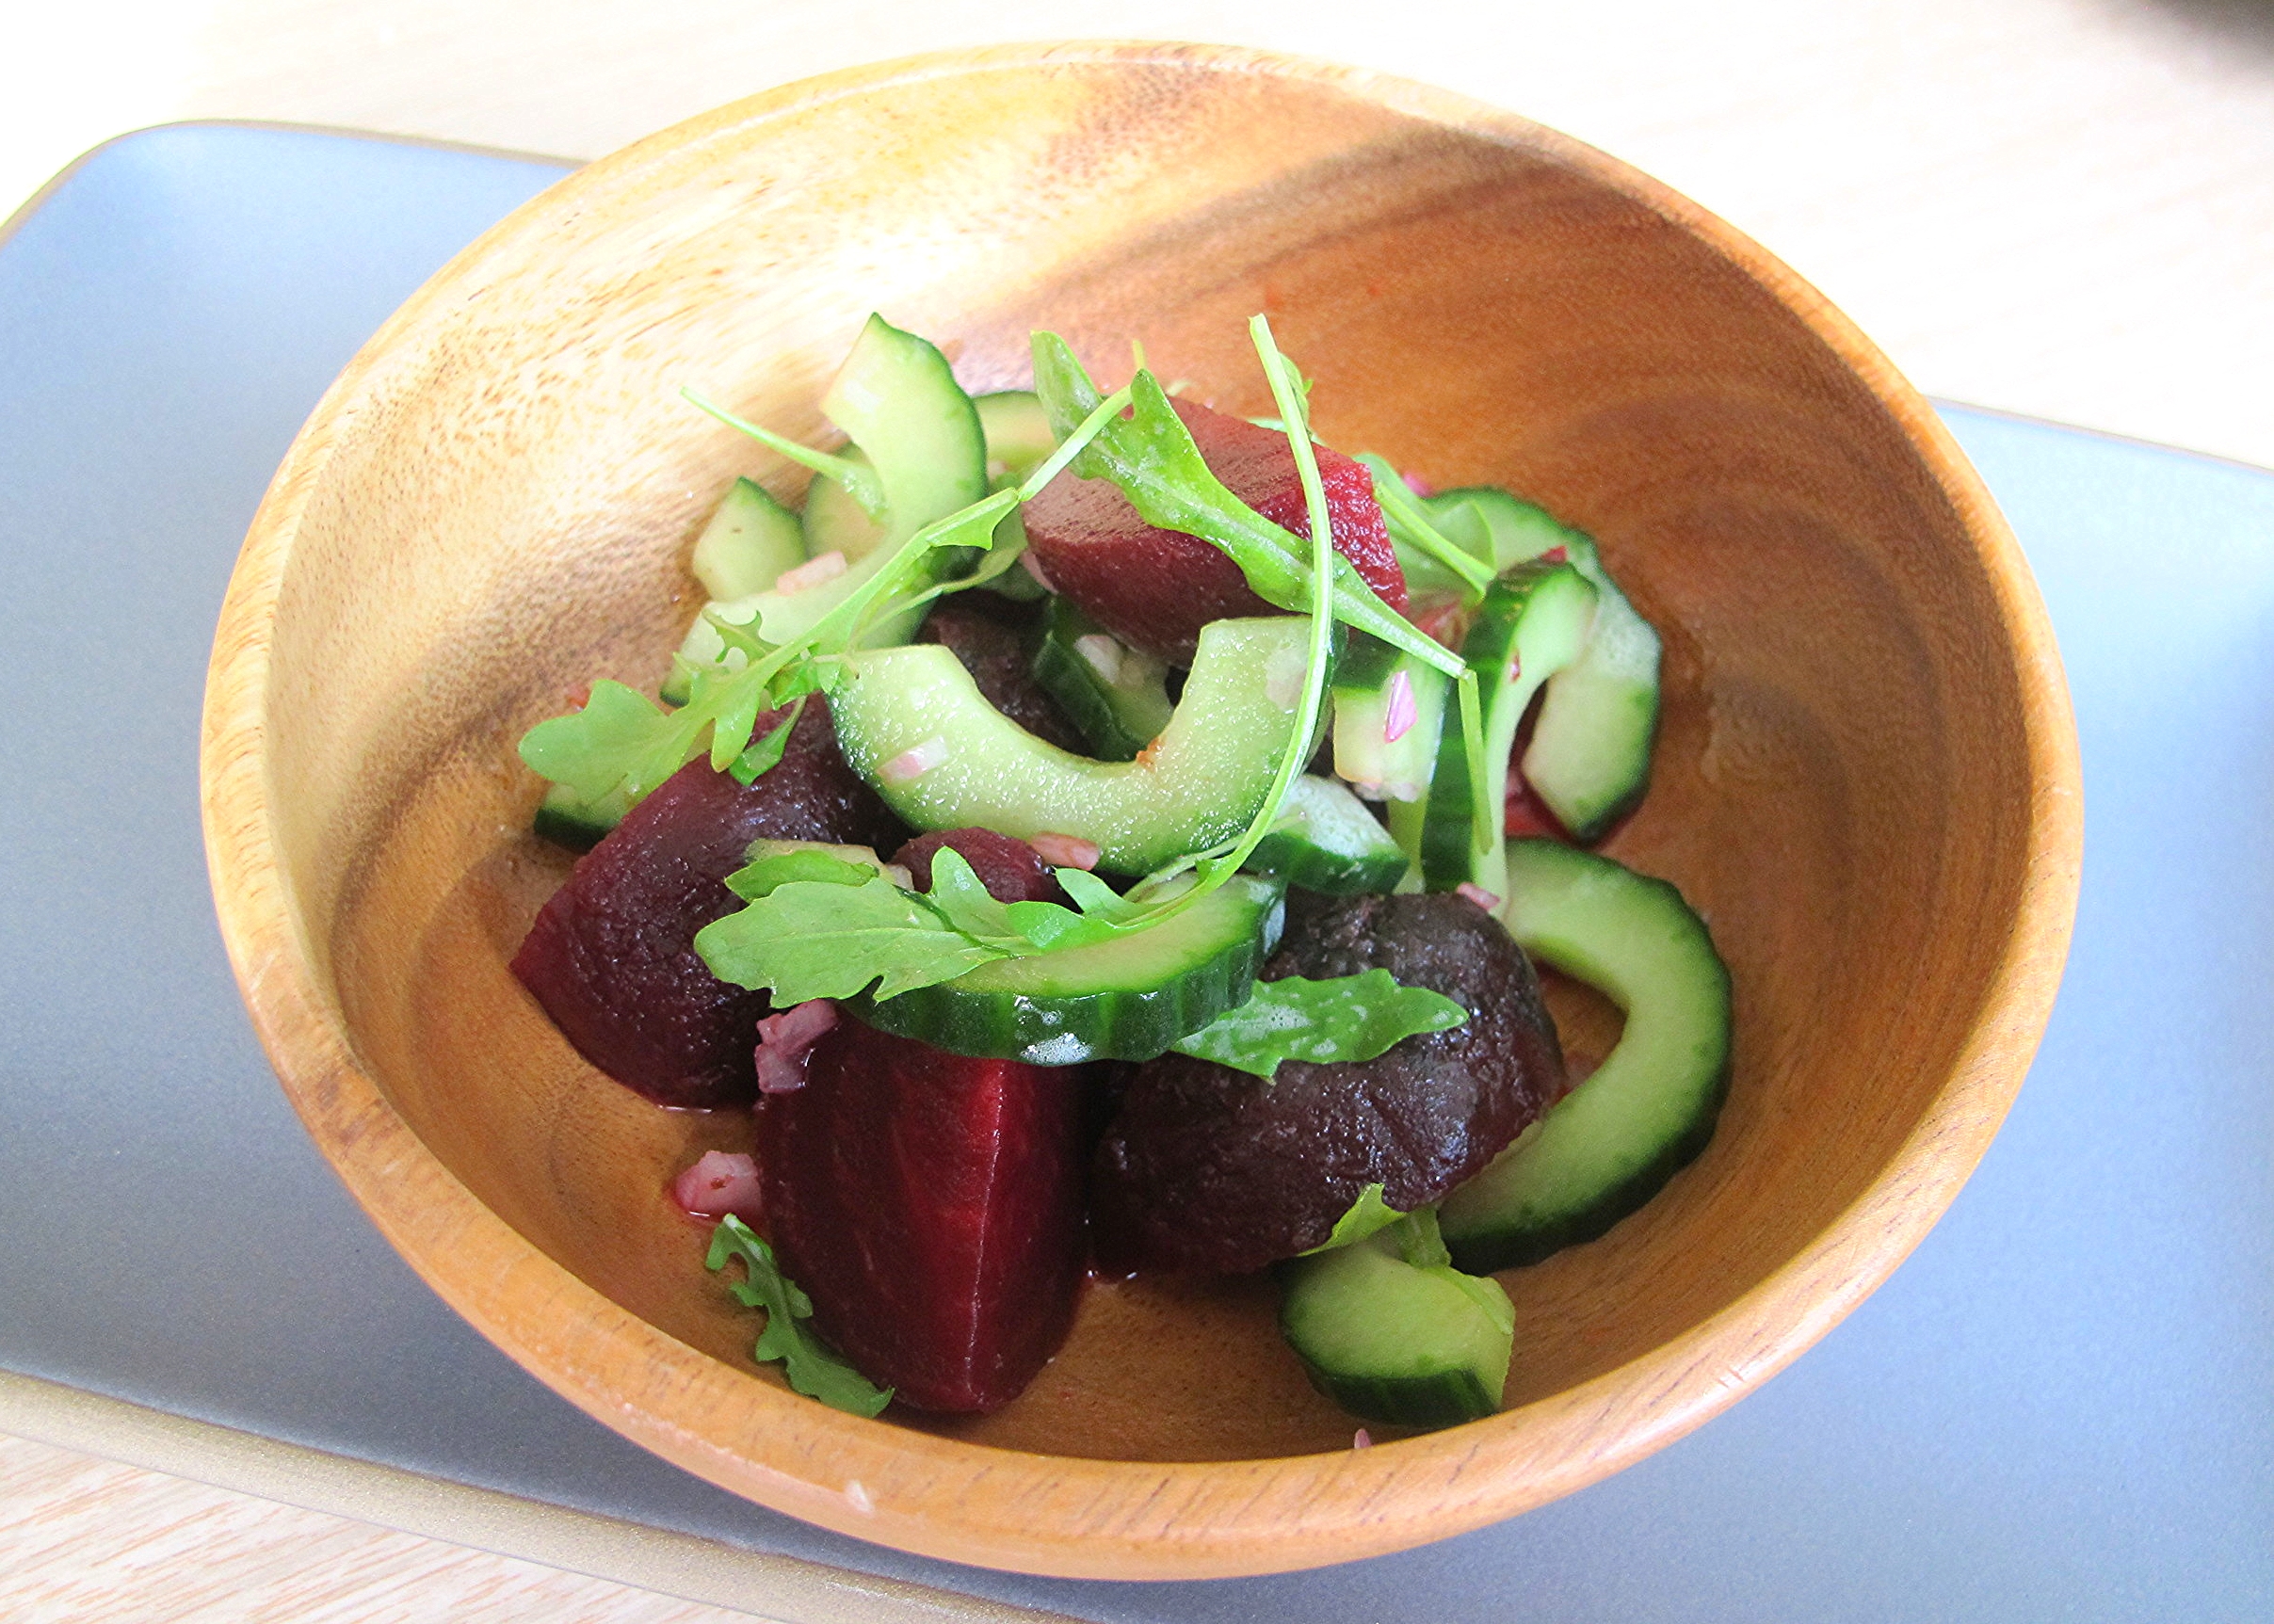
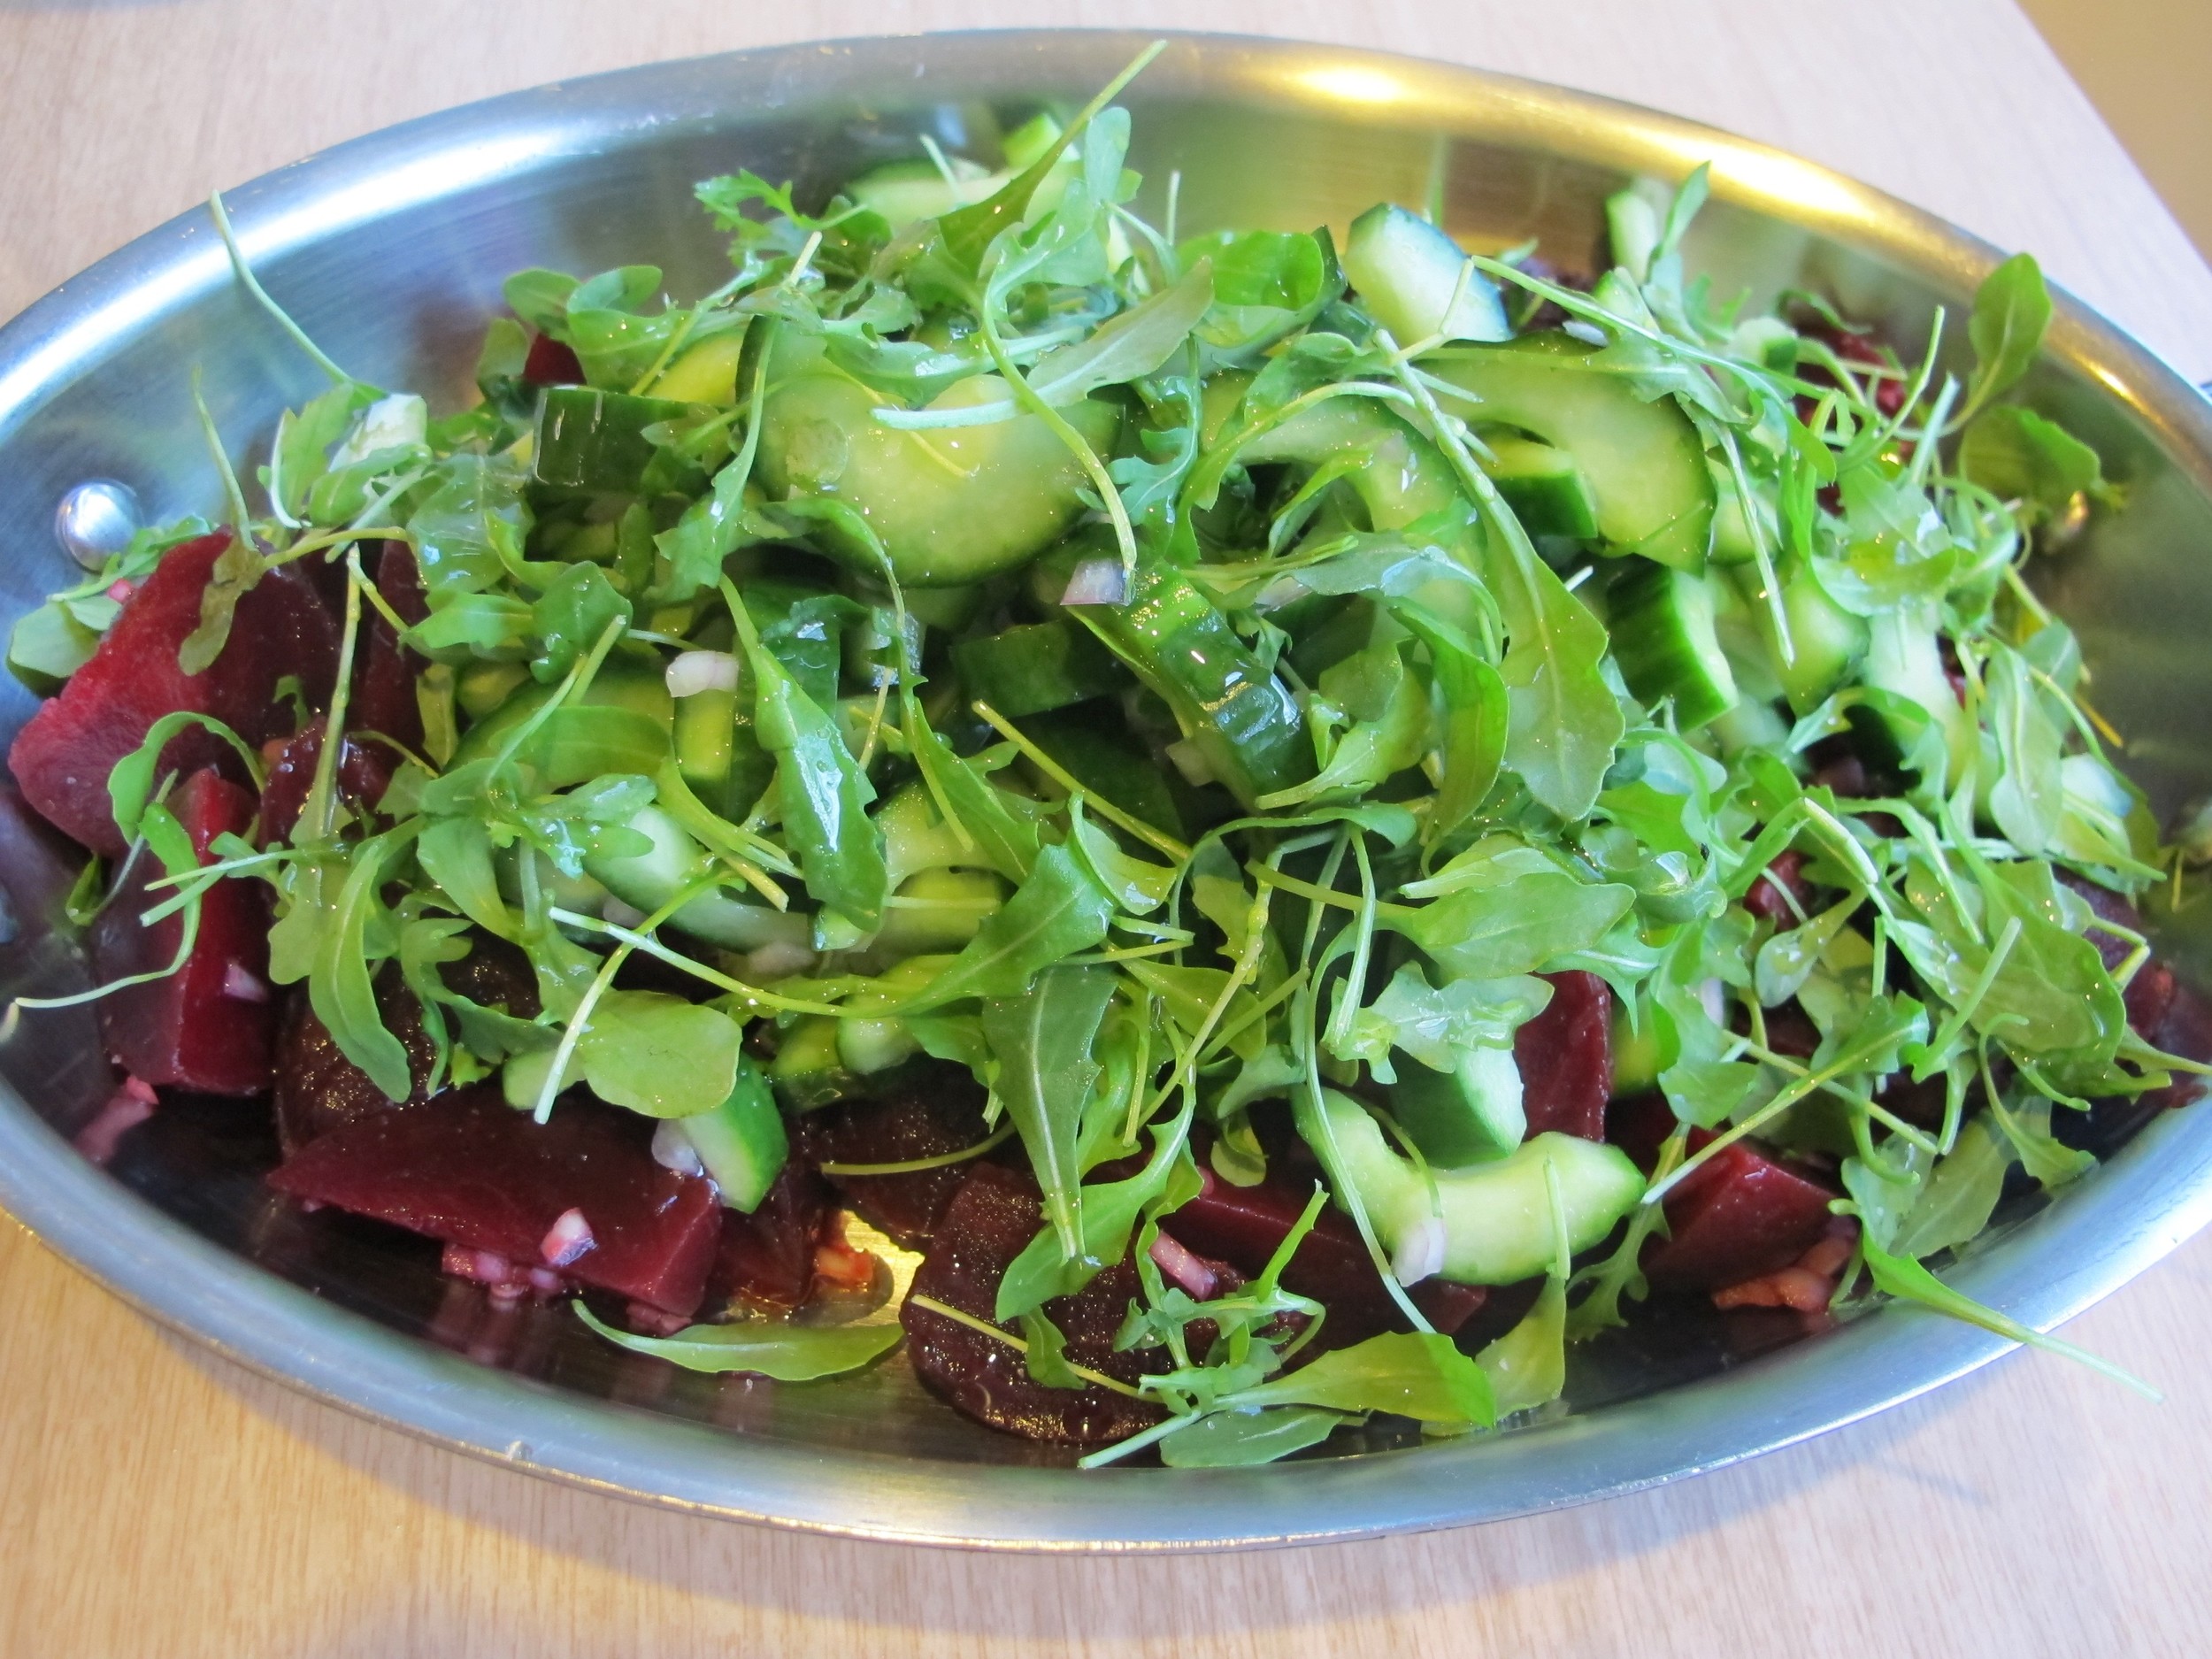
In and of itself, grilled cheese is a perfect meal. It combines the three food groups: bread, butter and cheese. But because I added *bacon* in the Bacon Jam and Cheddar Grilled Cheese Sandwich, I thought I would lighten up the meal with a salad. This Beet and Cucumber Salad is simple and straightforward - you don't even have to make a vinaigrette! The crispy crunch from the cucumber and the velvety, sweet beets are a great accompaniment to the slightly spicy baby arugula. Don't be deceived - the recipe is very simple, but the salad turned out to be tasty and balanced.

Notes: Letting the salad sit for a minimum of 30 minutes after being dressed is a must. Let the cucumbers and beets marinate separately to avoid beet-stained cucumbers. I used prepared and packaged beets for this recipe, but you can roast your own if you have the time and patience. 


Time: 15 minutes
Servings: 8

1/2 cup rice vinegar
1/4 cup chopped shallots
1/4 cup sugar
1 pounds beets, trimmed
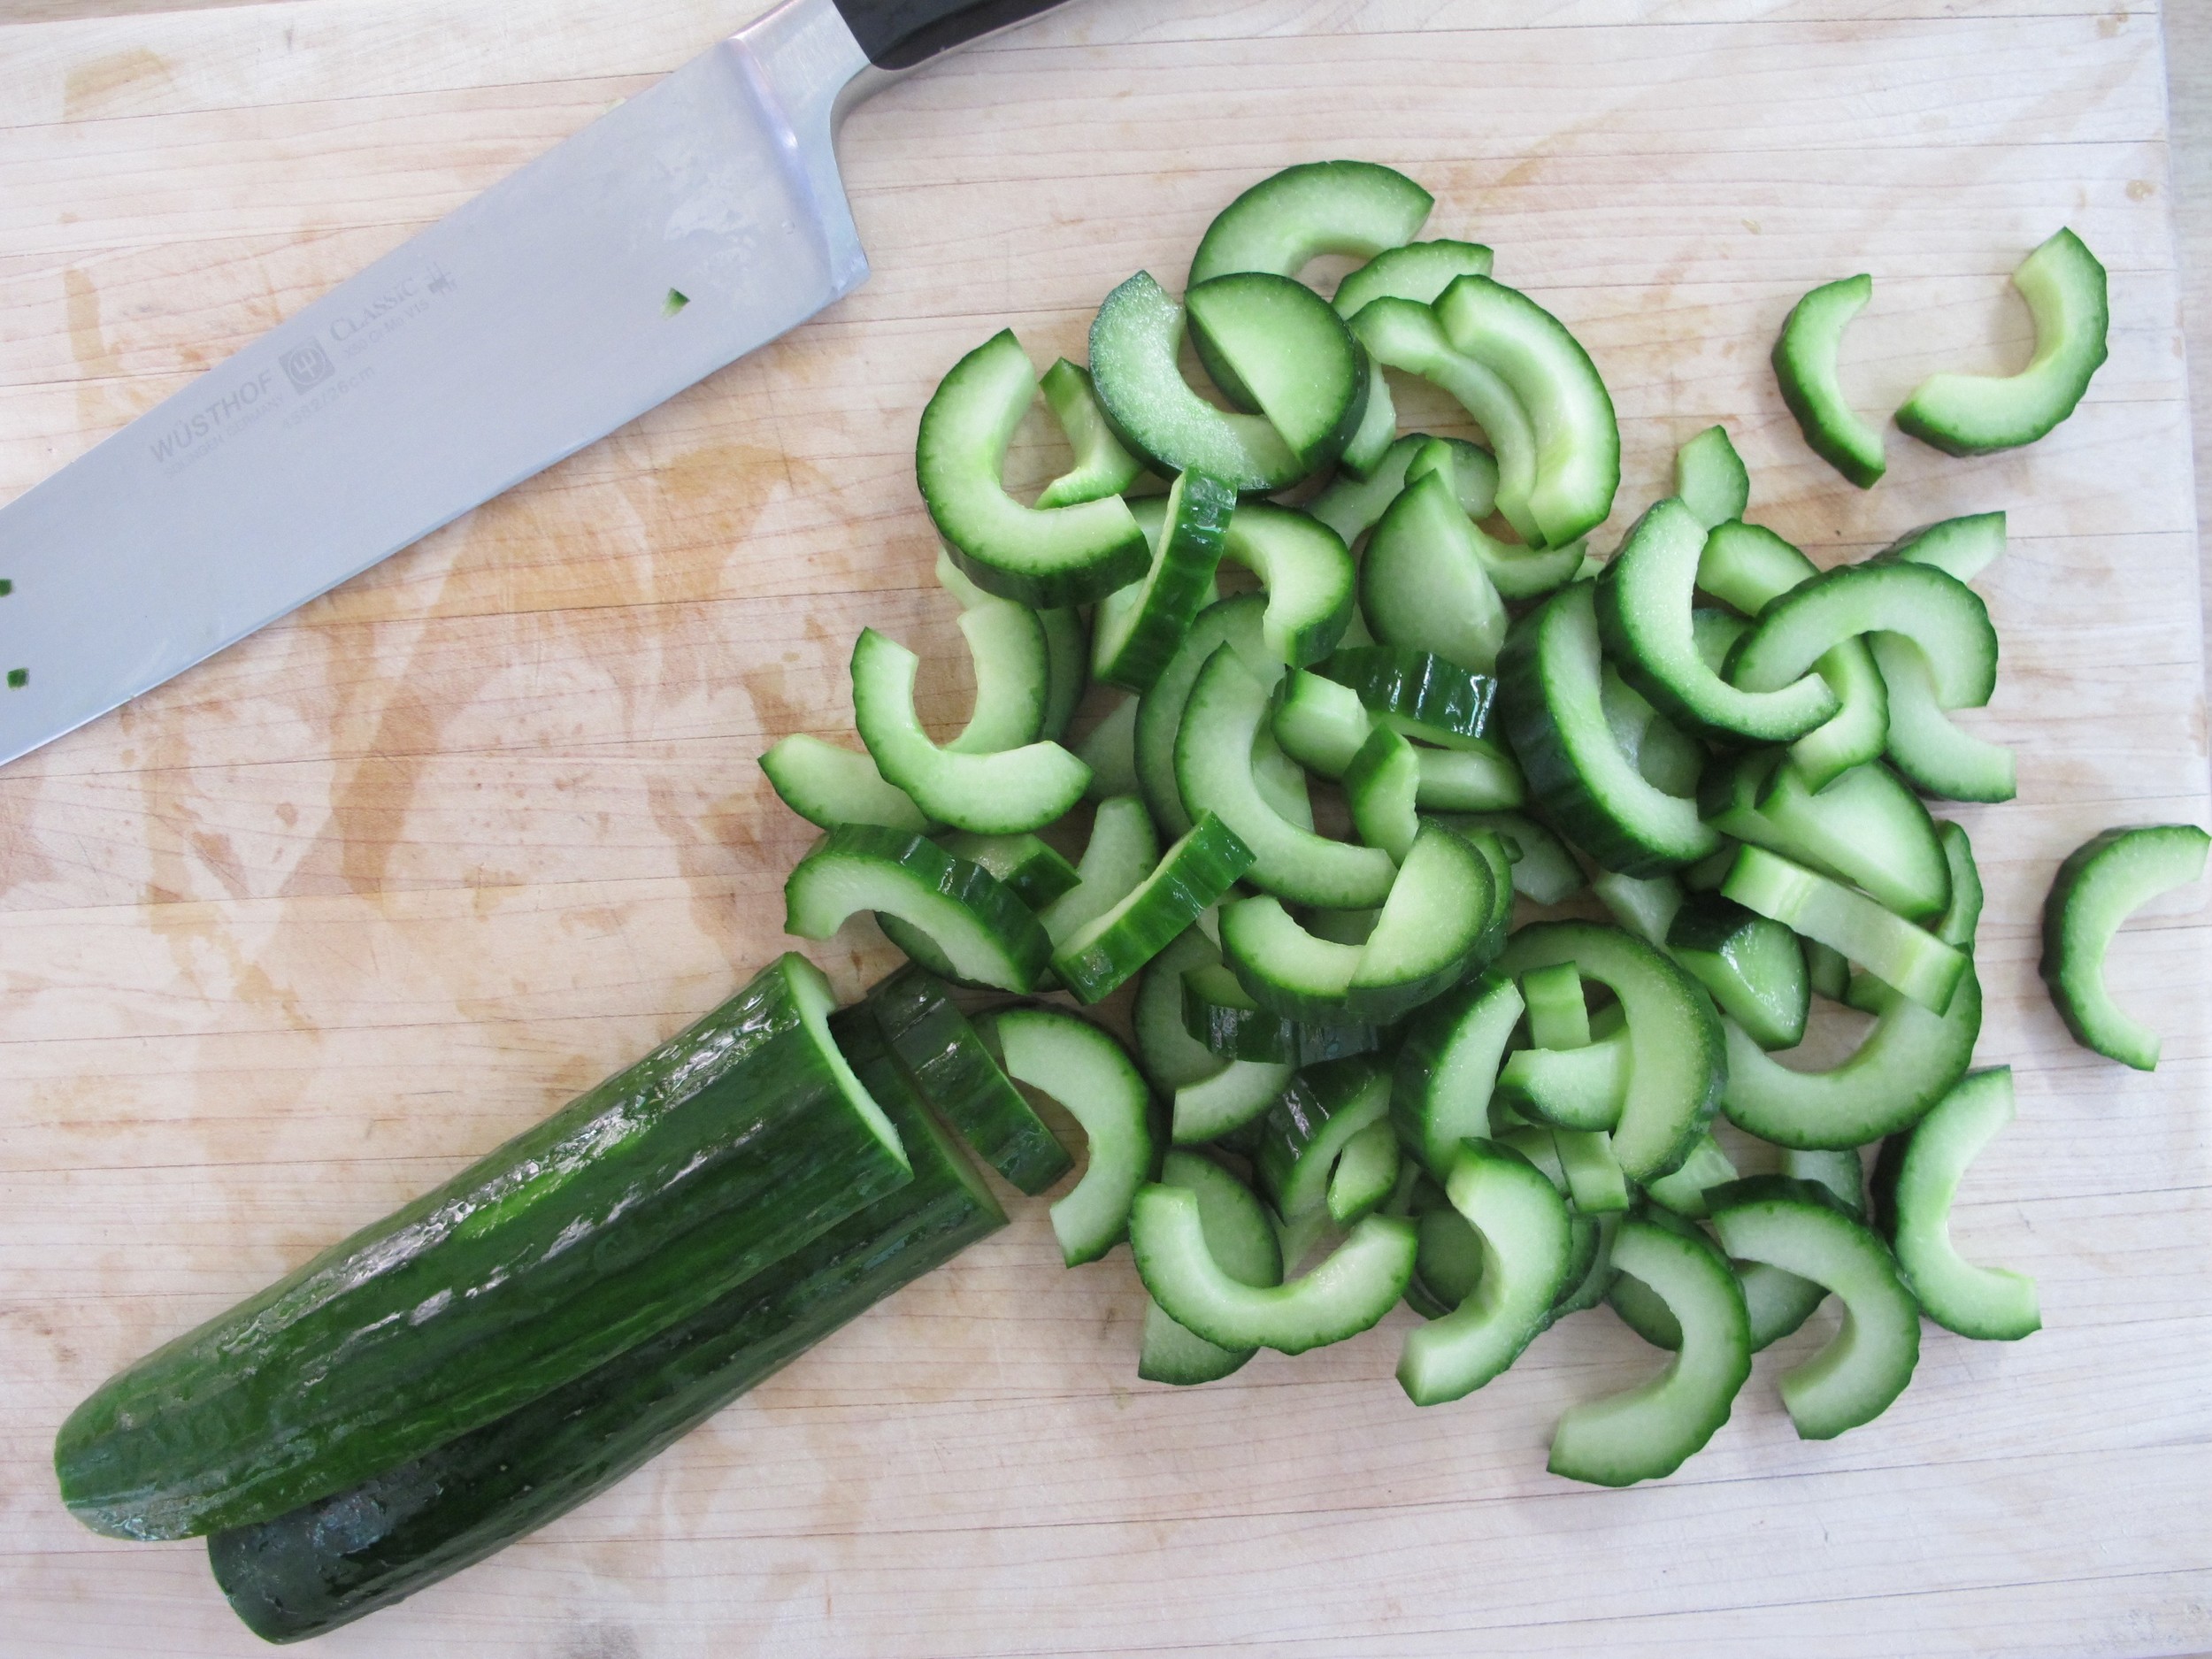
1 large English hothouse cucumbers (about 1 pound), halved lengthwise, seeded, cut crosswise into 1/4-inch-thick pieces
2 tablespoons chopped fresh chives or parsley
Baby Arugula (optional)
Extra Virgin Olive Oil
Kosher salt and pepper to taste

Combine vinegar, shallots and sugar in small bowl to make a marinade. Set aside while preparing vegetables.

Cut beets into wedges. Toss with 1/2 cup of marinade to coat.

Place cucumbers in large bowl and toss with remaining marinade. Season salads to taste with salt and pepper. Cover separately and chill for at least 30 minutes or up to one day.

Drain beets of liquid and arrange on platter towards the outer edges; rinse colander clean, drain cucumbers and arrange in the middle of the platter. Scatter a handful of arugula on top, garnish with herbs.

Adapted from: http://www.epicurious.com/recipes/food/views/pickled-beet-and-cucumber-salads-5409

All-Purpose Cornbread by Cynthia Raub

Print Friendly and PDF
cornbread

Cornbread is what happens when my two favorite things: corn and bread, get a little crazy - one thing leads to another, and 25 minutes later . . . they make a baby. A crumbly, slightly sweet, and aromatic baby. A cornbread baby that begs for a pat of butter or a drizzle of honey on it’s warm browned top. The variations in cornbread can make one dizzy. People get crazed and lose their minds when it comes to the “right” or “best” way to make it. Street brawls, wars, divorces . . . sadly, all started by disagreements over cornbread. And if I’ve learned anything in life, it’s to avoid the following topics for the sake of polite conversation: religion, politics, and you guess it, cornbread. When Amy said she was making Chicken Chili, I grabbed the basic pantry items for this recipe, got pants on my kids, and drove to her house to cook and eat. This cornbread was the perfect unfussy accompaniment to her tomato-y chili.

Notes: This is a solid recipe for a basic and uncomplicated cornbread that will not let you down. Pureeing (fresh, frozen or canned) corn kernels into the wet ingredients will give you the distinct flavor you won’t get from cornmeal alone, and a sweetness that honey cannot replicate. According to Cook’s Illustrated, this recipe calls for the cornbread to be cooked at a high temperature in a regular baking pan to produce a crunchy, toasted crust. If you’re a cast-iron skillet for everything (especially cornbread) type, you can ratchet down the temperature for this recipe since the skillet will produce a golden crust with less heat.

Yes, this recipe calls for a stick of butter. But it’s not like you’re going to eat the whole pan by yourself, right? Right . . . ? OK, even if you do eat the whole pan by yourself, (Go you! Now THAT’S commitment!) just remember that chewing and breathing burns calories too. You're a winner and don't let anyone tell you otherwise.


SEE MORE: The Shared Chili


Servings: 8"x8" pan
Time: 45 minutes

Cook's Illustrated All-Purpose Cornbread

Ingredients:
1 1/2 cups unbleached all-purpose flour
1 cup yellow cornmeal
2 teaspoon baking powder
1/4 teaspoon baking soda
3/4 teaspoon table salt
1/4 cup packed light brown sugar
3/4 cup frozen corn kernels, thawed
1 cup buttermilk
2 large eggs
8 tablespoons (1 stick) unsalted butter, melted and cooled slightly

Directions:
Preheat oven to 400 degrees, adjust oven rack to the middle position. Butter an 8-inch square baking dish or cake round, set aside.

Whisk flour, cornmeal, baking powder, baking soda, and salt in a large bowl until combined.

In a food processor or blender, process brown sugar, thawed corn kernels, and buttermilk until combined, about 5 pulses. Add eggs to the wet mixture and process until combined (corn pieces will remain), about 5 more pulses.

Make a well in the center of the dry ingredients; pour wet ingredients into the well. Fold dry ingredients into wet, mixing until barely incorporated. Add melted butter and continue folding until the dry ingredients are moistened.

Pour batter into prepared baking dish, smooth surface with a rubber spatula.

Bake for 25-35 minutes until golden brown, and toothpick inserted in the center comes out clean. Slice and enjoy!

Adapted From: Cook's Illustrated

Meatballs with Tomato Sauce and Polenta by Amy Cantu

Print Friendly and PDF
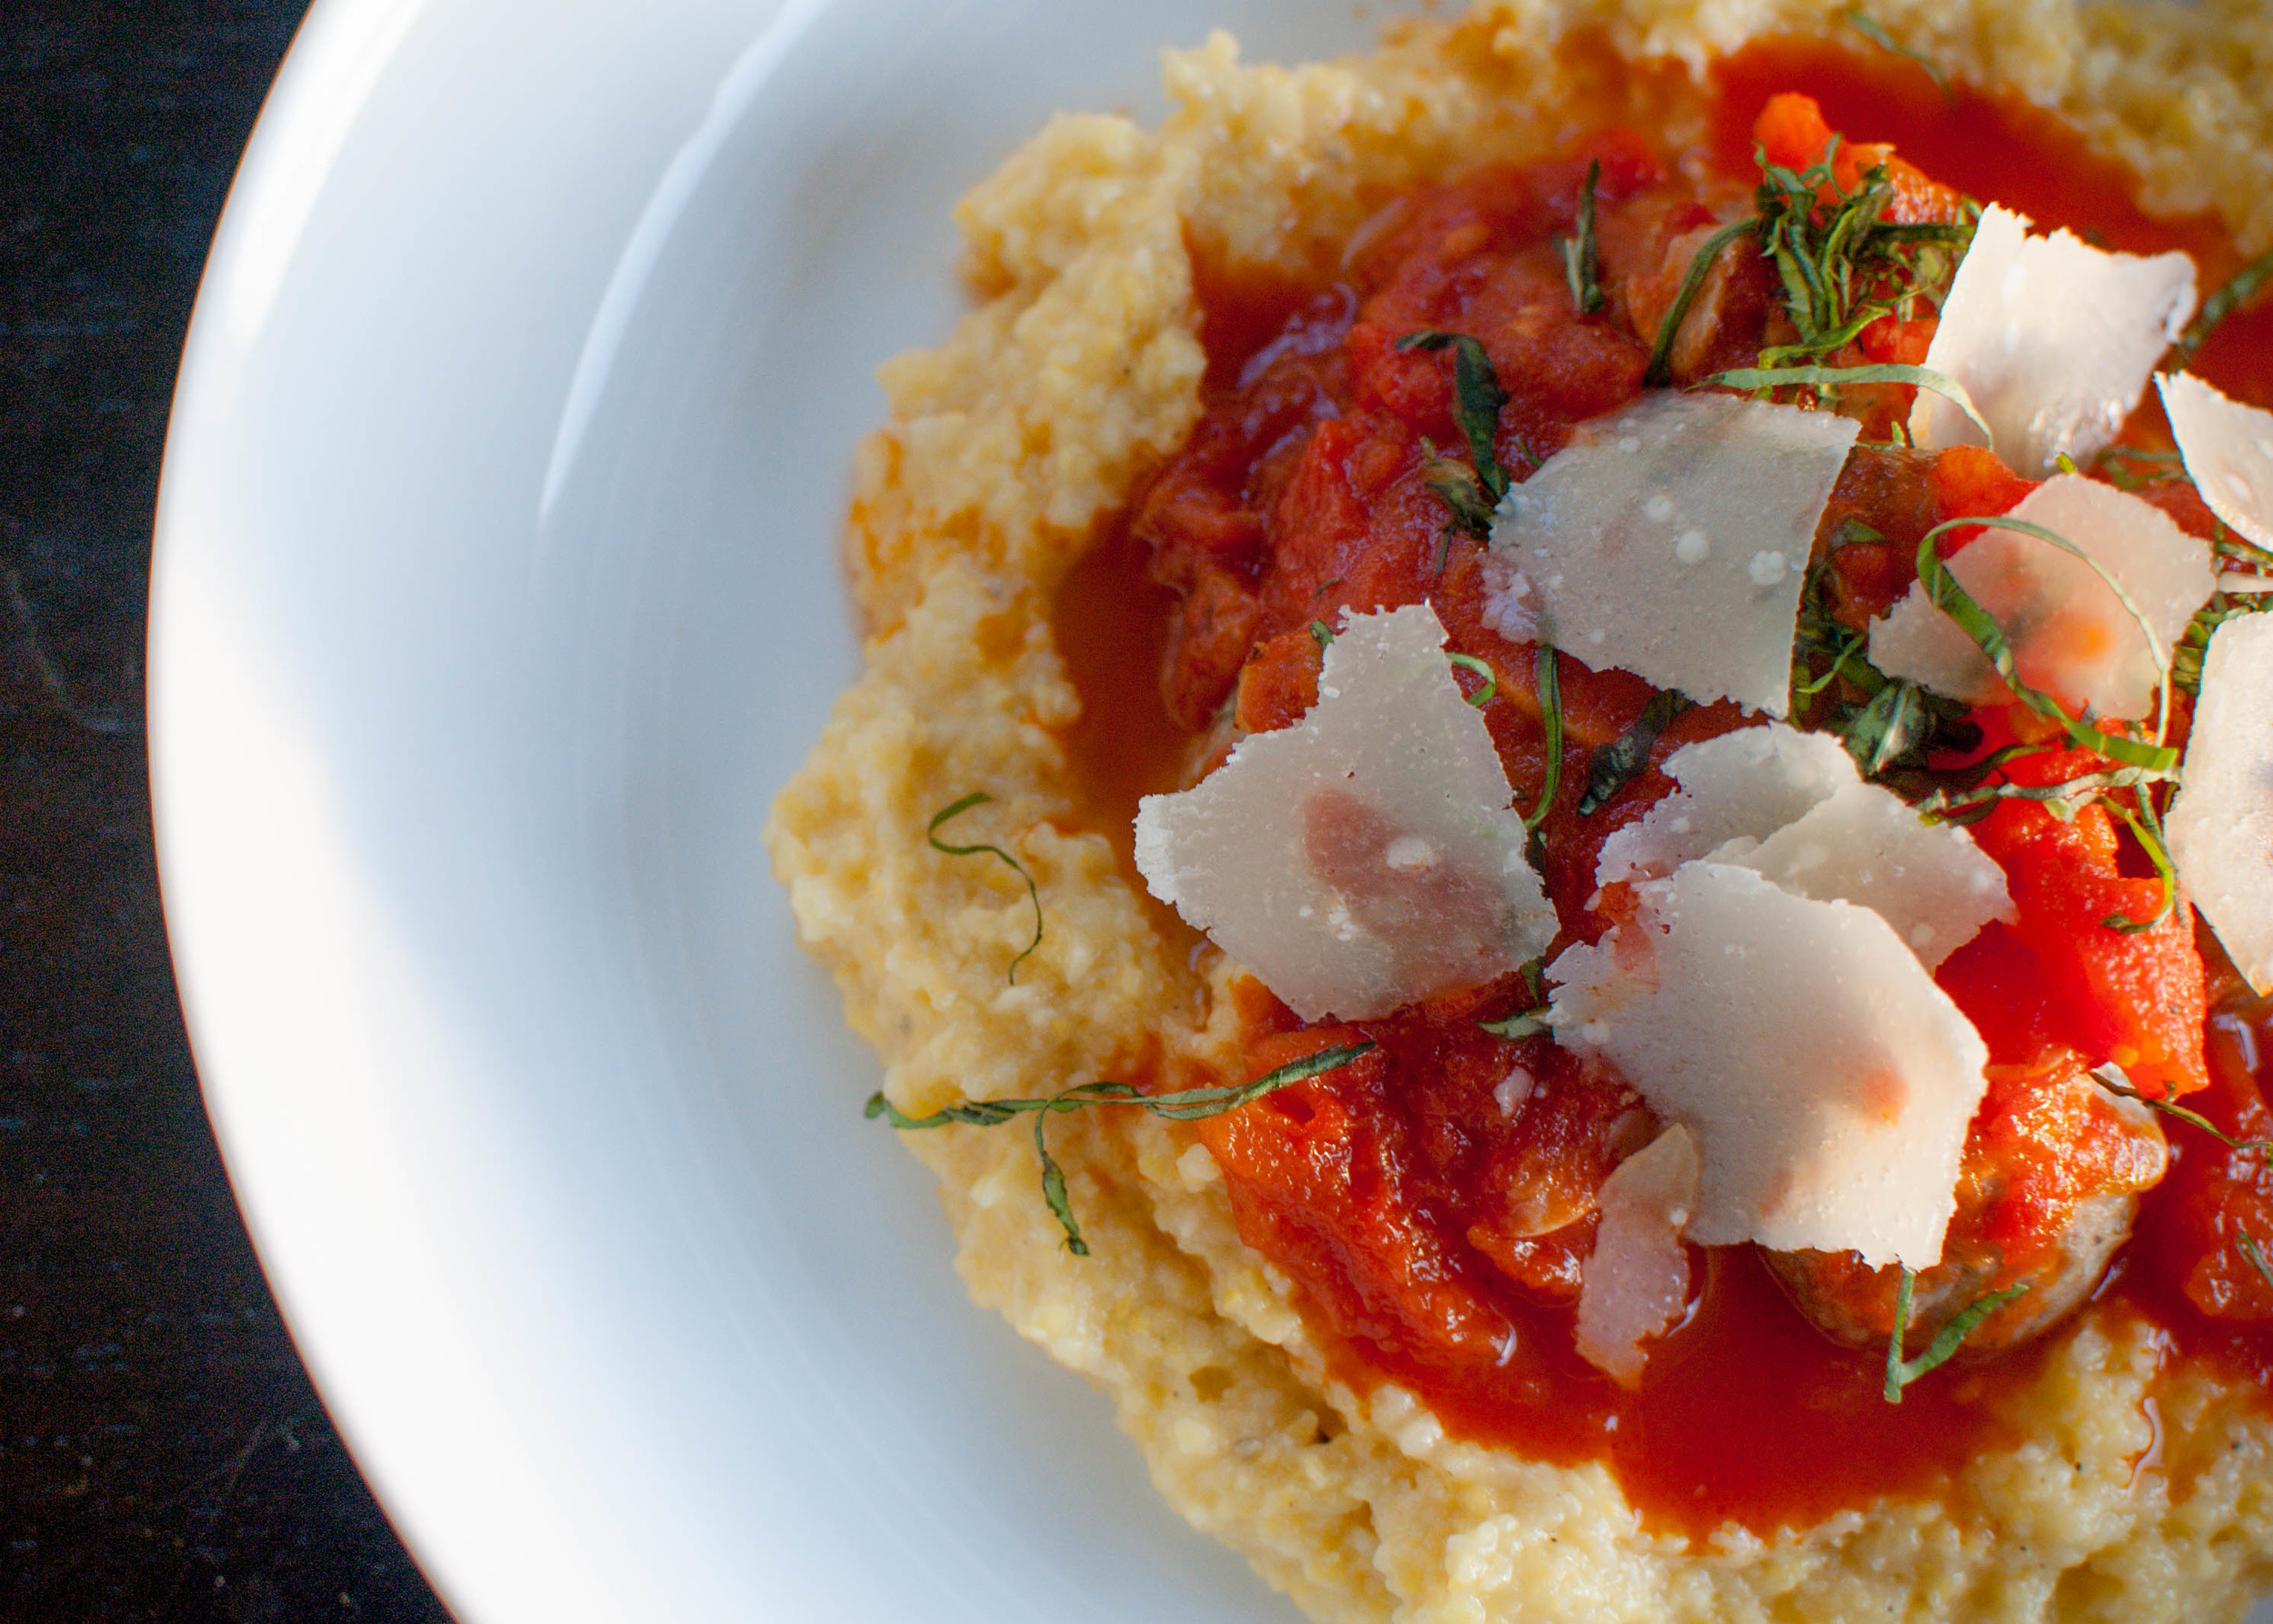
Meatballs with Tomato Sauce and Polenta

We were out of town for two weeks over the holidays, visiting family and friends. So when we returned home an hour before dinnertime, I stared into the cavernous empty fridge and let out a loud groan. Ugggghhh. What are we going to eat?! I started freezer diving, and when I came up for air, I bestowed upon my family the bag of frozen meatballs from Cynthia! (Cue angels singing and bright spotlight on the frozen meatballs.) I fished out a bag of polenta and a can of tomatoes from the pantry, and dinner was on its way. While the meatballs and polenta baked in the oven, I stirred together a simple tomato sauce on the stove. Within an hour, we enjoyed creamy, parmesan polenta, crowned with savory meatballs bathed in a simple tomato sauce. I gave myself a pat on the back, and whispered a silent thank you to Cynthia. Voila! Dinner is served!

Notes: Cynthia's recipe for Swedish Meatballs are spiced mildly enough that when combined with the tomato sauce and polenta, the dish tastes decidedly more Italian than Swedish. If you are starting from scratch and using Cynthia's recipe, you can substitute 1 teaspoon dried oregano for the allspice and nutmeg. Or, feel free to use your own meatball recipe here.  To make this an easy vegetarian meal, serve the polenta topped with a runny, fried egg and the tomato sauce - yum!


Time: 50 minutes

Serves: 4

20 small meatballs, Cynthia's or your own recipe
1 recipe Simple Tomato Sauce (recipe below)
1 recipe Baked Polenta (recipe below)
Parmesan cheese, grated (optional garnish)
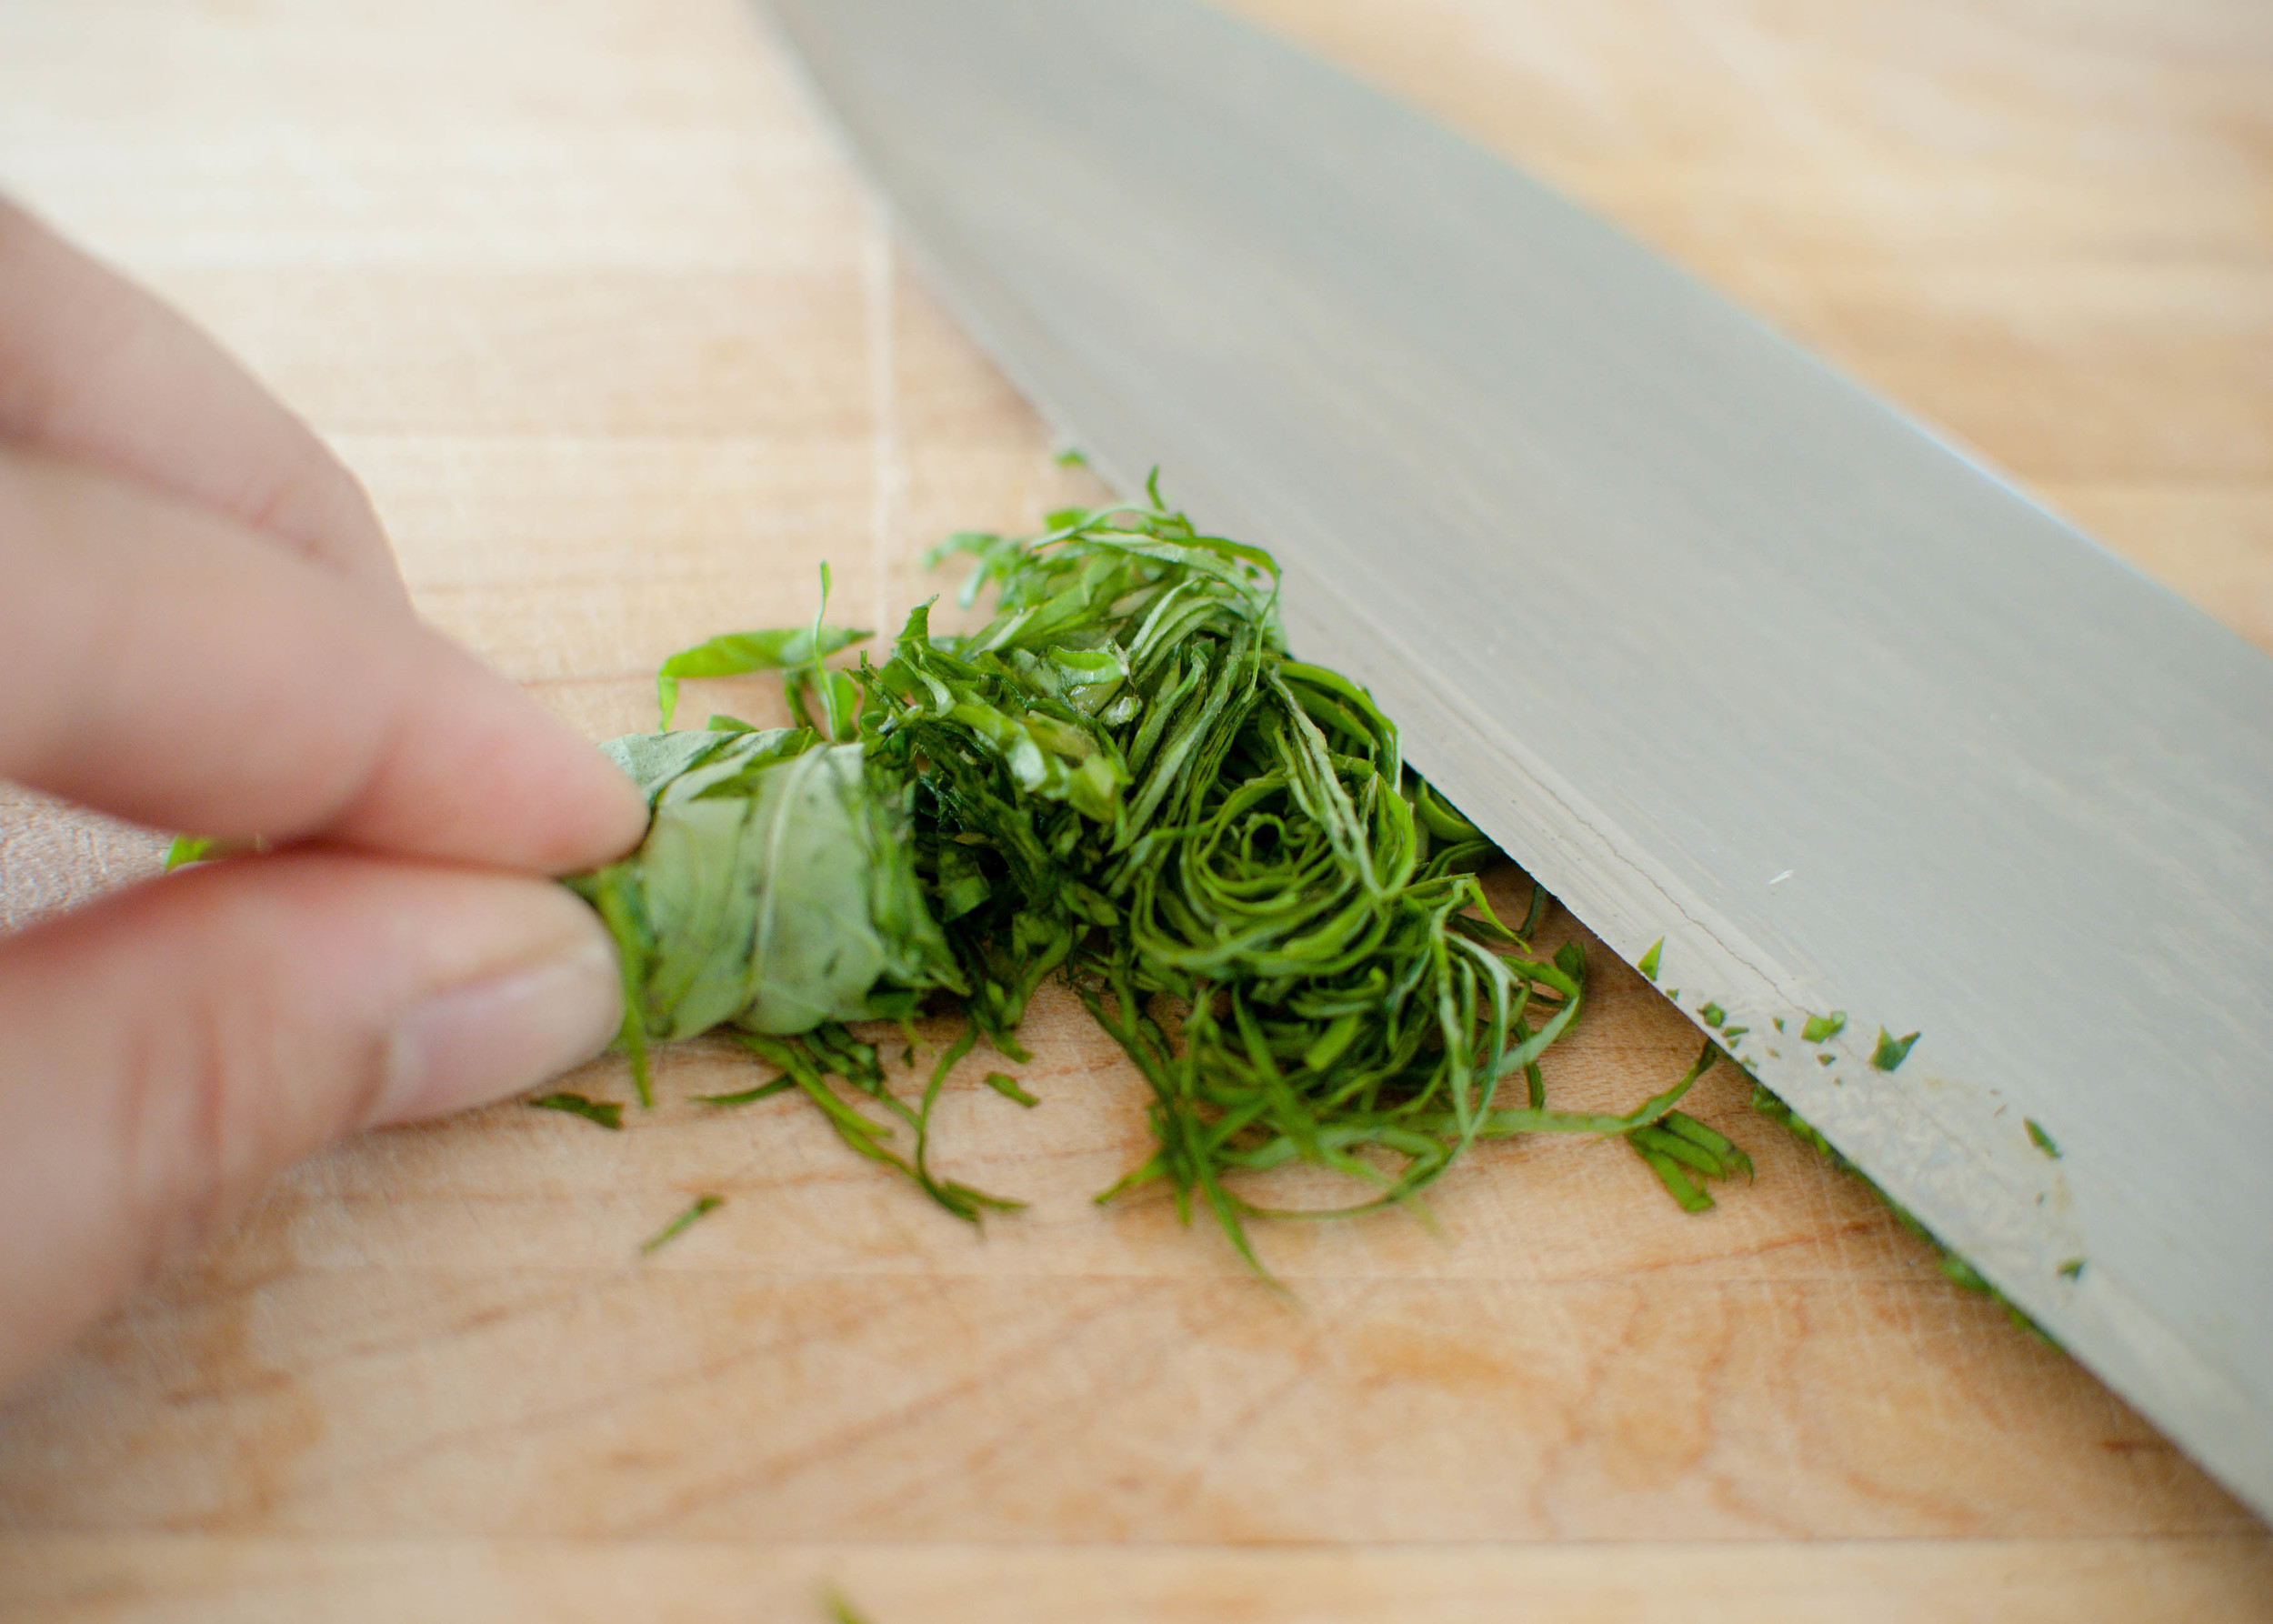
Fresh basil, chiffonade/thinly sliced into ribbons (optional garnish - see photo below)

Preheat oven to 350 degrees. I baked Cynthia’s frozen raw meatballs on a sheet pan, alongside the polenta for the last 35 minutes of cooking. The meatballs were shaped on the smaller side, so make sure to test that your meatballs are cooked through by splitting one open. You could also simmer the meatballs in the tomato sauce, while the polenta is baking in the oven.

Spoon polenta into four shallow bowls. Top polenta with meatballs and tomato sauce. Sprinkle with grated parmesan and basil, if using.

Simple Tomato Sauce

Developed from here and here.

Notes: This is a simple sauce that can be made on the fly with items from your pantry. I like the sweet, subtle anise flavor of fresh basil in this sauce, but if you don’t have any in the house, substitute dried oregano, which will give it a more Italian-American flavor. Dried basil tends to have a flat, dusty flavor, so I prefer dried oregano.

Taking an extra minute to hand-crush canned whole tomatoes (as opposed to already crushed or diced tomatoes), will give your sauce better flavor. The best tomatoes go into cans of whole tomatoes, while the inferior tomatoes get diced up or crushed.

The onion in this recipe is used for flavor and then removed once the sauce is cooked. This leaves you with a rich tomato sauce infused with onion flavor and a nice texture. You can save the onions for something else (they would be delicious alongside pan-seared chicken or roasted meat), or serve them on the side.

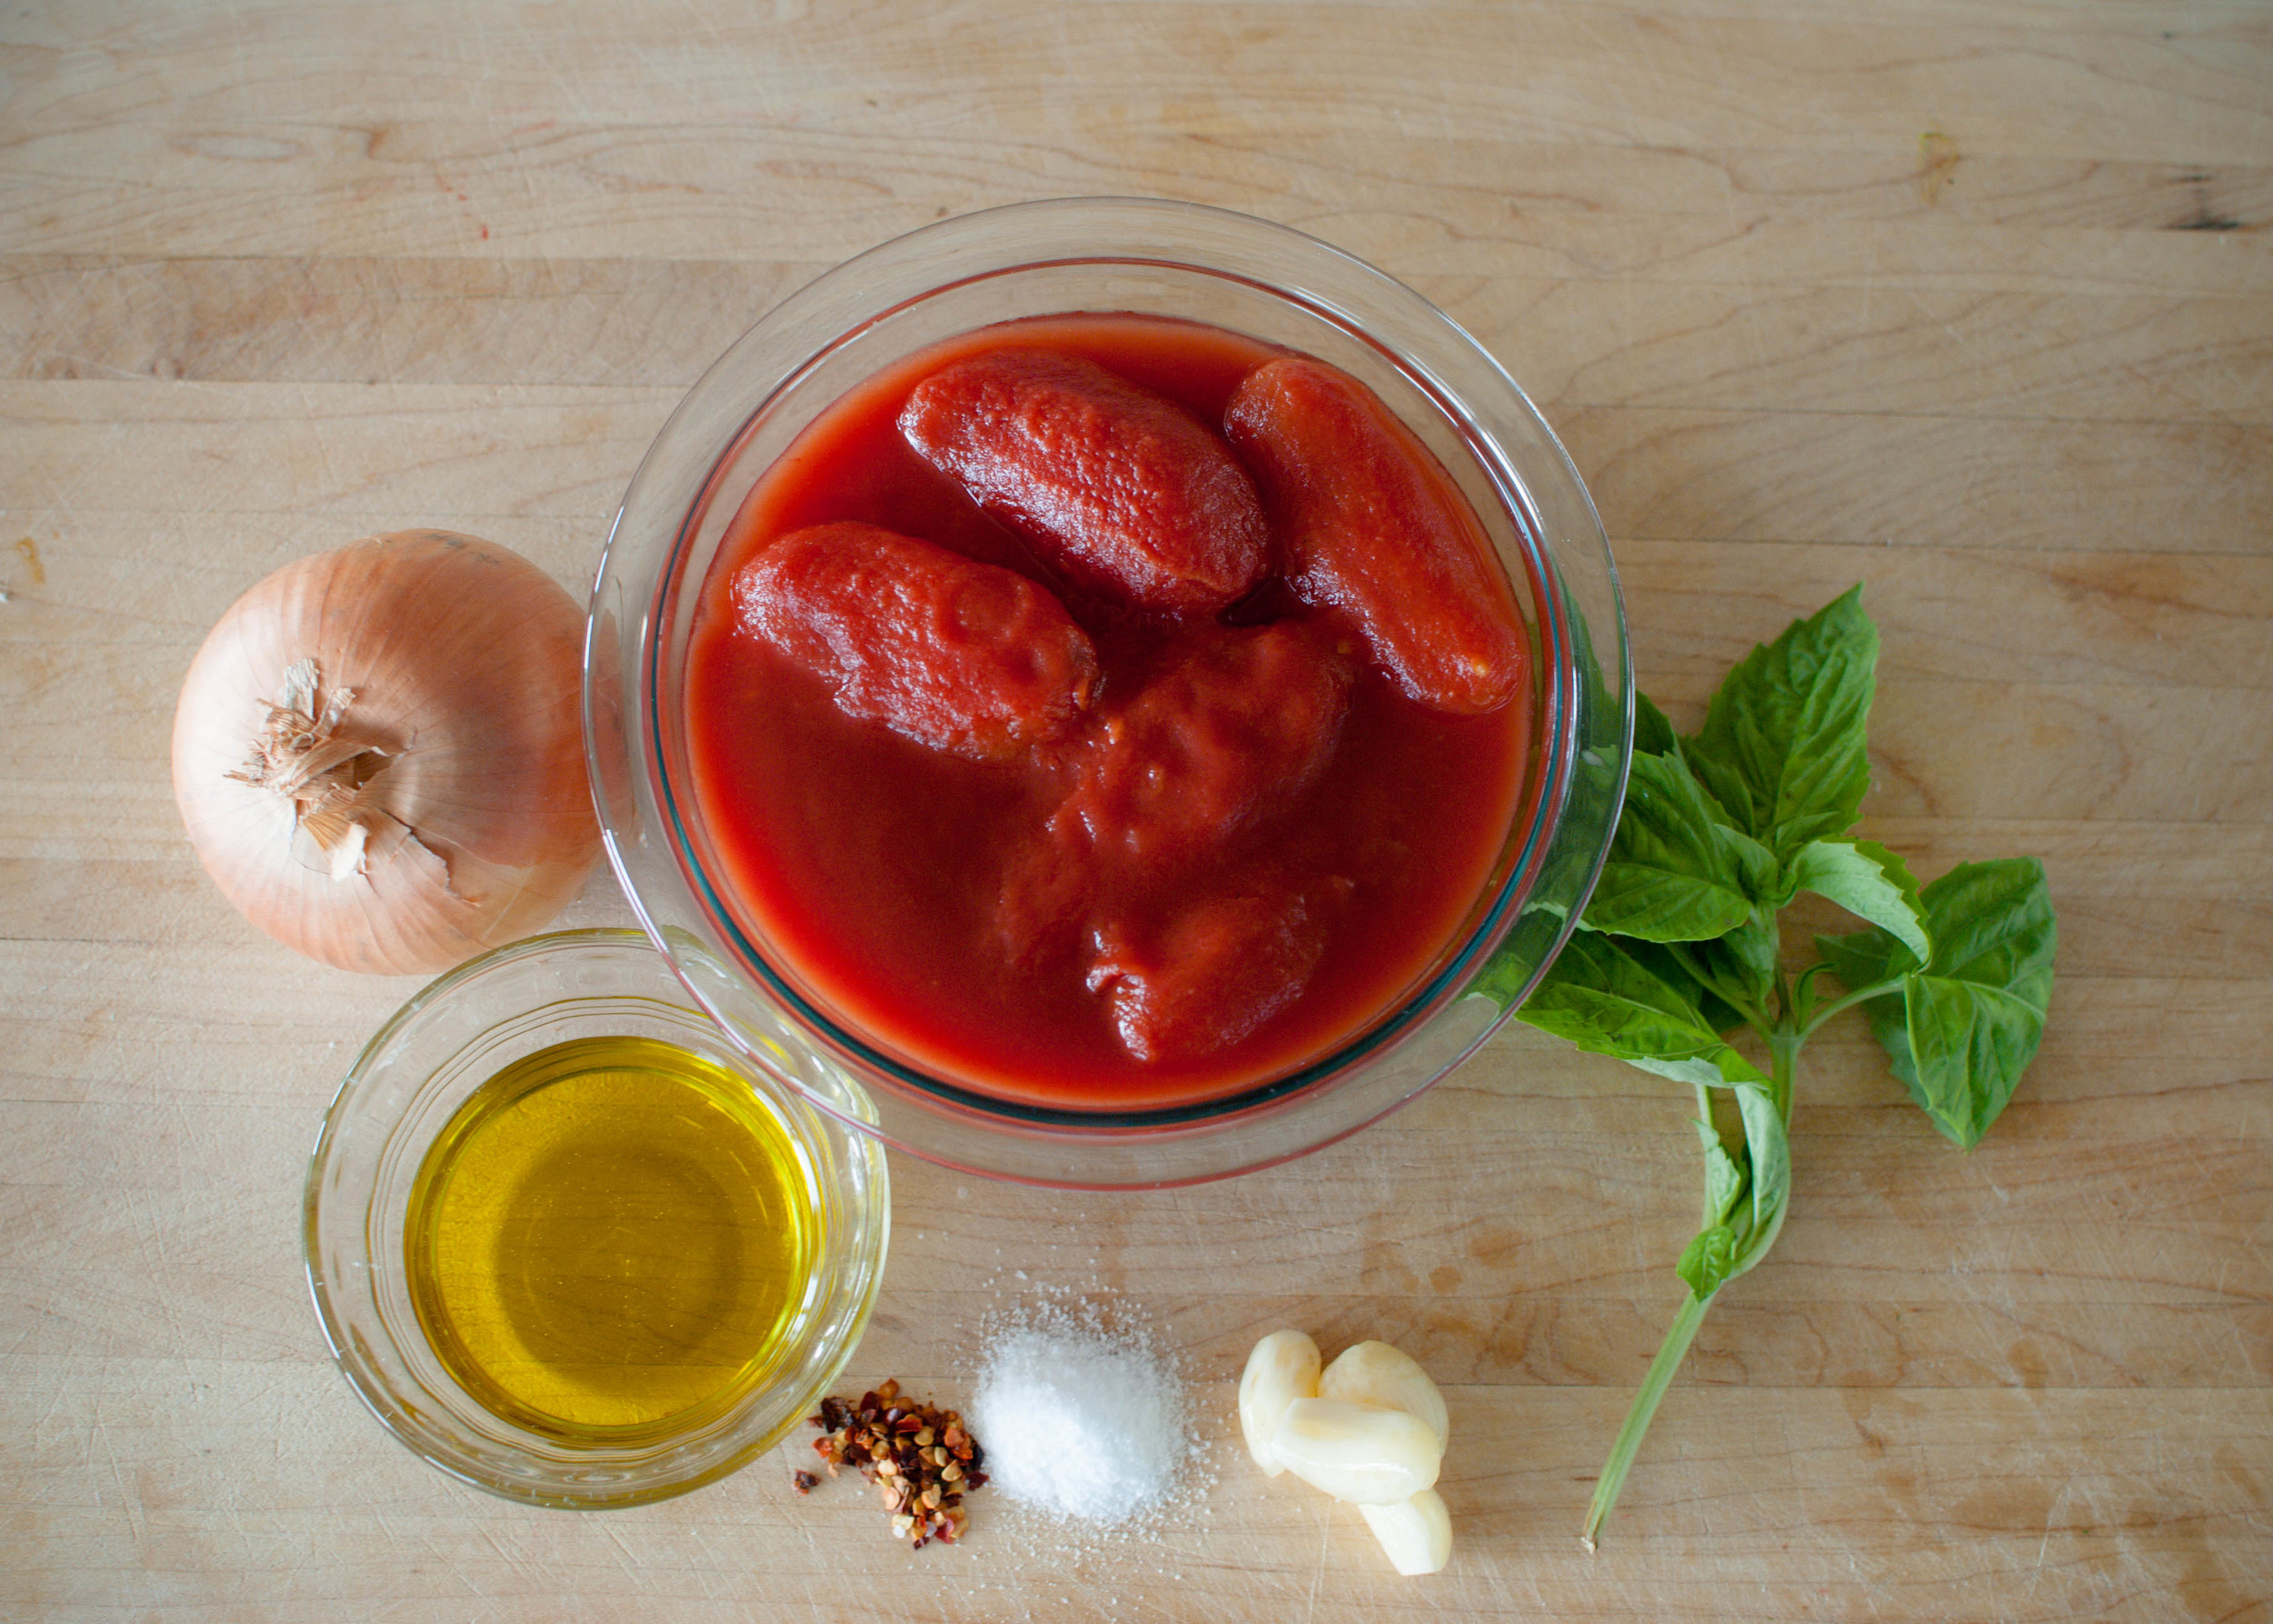
1 28-ounce can whole San Marzano tomatoes
¼ cup extra-virgin olive oil or butter
4 garlic cloves, peeled and slivered
Pinch of crushed red pepper flakes (optional)
1 teaspoon kosher salt
1 medium onion, peeled and halved
1 large fresh basil sprig, or 1/4 teaspoon dried oregano, more to taste

Pour tomatoes into a large bowl and crush with your hands, and reserve.

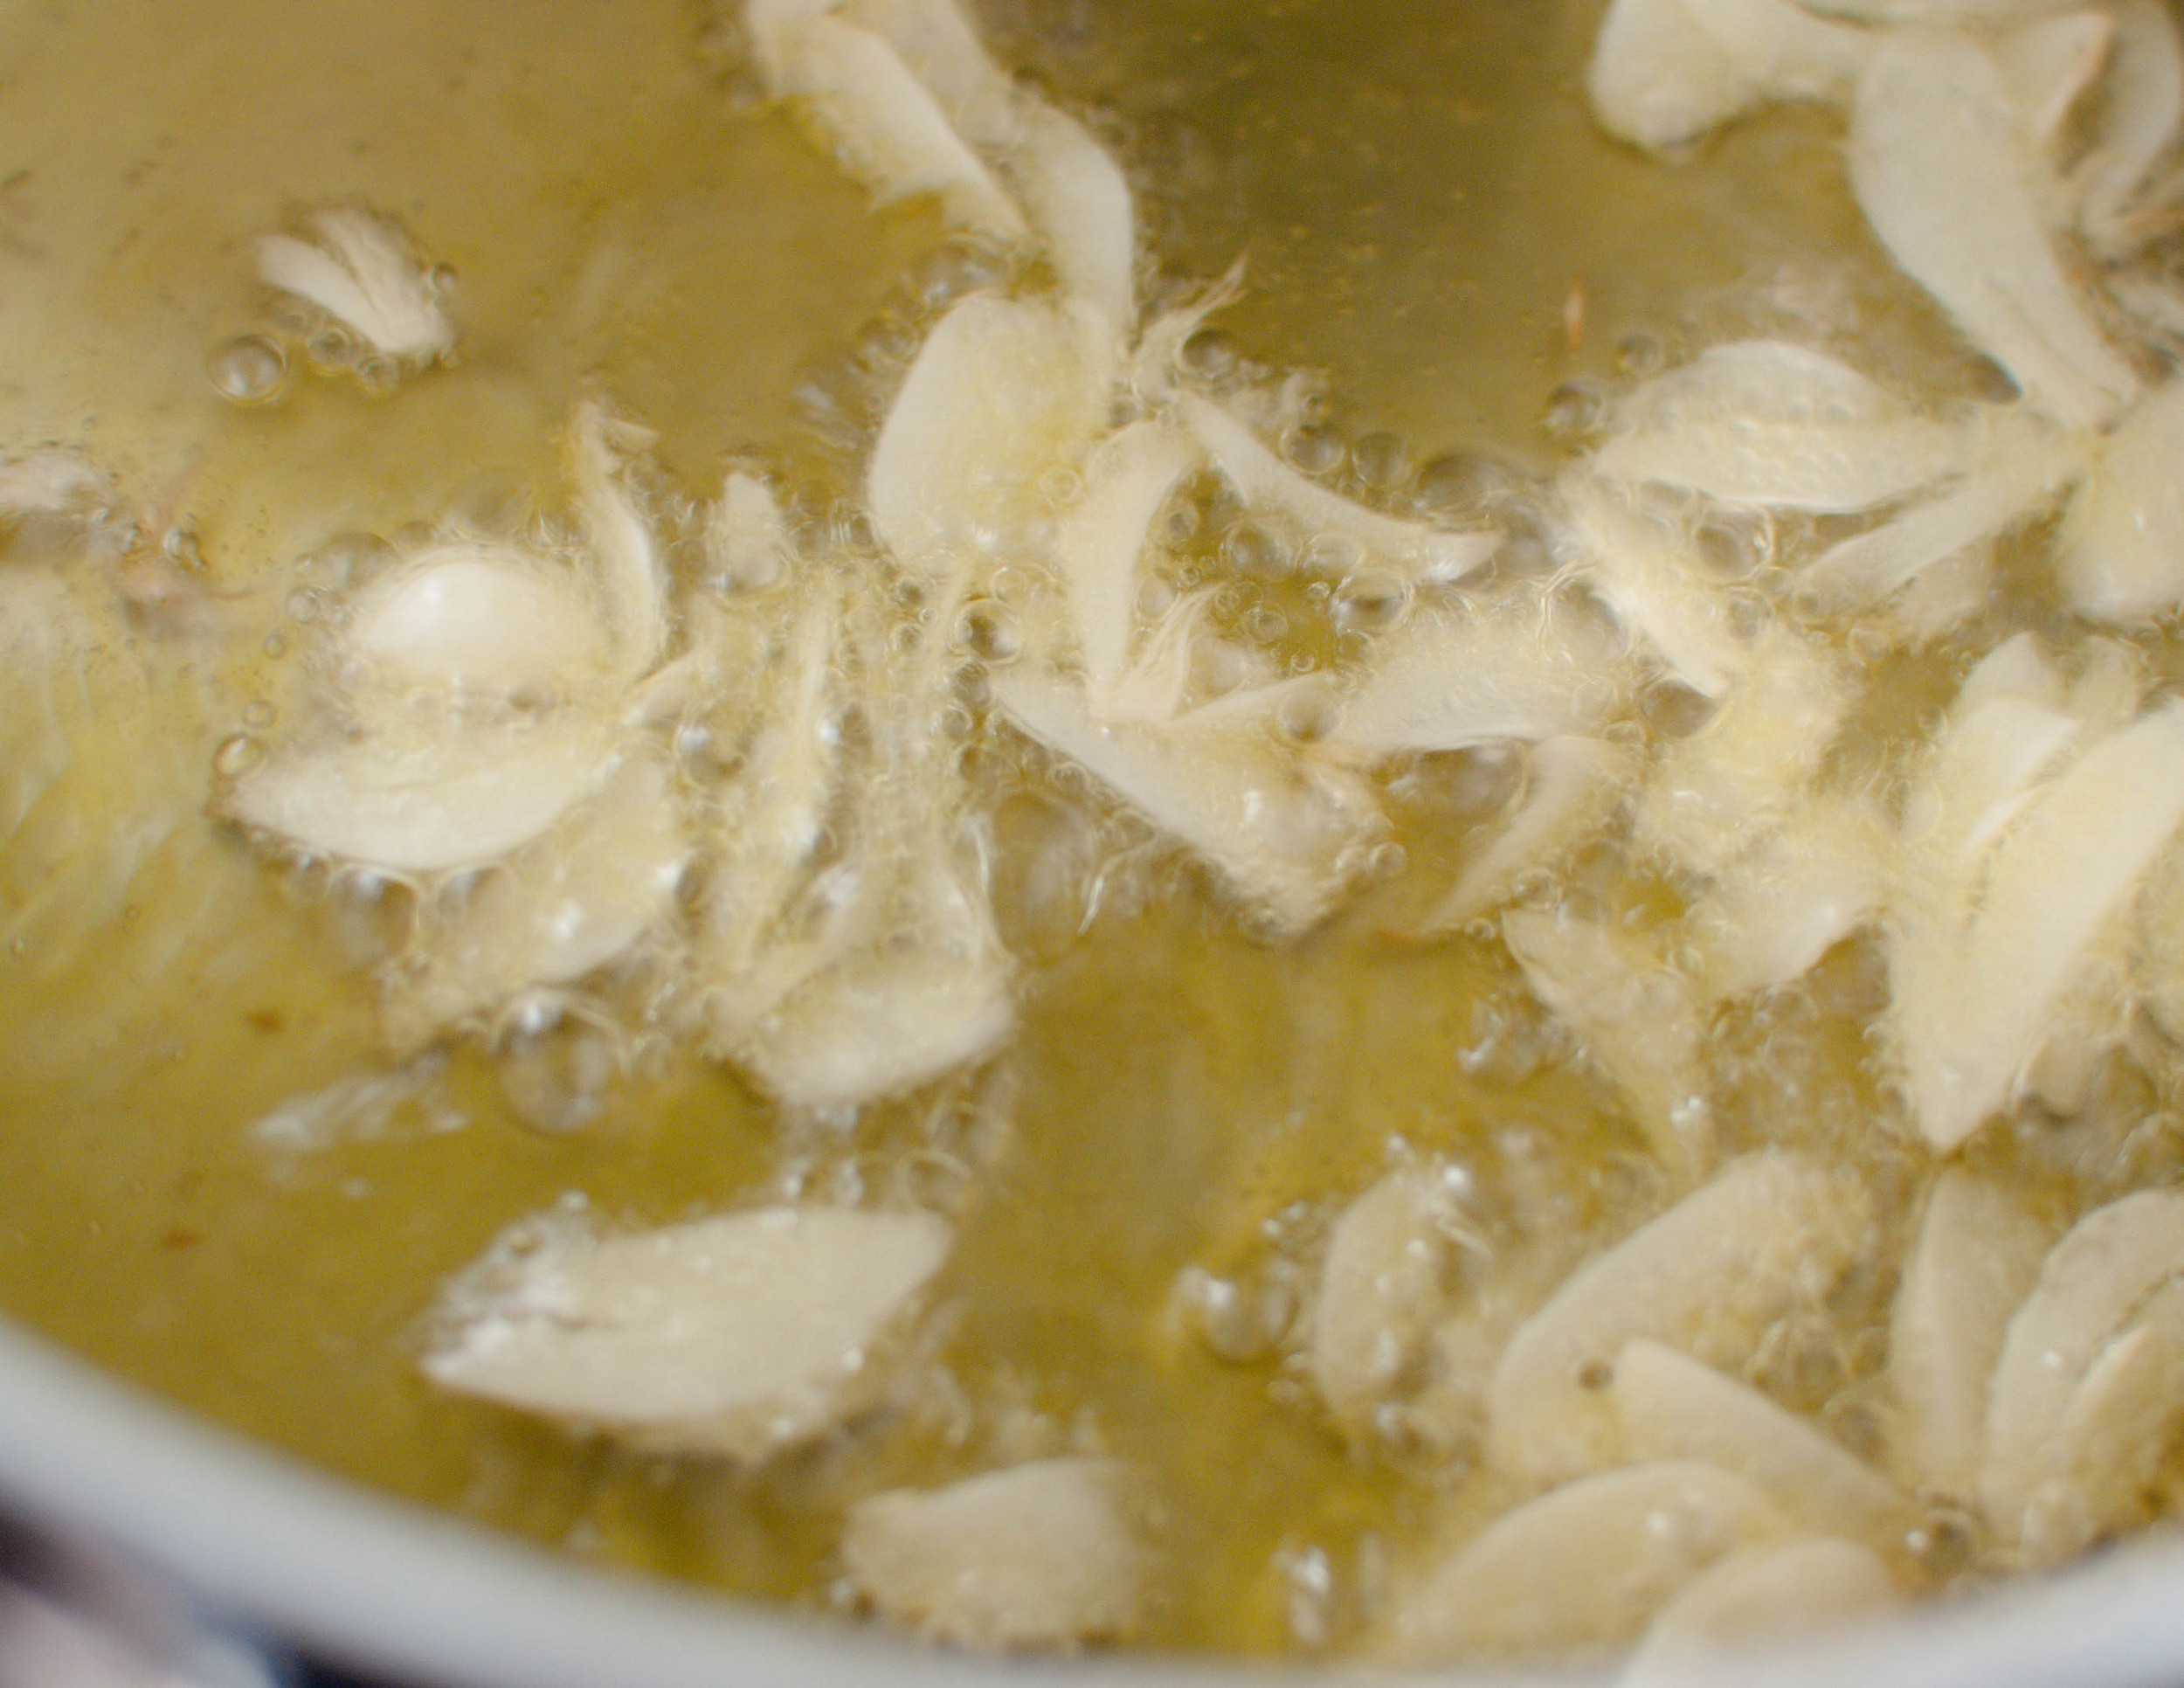
Heat olive oil in a saucepan over medium heat. When it is hot, add garlic. Sauté until the garlic sizzles, but is not brown (see photo above - about 1 minute). Add the crushed tomatoes to the pan, along with the red pepper (if using), salt, onion, and large basil sprig.

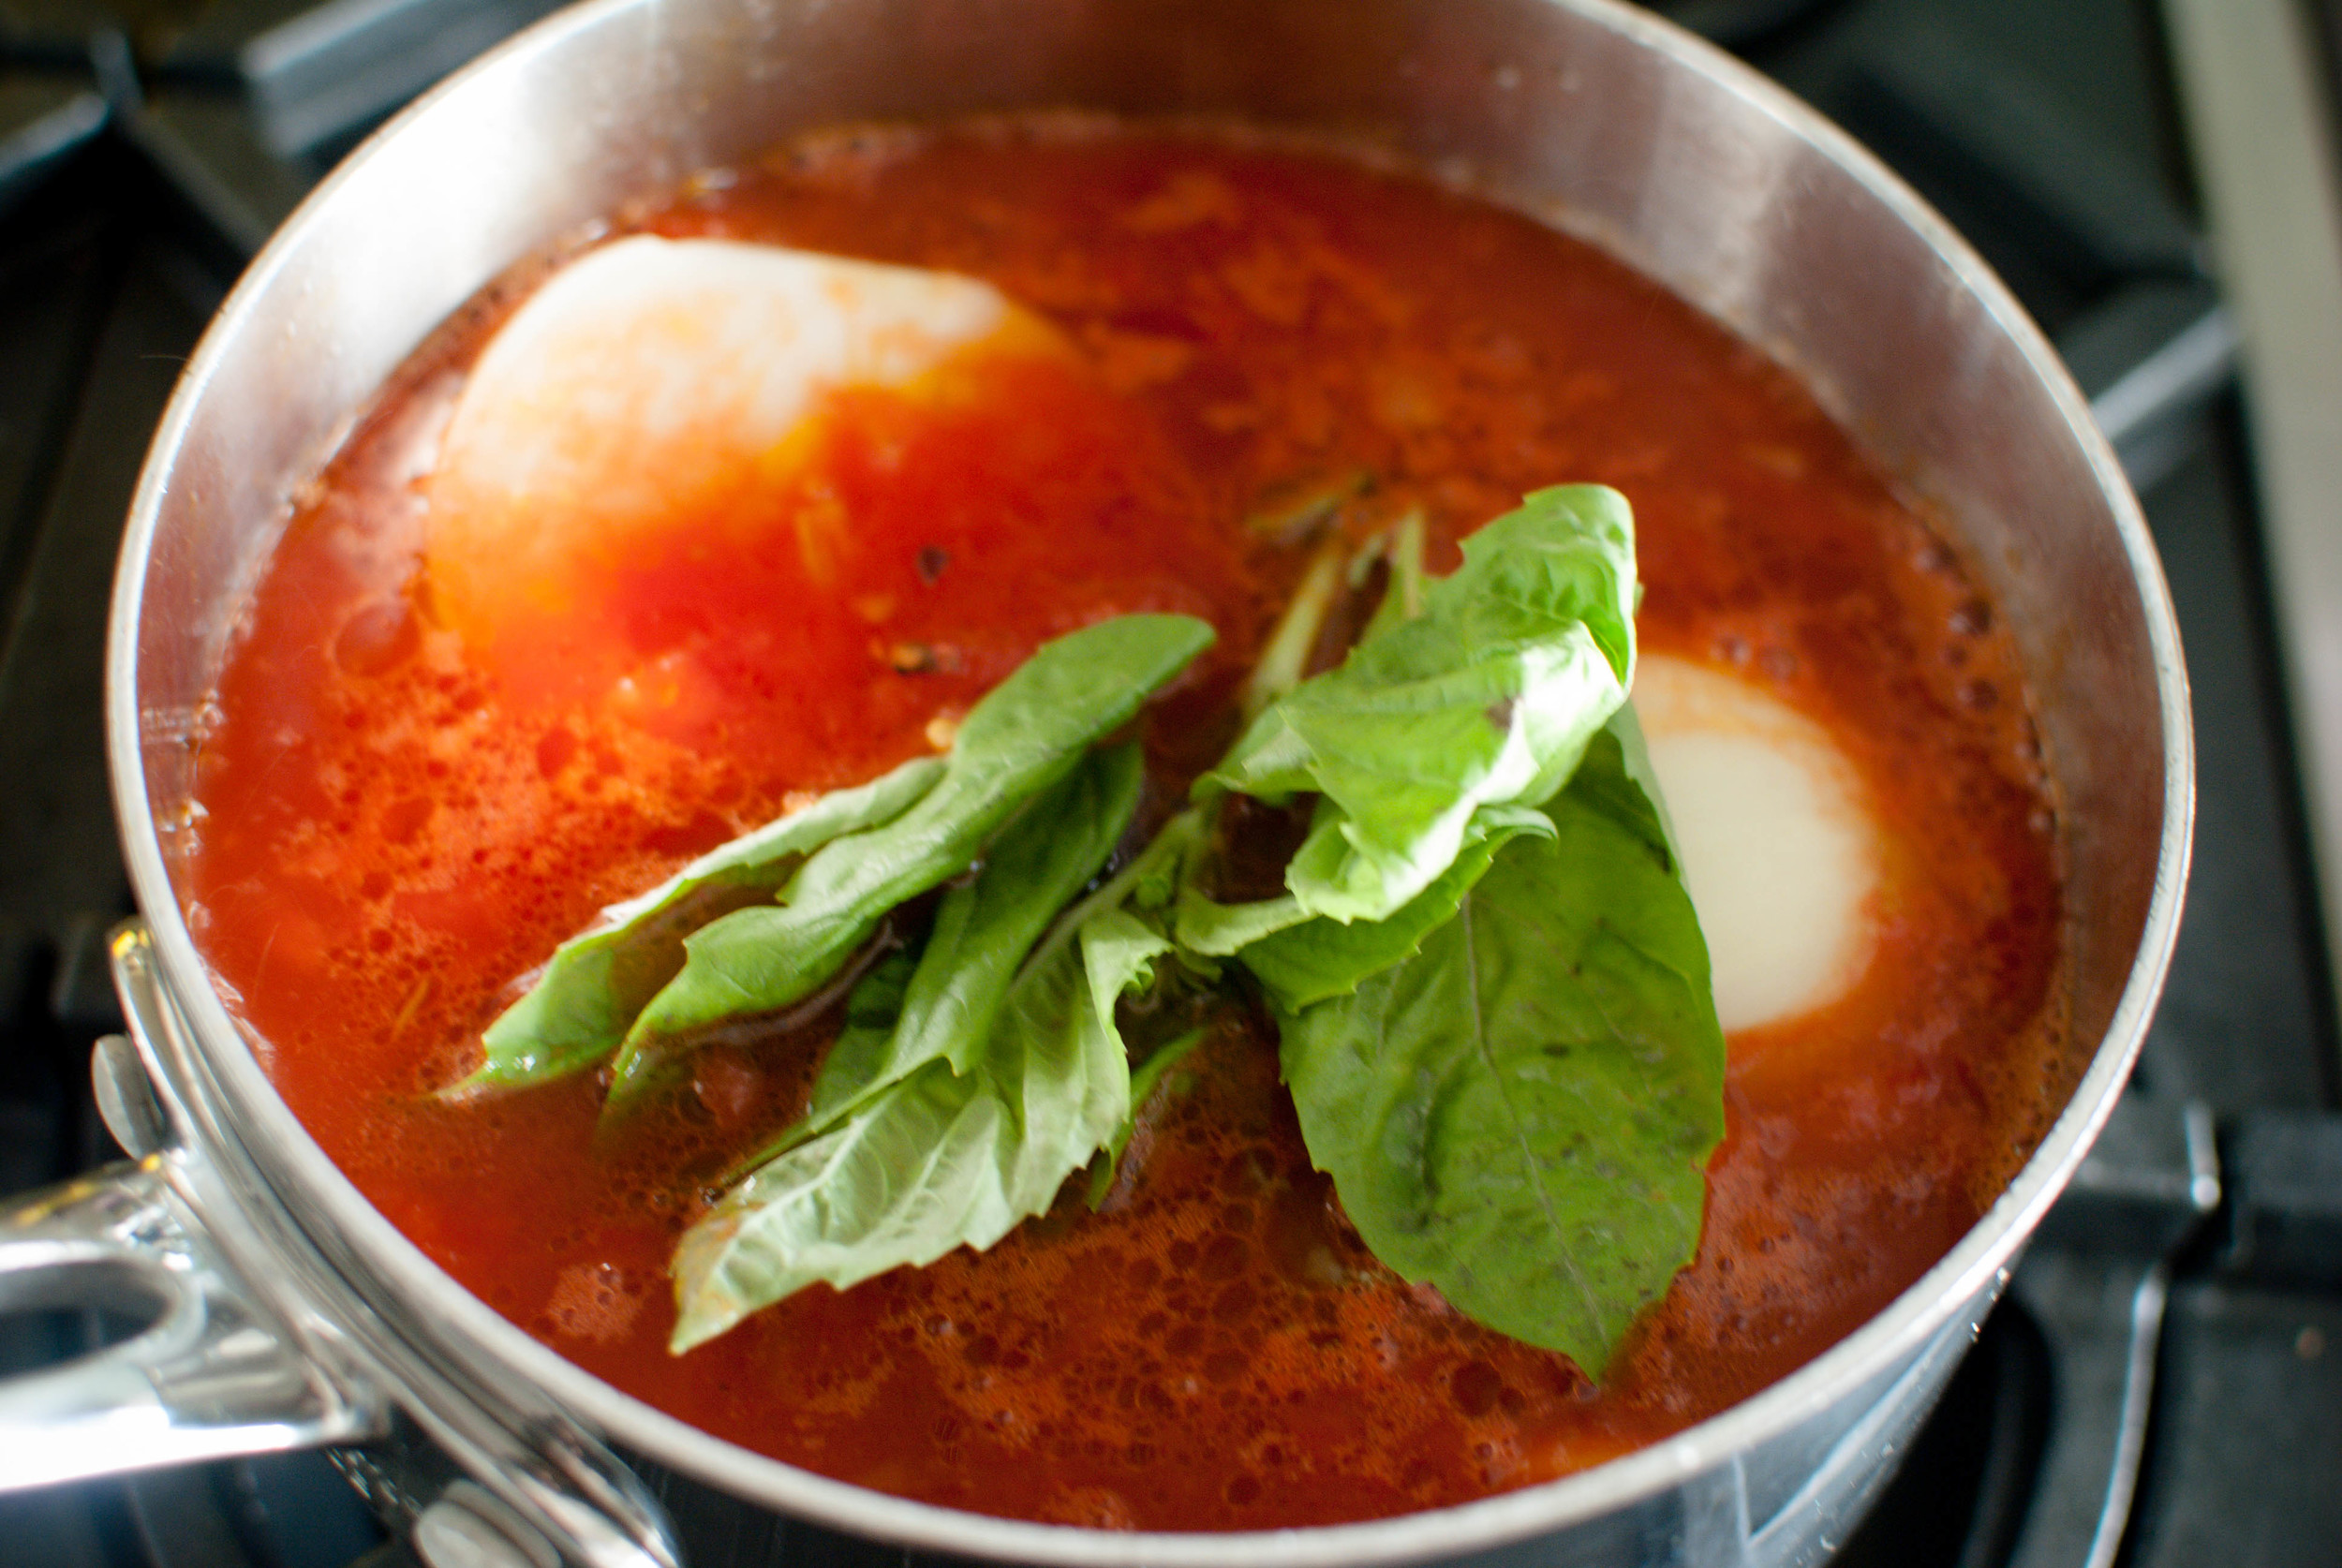
Cook uncovered at a slow, but steady simmer for about 45 minutes. Stir occasionally, when you feel moved to do so.

Remove the onion and basil. Taste and correct for salt. Serve.

Baked Polenta

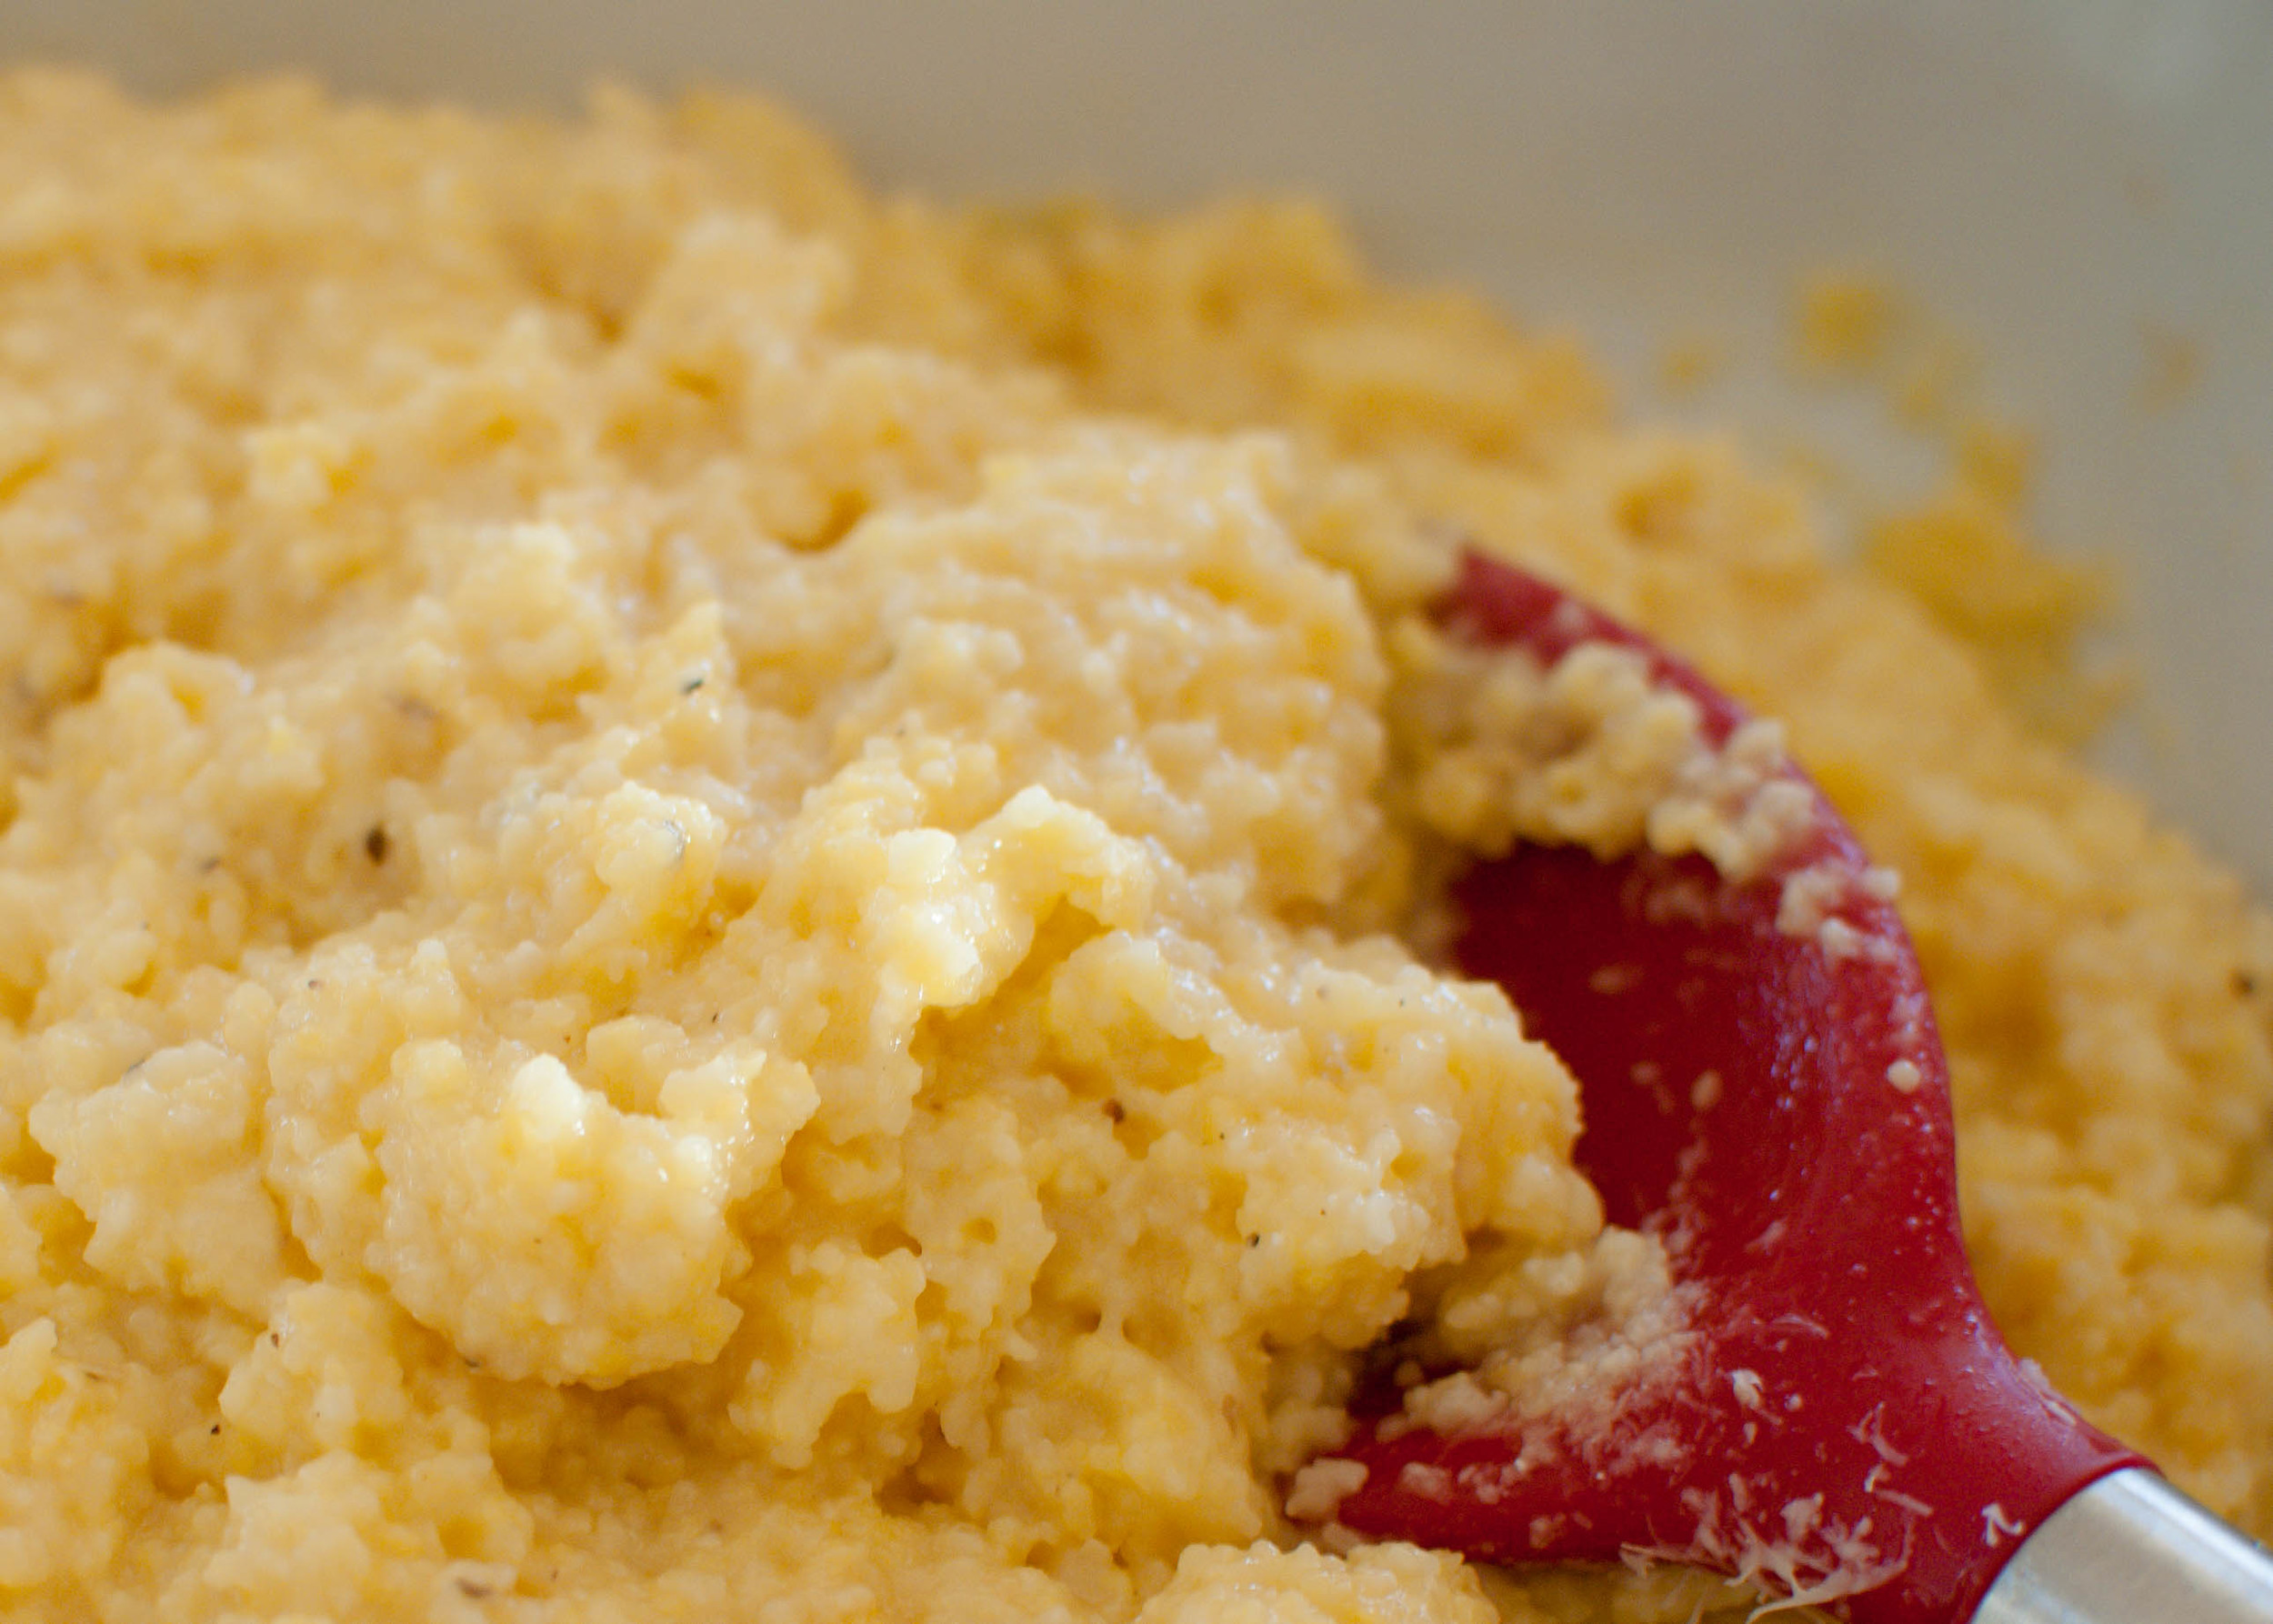
Notes: Baked Polenta takes more time than polenta made on a stove-top, but there is very little active time. Polenta made over the stove requires constant stirring for at least half an hour, while baked polenta cooks in the oven, freeing me up to fix a salad or wrangle with the kids (more likely). The results leave you with a piping hot bowl of creamy corn goodness.

This polenta would also be great topped with any saucy protein (like a meat stew), a fried egg and a side of sauteed greens, or some roasted vegetables.

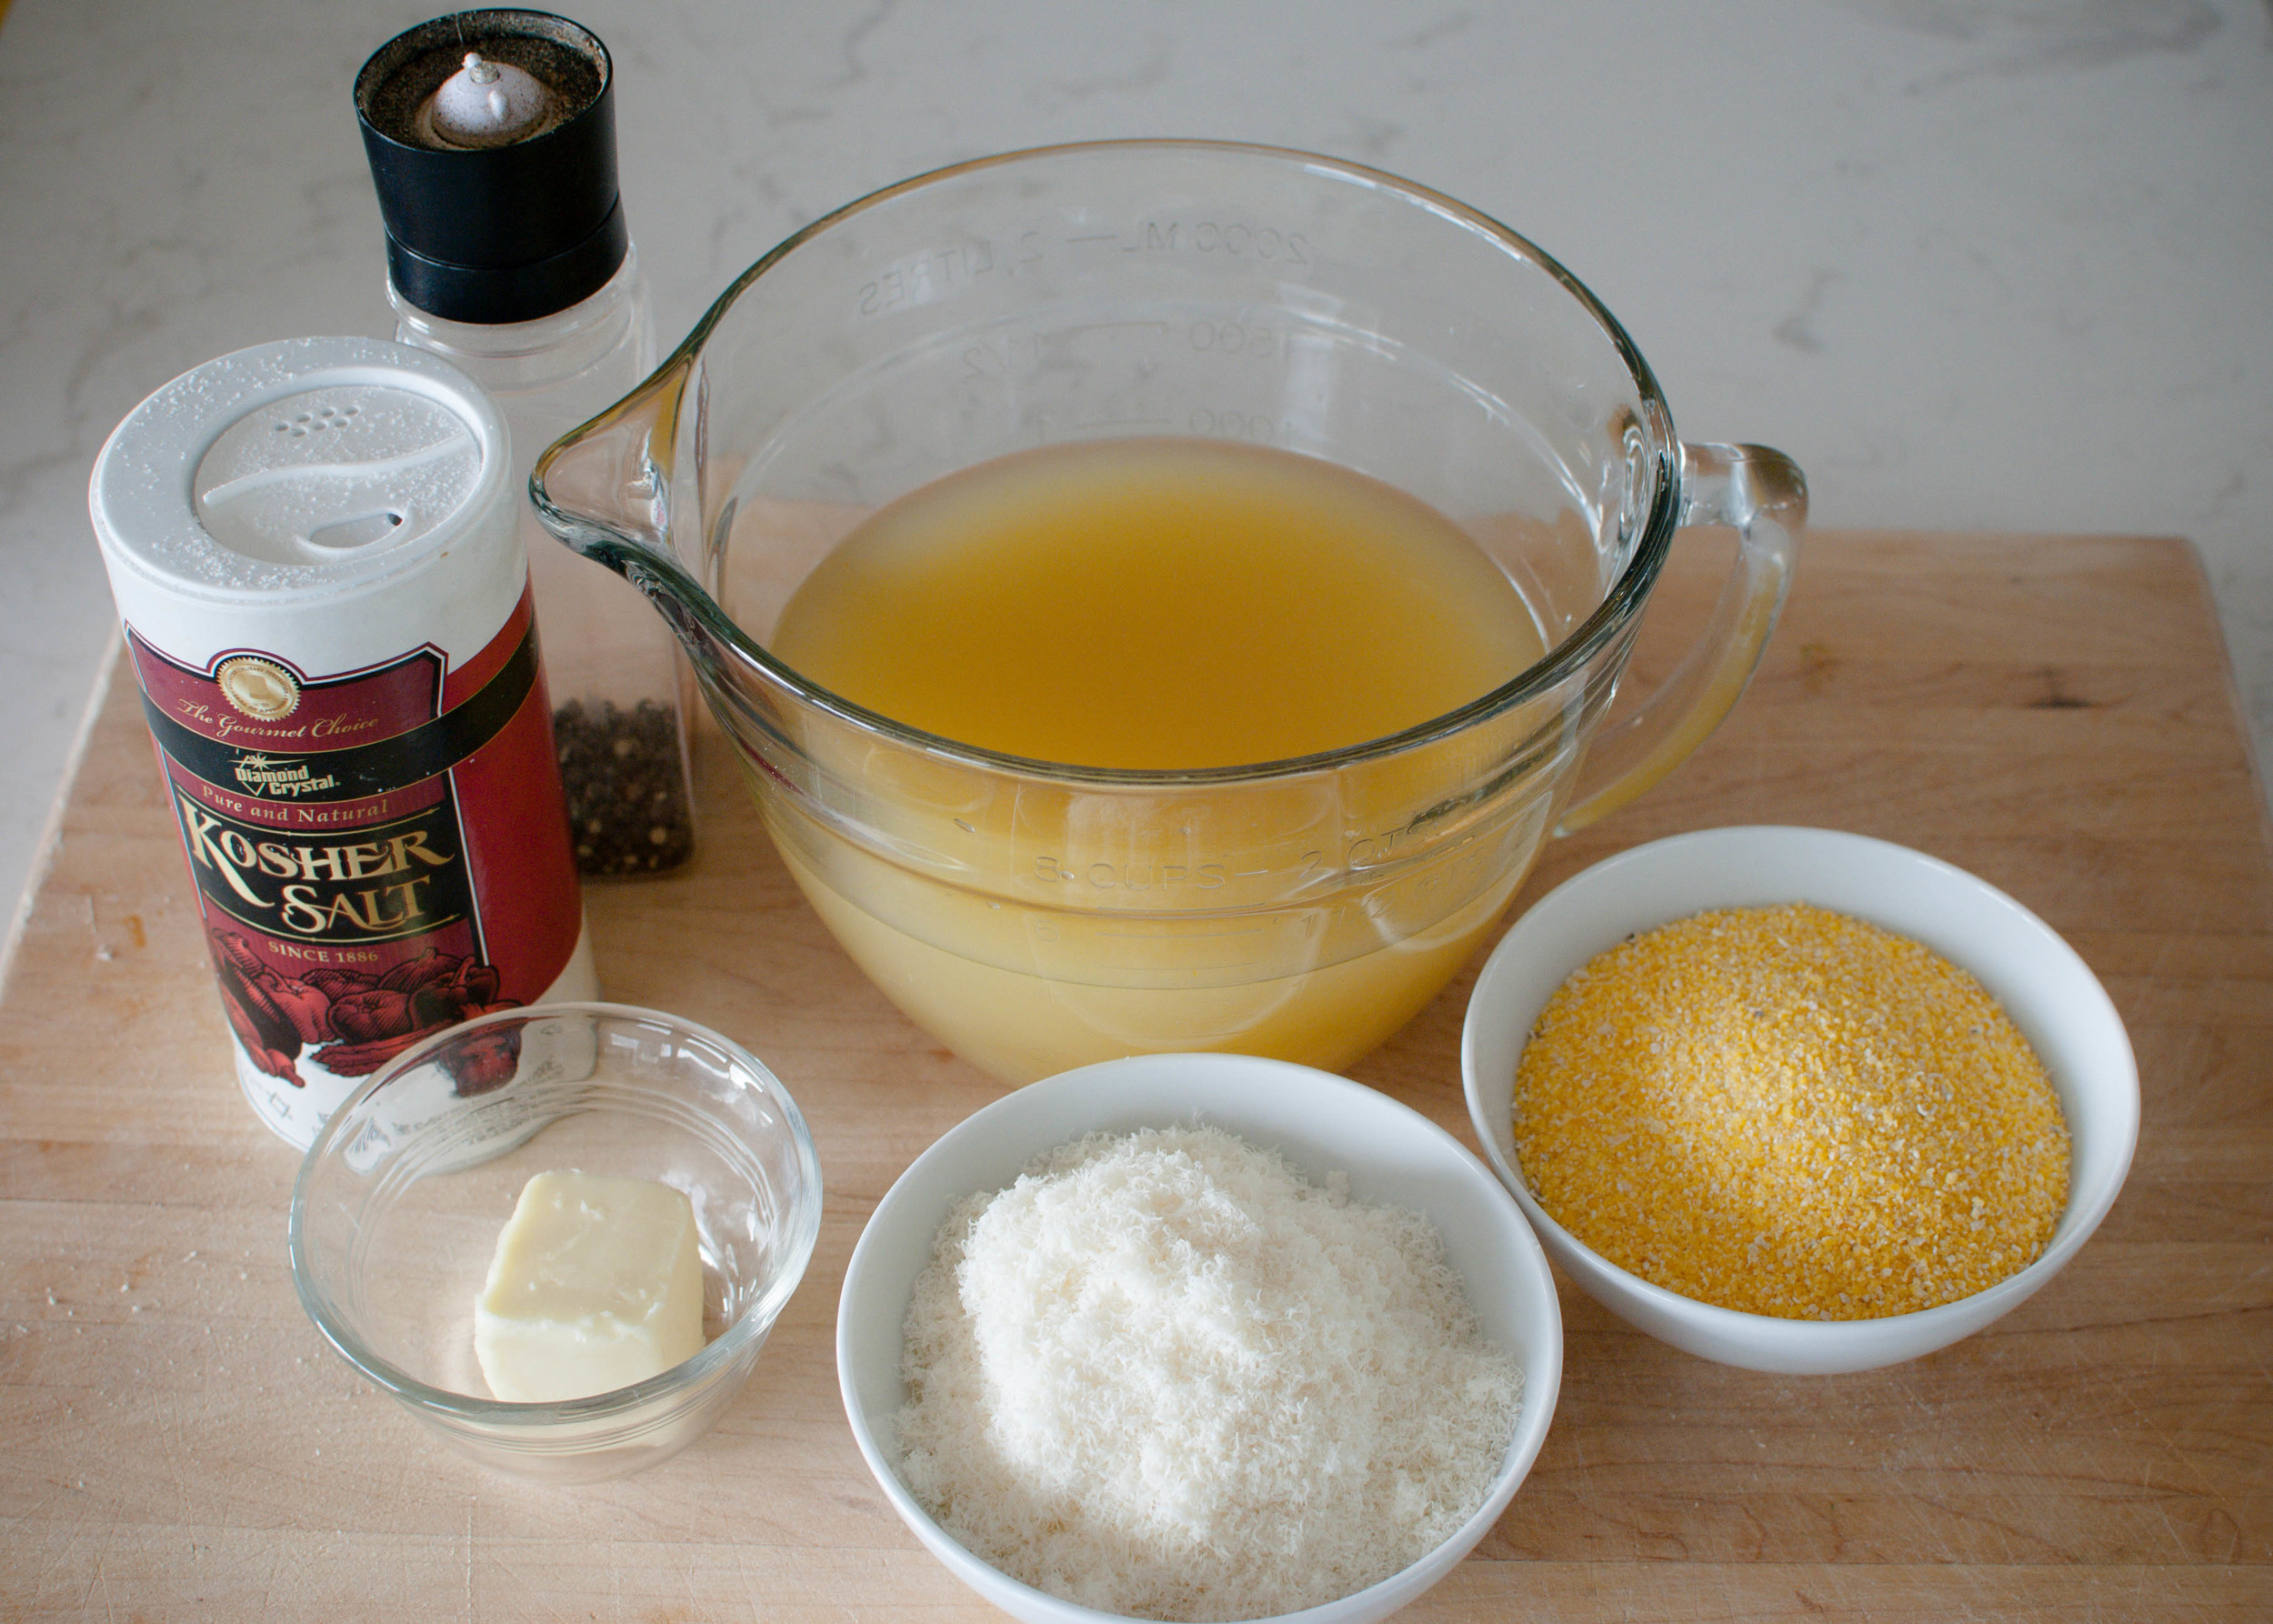
4 cups (1 quart) low-sodium broth (any kind) or water
1 cup polenta, coarse ground cornmeal, or corn grits (not quick-cooking)
1 teaspoon kosher salt (if using unsalted broth or water)
1/4 teaspoon freshly ground black pepper
3 tablespoons butter
2 ounces Parmesan, grated (optional)

Preheat oven to 350 degrees F.

Butter an oven-safe 2 quart dish. (An 8"x8" pan works well too.)

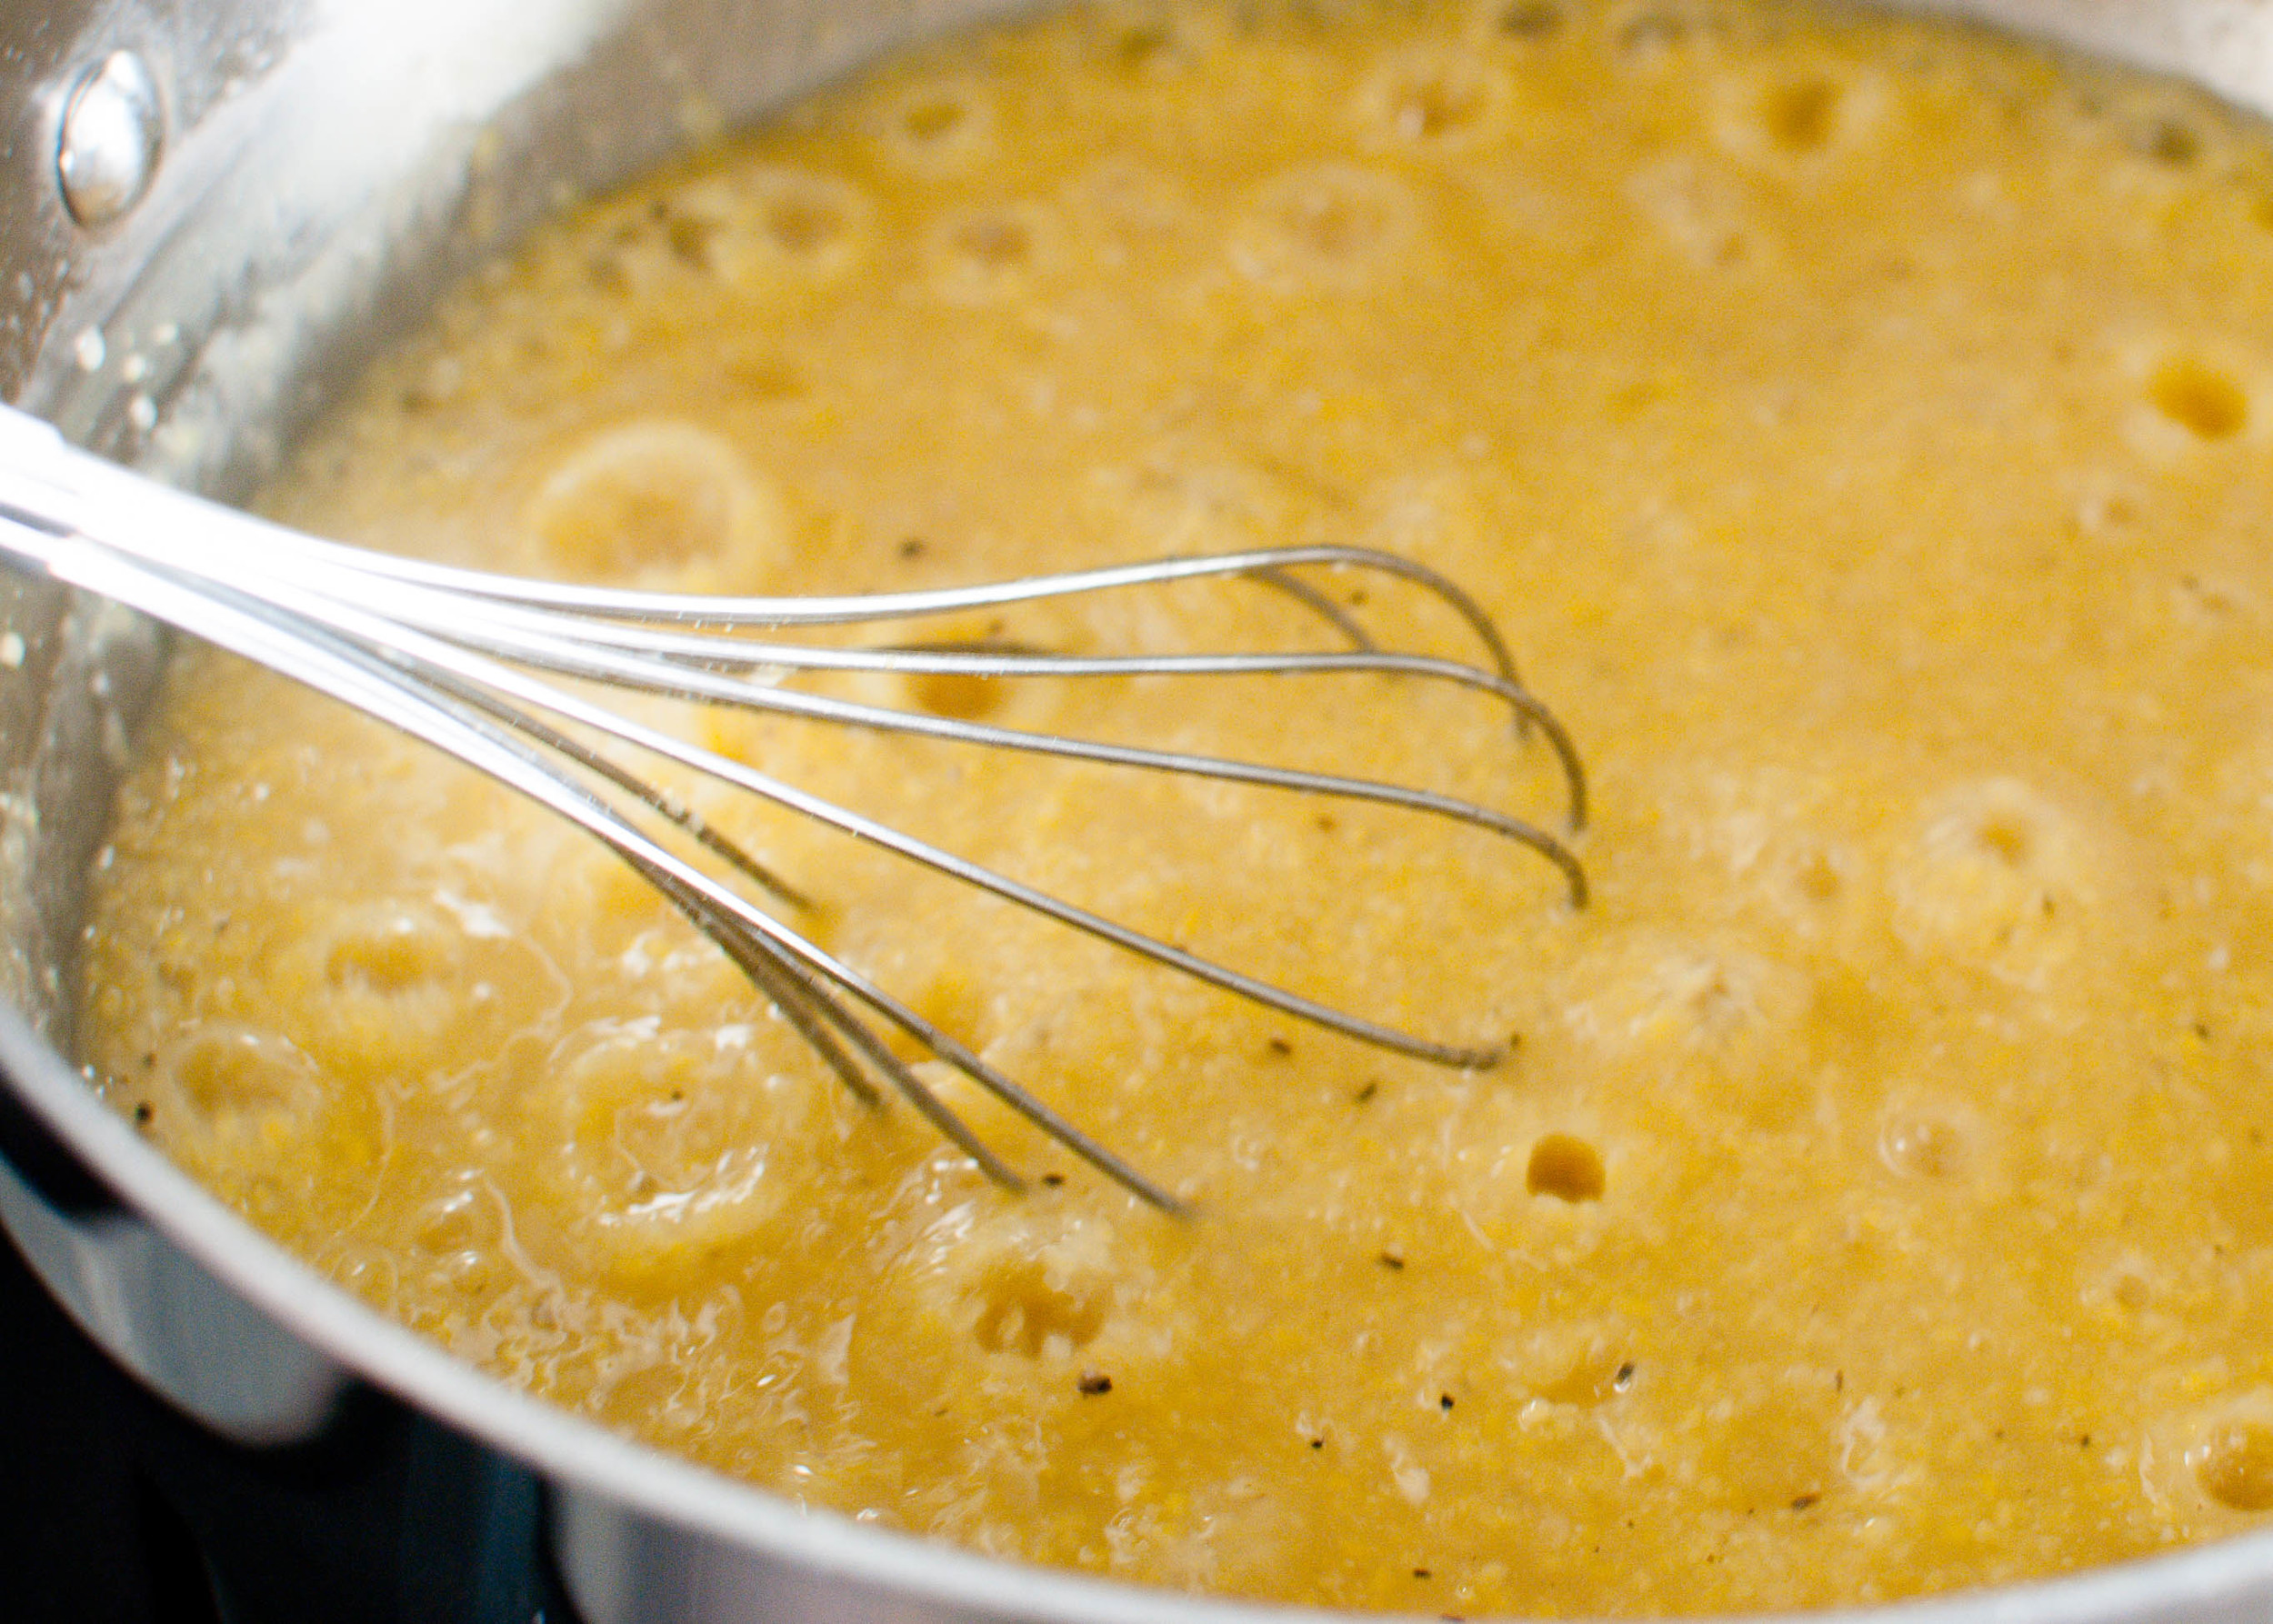
Combine broth (or water and salt), polenta, and pepper in the buttered dish and stir. Bake uncovered for about 1 hour, stirring once or twice. Polenta is done when it is thick and creamy.

Remove from oven, and stir in the grated parmesan and butter. Serve.

Kale Salad with Butternut Squash and Cheddar by Amy Cantu

Print Friendly and PDF
kale salad

I began the new year like a lot of people do - thinking about ways I could eat more veggies. I’ll share this tidbit about myself - I’m super picky about salad and dislike a lot of them, including creamy dressings. (I know, who doesn’t like Ranch or Blue Cheese dressing??? Just me.) I generally prefer my vegetables cooked; maybe it’s growing up in an Asian household where vegetables were just incorporated into the dishes we were eating. Anyway, January rolled around, and I felt like I needed to give this salad eating business some real attention. A kale salad was in order. Has kale salad been overdone? Probably. It’s seems like it’s on every menu that includes a salad these days. So, I wanted a kale salad that would be simple, not overly thought out, and well . . . delicious! This salad is just the thing. The main ingredient is kale, so you can feel really good about eating a leafy green vegetable, but this salad also includes a healthy dose of delicious aged cheddar, which is equally important for making this salad too yummy to pass up. Add a sprinkling of toasted almonds and a tart lemon vinaigrette, and we’ve got a really simple salad that tastes amazing. I hate salad. I loved this salad.

Recipe adapted from Northern Spy’s Kale Salad.

Notes: This salad is highly adaptable. Instead of roasted squash, you could roast carrots or sweet potatoes. In the summer, you could use fresh or roasted strawberries or peaches, and experiment with a soft goat cheese or dollops of good ricotta. I’m a sucker for salad toppings, so I’m always extra generous with the squash, nuts, and cheese. To make this salad vegan, omit the cheese, but add 1 to 2 tablespoons of nutritional yeast (found in health food stores), which lends a savory, cheesy flavor.

If you are staring at the butternut squash thinking, “What do I do with this thing???” here’s how to peel it.

It’s tempting to buy those bags of pre-cut kale in the salad section, but to avoid having to masticate your greens like a cow, don’t do it! The kale pieces are too large, and they don’t remove the tough rib (stem) that runs down the center of each leaf. If you are reading this note too late, and you already have a bag of kale salad, never fear. Spend a few minutes to sort through the leaves to find the pieces with hard stems and tear away the soft leafy part from the stem and discard. Then tear the leaves into smaller pieces with your hands (or use a knife).

Lastly, sometimes both new and seasoned cooks alike, forget to taste their food before serving it. Add the salt, then taste it. Add additional salt and pepper until it tastes good to you. (I tasted the salad three times before I got it right.) The right amount of salt and pepper can change any dish (and especially salad) from ho-hum to wow!


Read More: The Shared Lunch


Time: 30 minutes
Servings: 4

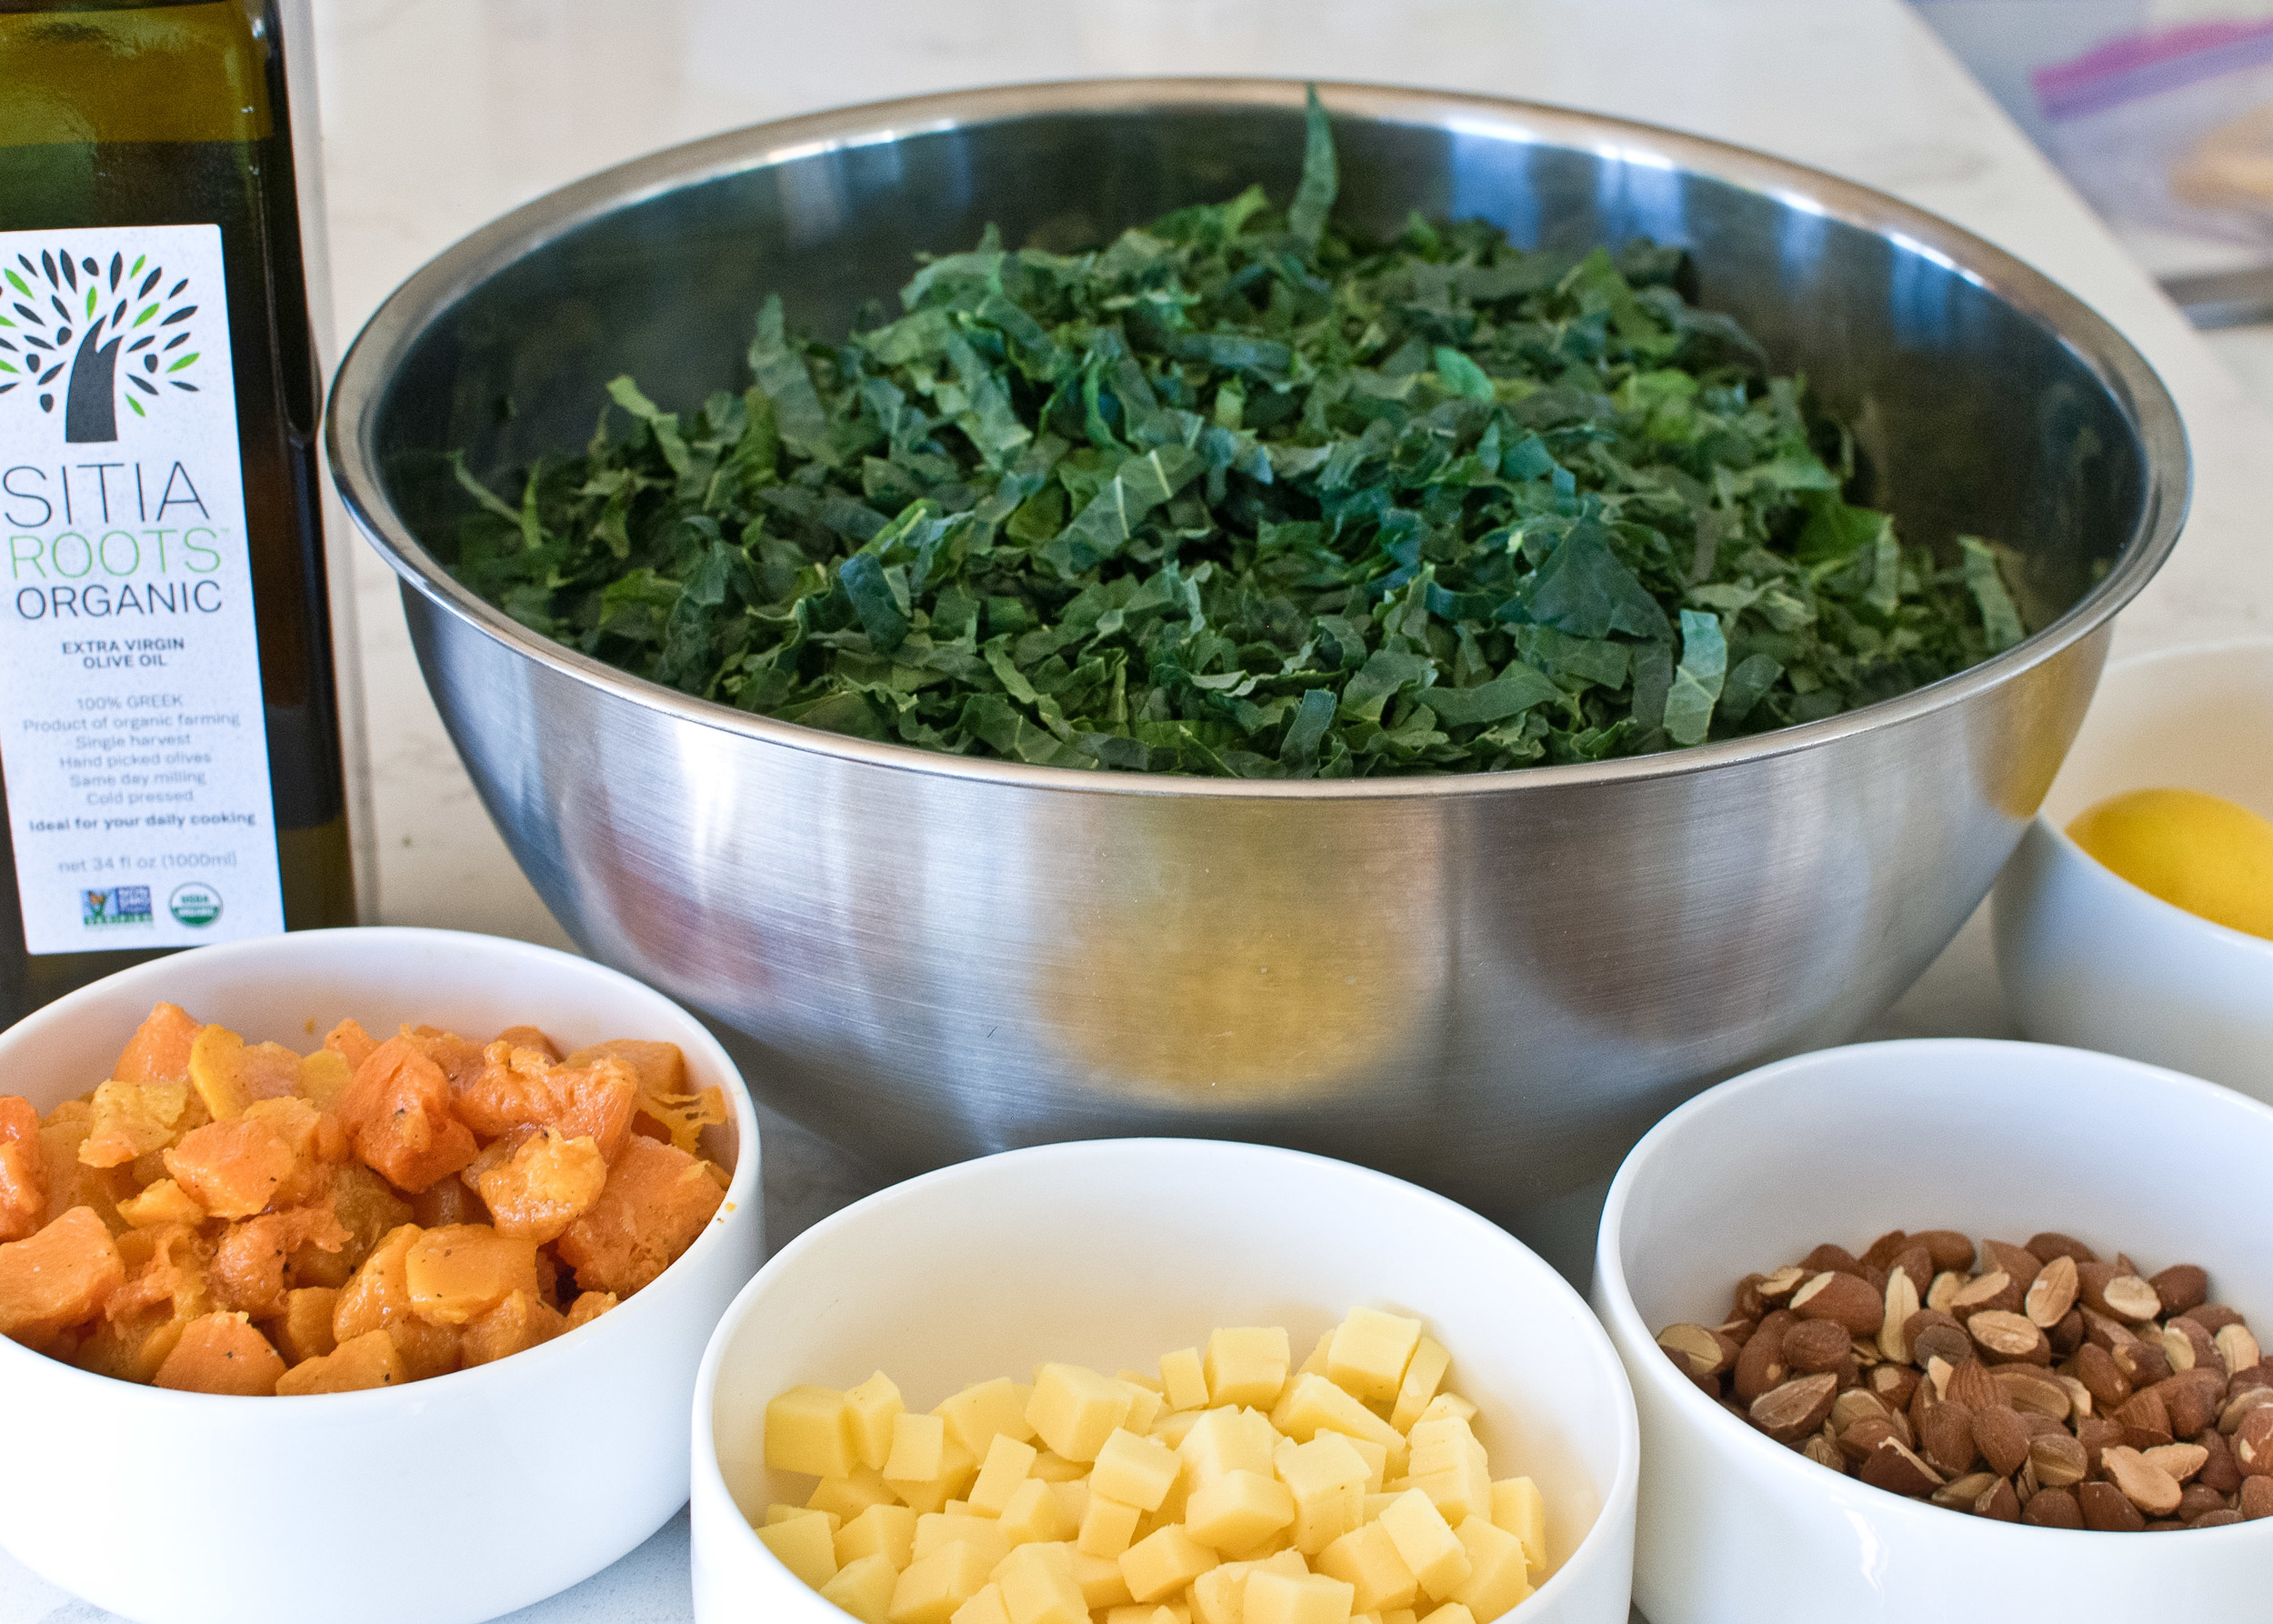
1 1/2 cups cubed butternut squash, or other winter squash (about ¾ lb)
1 tablespoon plus 2 tablespoons extra-virgin olive oil (divided use)
1 teaspoon plus 1 teaspoon kosher salt (divided use)
½ teaspoon plus ½ teaspoon freshly ground pepper (divided use)
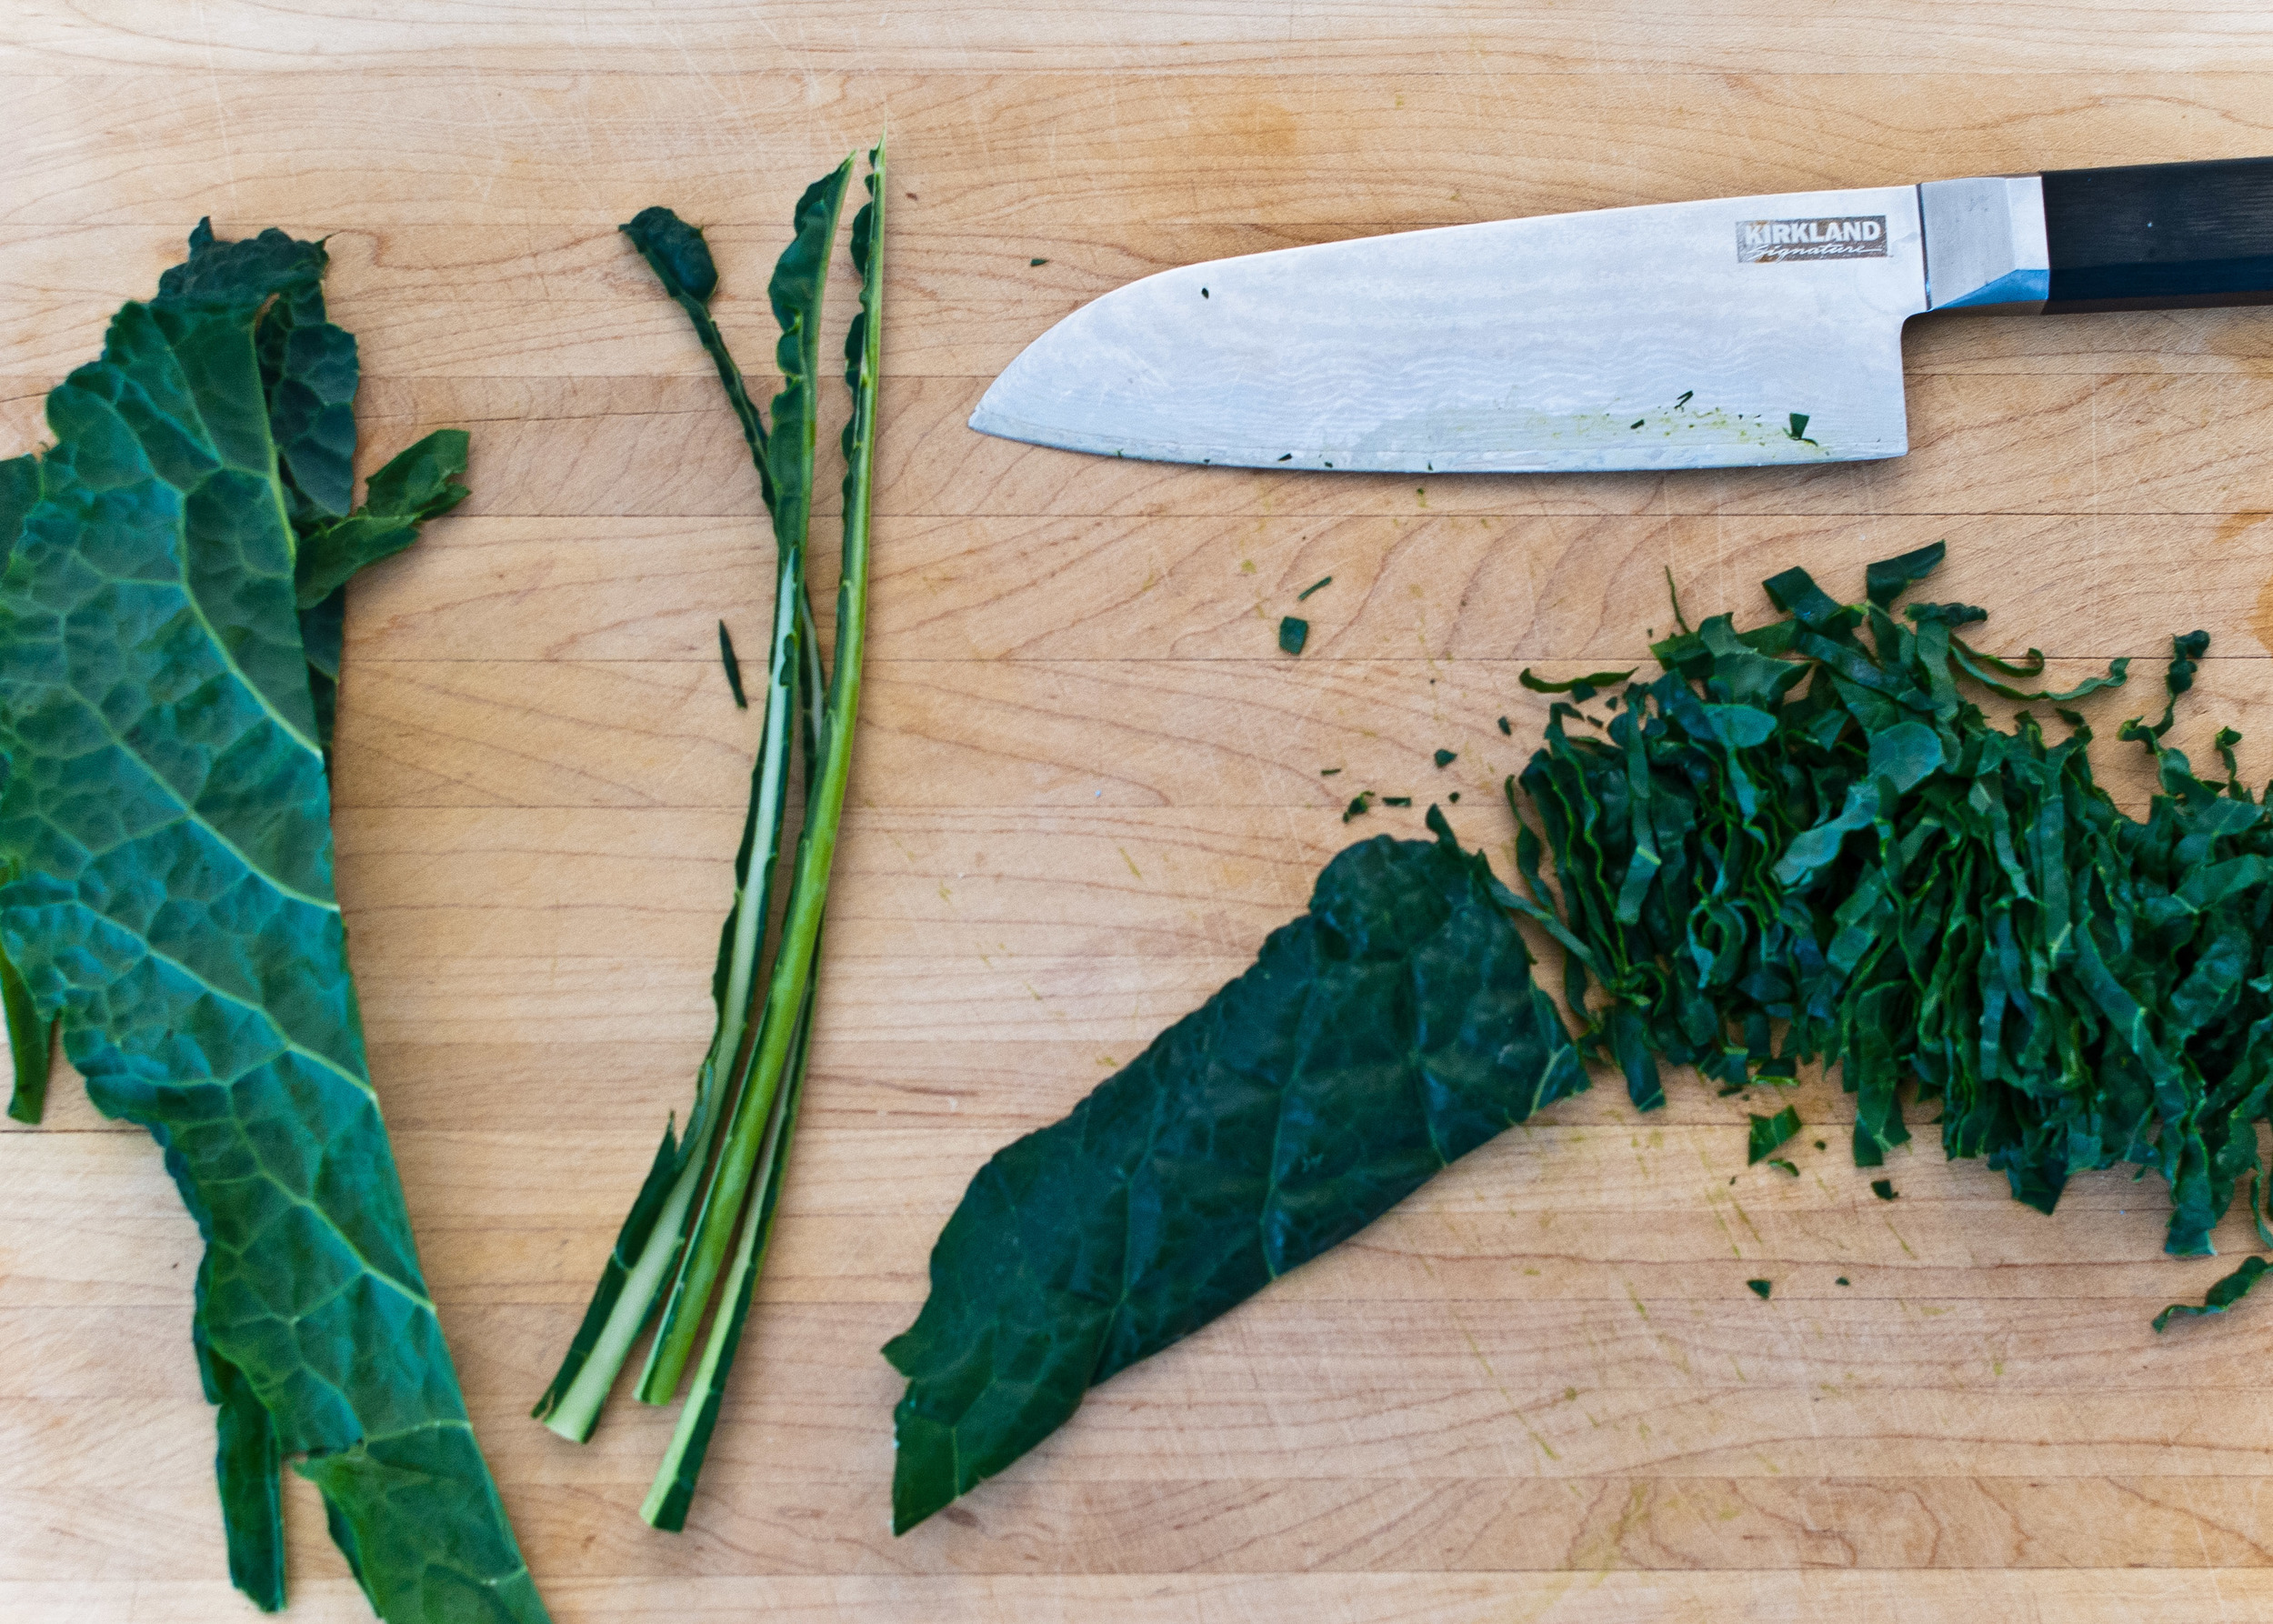
2 bunches kale (preferably lacinato, also called cavalo nero, black, tuscan, or dinosaur kale), ribs removed and sliced into thin ribbons, about 6 cups (see above photo)
3/4 cup almonds, cut roughly in half
1/2 cup crumbled or finely chopped Cabot clothbound cheddar (or any good, aged cheddar - I love Trader Joe’s Unexpected Cheddar for this recipe)
4 tablespoons fresh lemon juice (about 1 large juicy lemon)
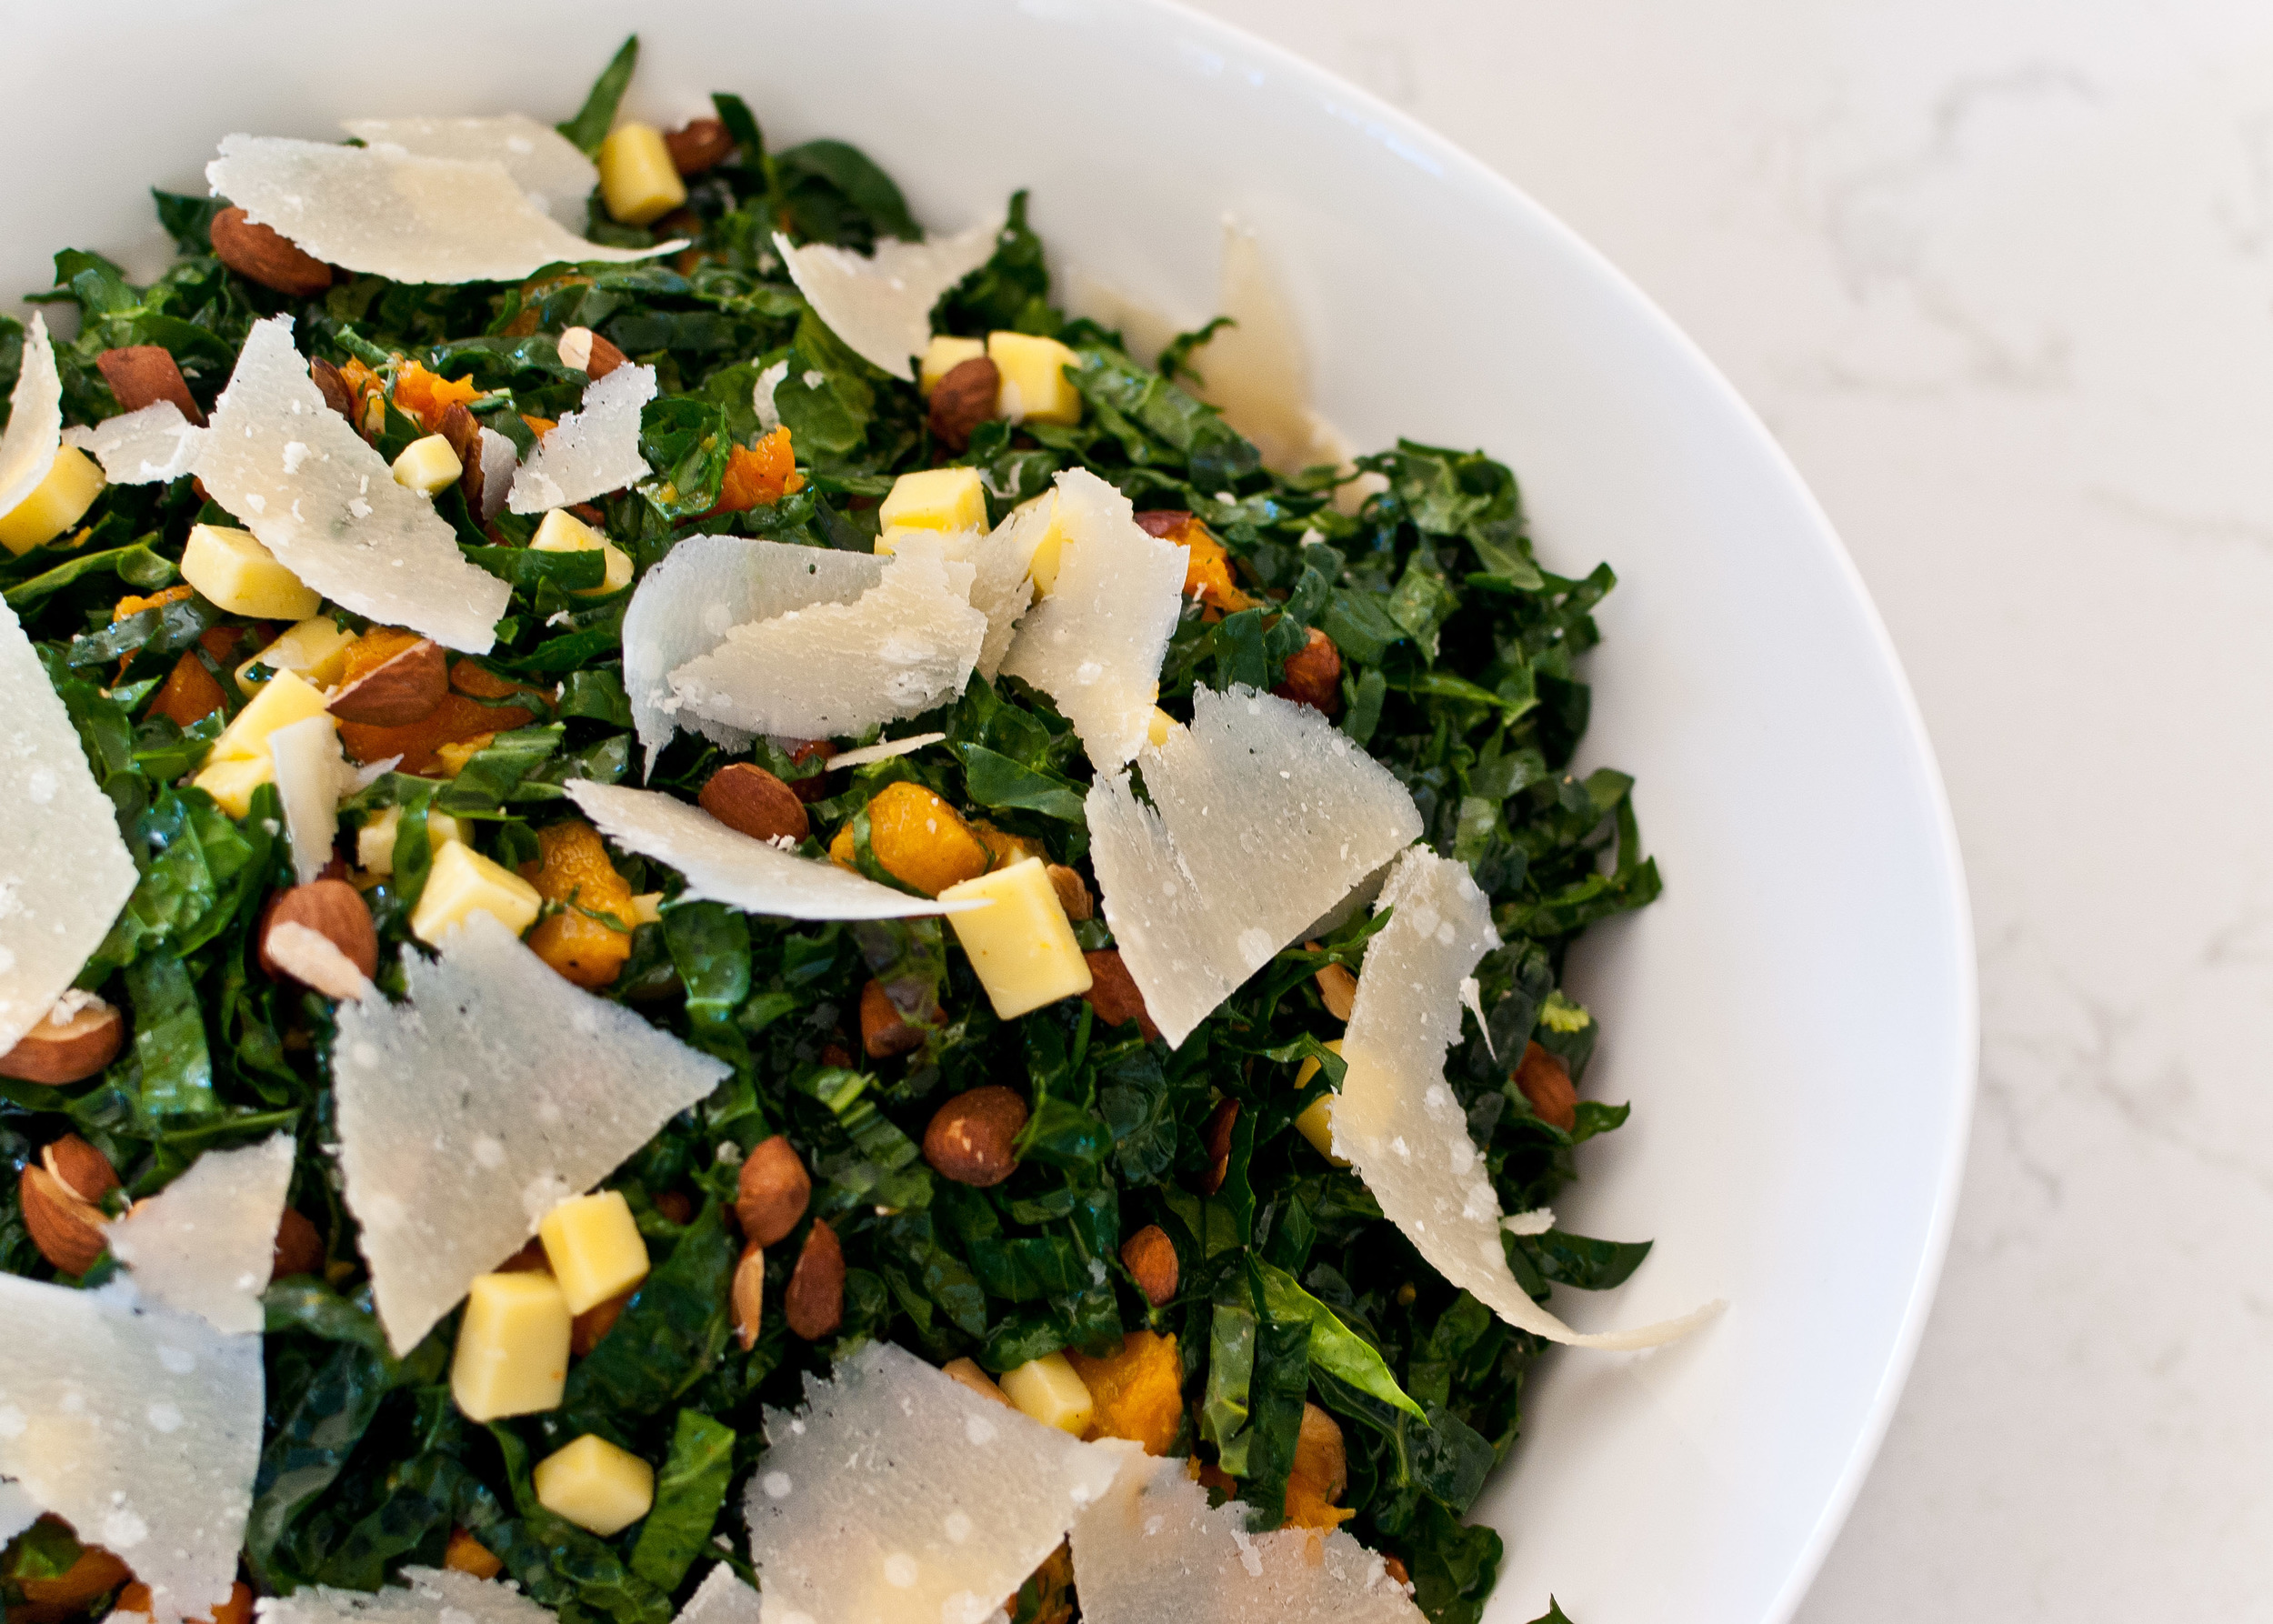
Pecorino, Parmigiano-Reggiano, or other hard cheese, for shaving (Optional. Use a vegetable peeler to shave thin slices from a block of cheese.)

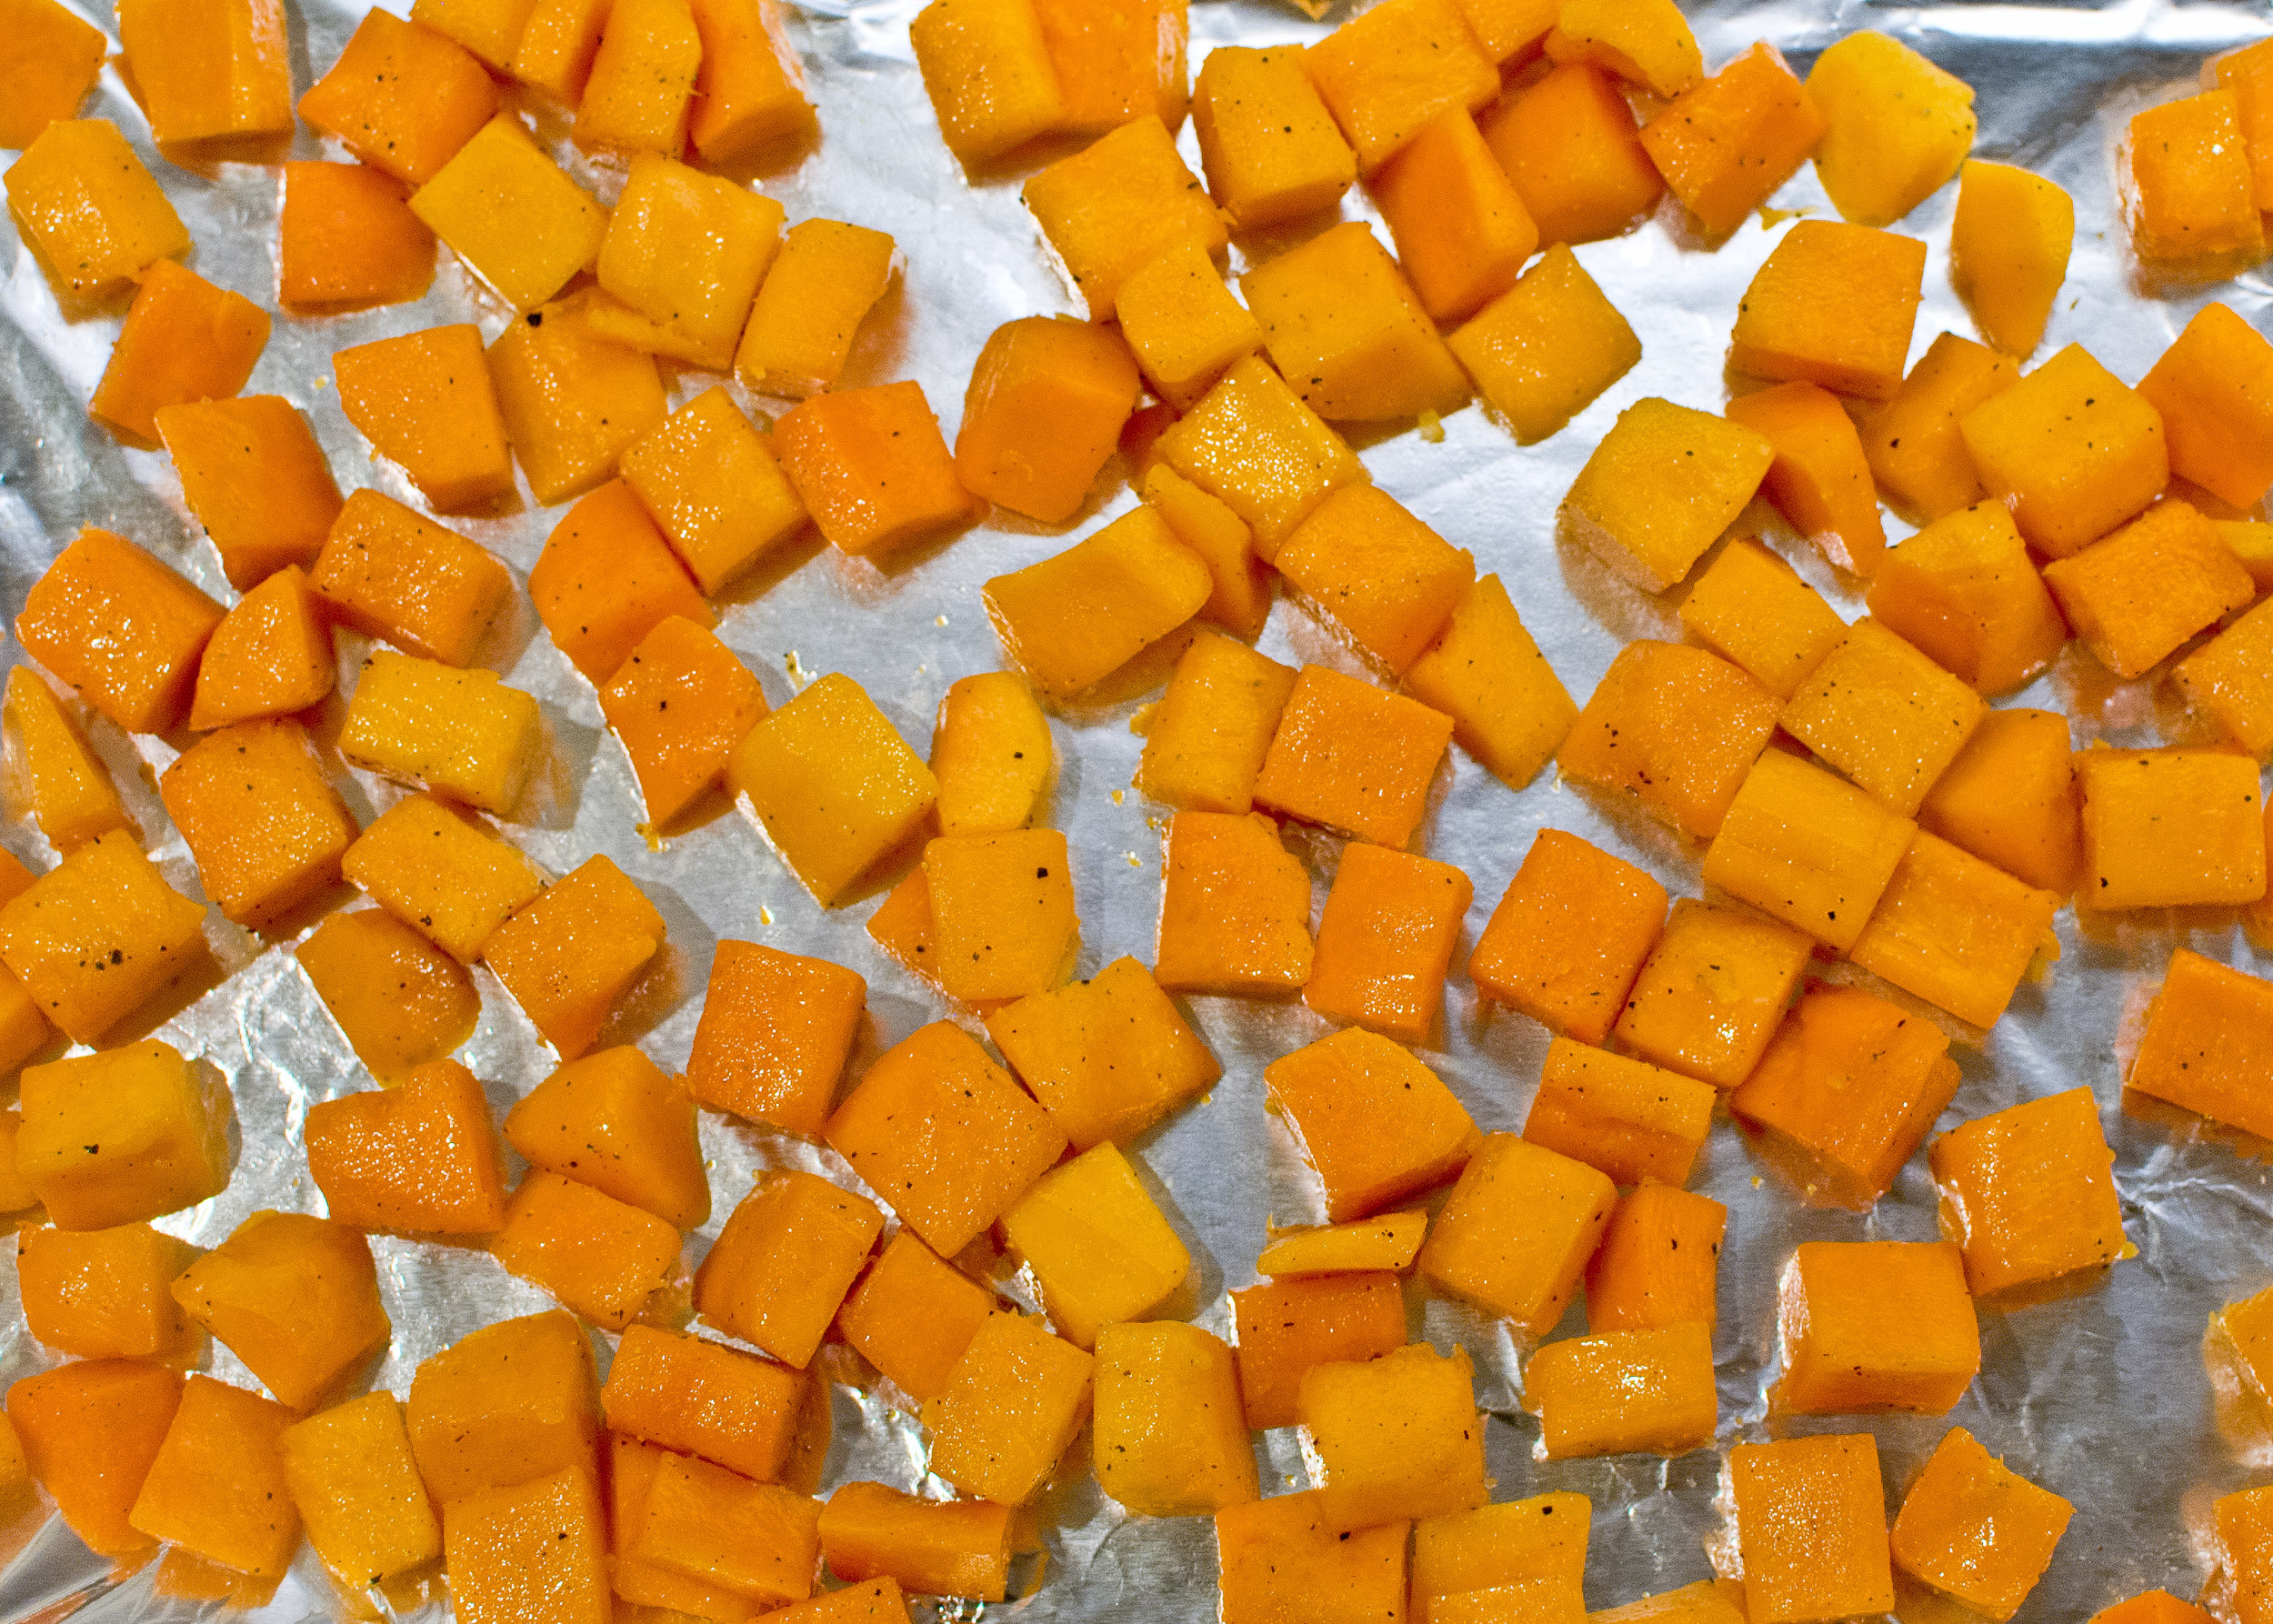
Heat oven to 425° F. Toss squash cubes in 1 tablespoon of olive oil to coat, and season with 1 teaspoon salt and ½ teaspoon pepper. Spread on a baking sheet (lined with parchment or foil for easier cleanup), leaving space between the cubes. Roast in the oven until tender and caramelized, about 40 minutes, tossing with a spatula every 10-15 minutes. Toast the almonds on a baking sheet in the same oven until they start to smell nutty, tossing once, about 10 minutes. Let cool.

In a large mixing bowl, toss the kale with the almonds, cheddar and squash. Season to taste with lemon juice and olive oil (approximately 4 tablespoons lemon juice and 2 tablespoons olive oil). Season with 1 teaspoon salt and ½ teaspoon pepper, adding more if needed.

Divide salad between four plates or shallow bowls. Garnish with shaved pecorino, if desired, and serve.